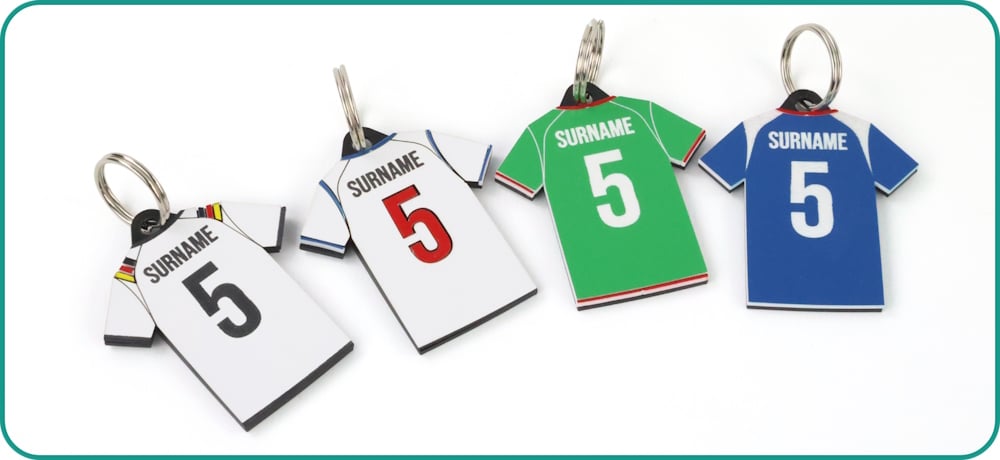
This make is a simple layered Football Shirt Keyring project, perfect for football fans, World Cup-themed lessons, or as a personalised gift for the supporter in your life. We’ve used lightweight HIPS and laser laminates, but you can layer any materials you prefer.
All of the files that you need are provided as a free download below, for along with Emma’s instructions and make/personalise your own. Background to the header image by Sandro Schuh on Unsplash.
This Make Covers:

Difficulty & Cost
- Difficulty: 1 – Beginner
- Approx. Cost per Student: £0.61 (based on 30 students)
- *NB – Prices were correct at the time of writing, but may change over time.
What Did We Use?
- Laser Laminates:
- Black on White (43211).
- Blue on White (43214)v
- Green on White (43307).
- Red on White (43213).
- White on Black (43212).
- Yellow on Black (43215)
- 1.5mm Black HIPS Sheet (5711).
- Split Key Ring Attachment (2291).
- Superglue
- These design files.
Step 1 – Download the Design Files
Click here to download the design files. They will look like this:
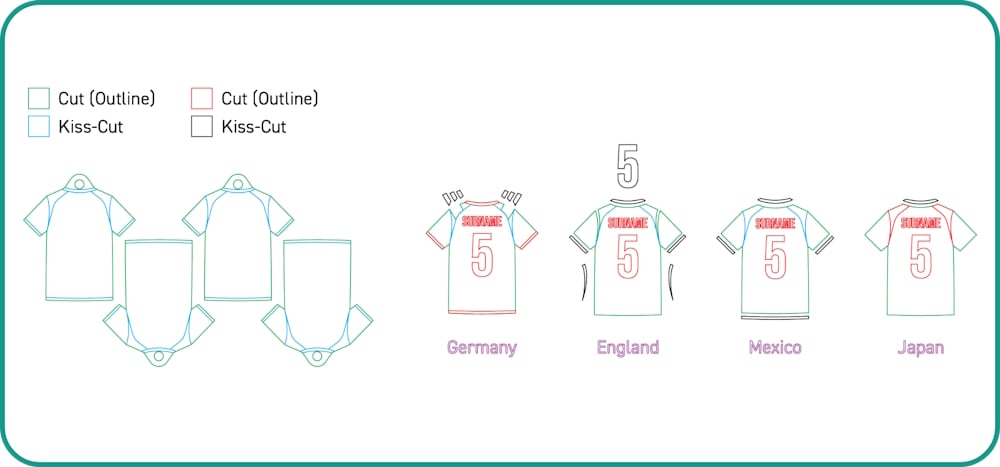
The key in the top-left shows how each colour of line should be cut or engraved. The country names beneath the shirts are just labels and do not need to be cut.
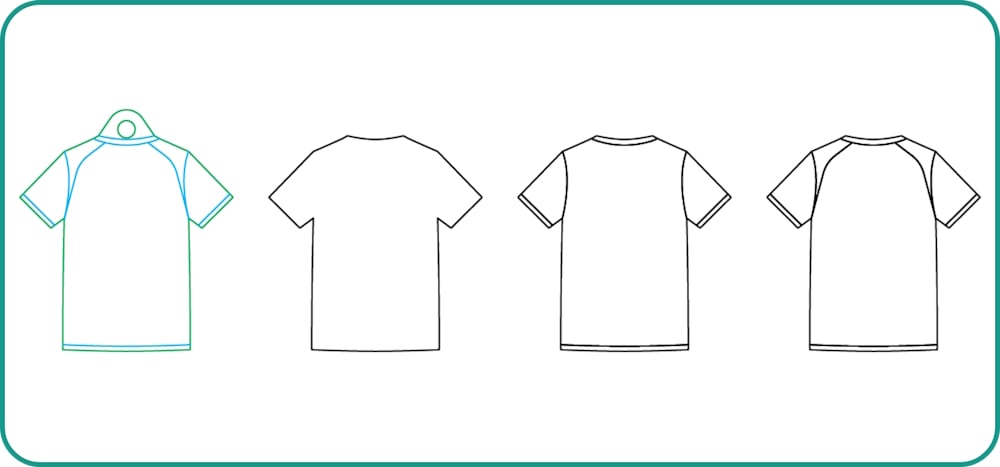
This second file is a blank template you can use to design your own shirt. Replace “surname” with your own name and choose your favourite squad number.
Step 2 – Cut Out the Designs
We cut ours using a laser cutter. Some designs include very small separate sections (such as the England or Germany shirts), so take care not to lose the tiny pieces.

Step 3 – Glue It All Together
Each keyring consists of a backing piece (we used black HIPS) and a top layer made from laser laminate. Apply superglue sparingly and use tweezers for the smallest details.

Step 4 – Attach the Split Key Ring
Feed a split key ring through the hole in the design and your personalised football shirt keyring is ready to go!