Description
This tutorial describes how to create a basic E-Textiles circuit using a Sewable PCB LED. This is an LED where the light source is attached to a circuit board. This circuit is slightly easier to create than one with a standard LED as there are positive and negative connections on the LED already, which means that you don’t have to twist any legs to create your own connections. You might also be interested in our tutorial on creating a basic circuit using a standard LED.
Learn how to:
- Add a PCB LED to an E-Textile circuit.
Parts list
In order to add a PCB LED to an E-Textile circuit you will need:
- 1x Sewable PCB LED, white.
- 1x Sewable Coin Cell Holder and 1x Coin Cell.
- Conductive Thread.
You will also need the following equipment:
So, let’s get started…

Tips for creating the circuit
Note that there are 4 rings on the cell holder. Only one positive and one negative ring is needed to create the circuit in this tutorial. Once the circuit is complete, the other two spare rings could be stitched down using ordinary sewing thread to keep the cell holder stable. The rings can also be used to add another LED to the other side of the circuit. For help on choosing needles, threading, and stitches take a look at the other tutorials on these areas COMING SOON.
Creating the circuit
Oversew the negative side of the LED to the fabric using 5 or 6 oversewing stitches. The stitches must be tight and clumped close together.  Use running stitches to take your needle to the position where your cell holder will sit.
  Stitch the ring on the negative side of the cell holder onto the backing fabric using 5 or 6 oversewing stitches. Finish off the thread on the back of the fabric and trim the thread close to the stitches. The negative side of the circuit is now complete.
  To create the positive side of the circuit, oversew positive side of the LED to the fabric using a new piece of conductive thread.
  Use running stitches to take the needle and thread to the positive side of the cell holder and oversew the positive ring on the cell holder into position.
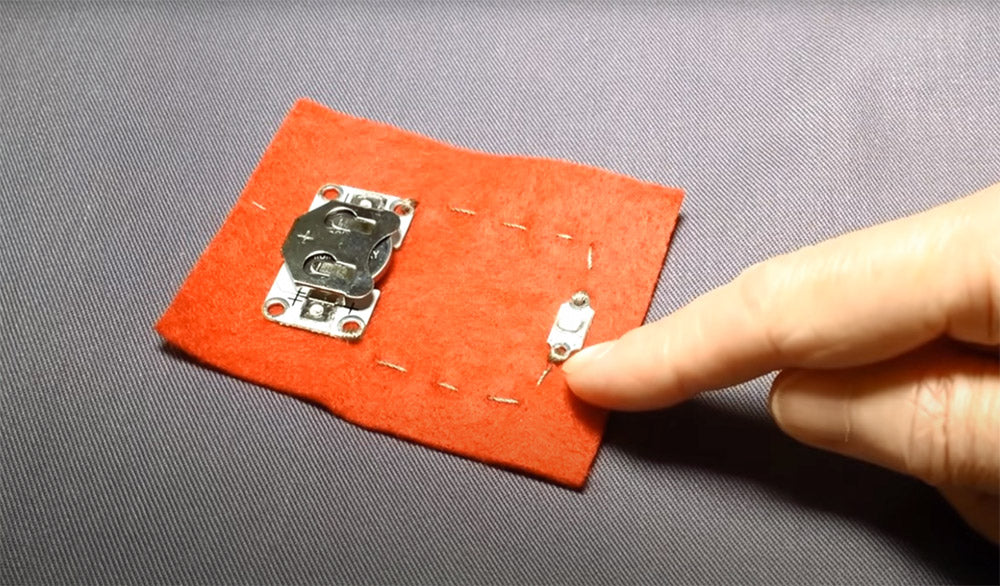
  The circuit is now complete. Push the cell into the cell holder with the positive side of the cell facing upwards.
  Once you’re familiar with adding LEDs to circuits, why not read our guide on positioning LEDs through fabric.