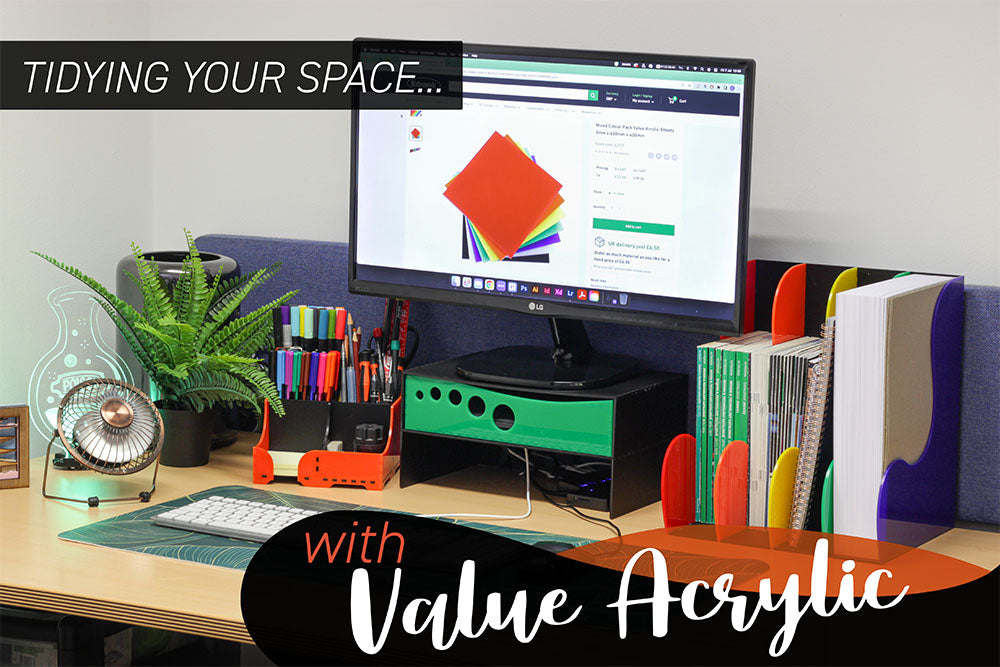
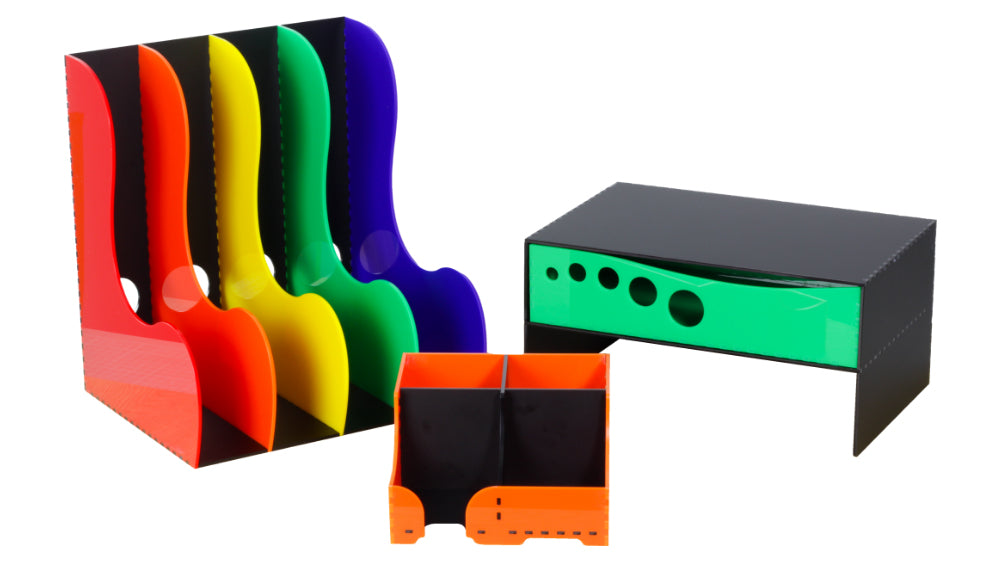
Hello again everyone! This time around, Emma brings you a set of makes that will brighten your desk space and help you keep things orderly. Follow along below with three extremely simple laser cut makes, using our awesomely budget-friendly Cheap Acrylic sheets!
Please Note: These makes can indeed be made individually, however should you choose to make them all at once like we did, it will be a more economic use of acrylic to organise the various pieces of each make onto sheets together by colour.
The Design Files:
Make 1: Rainbow Magazine Rack
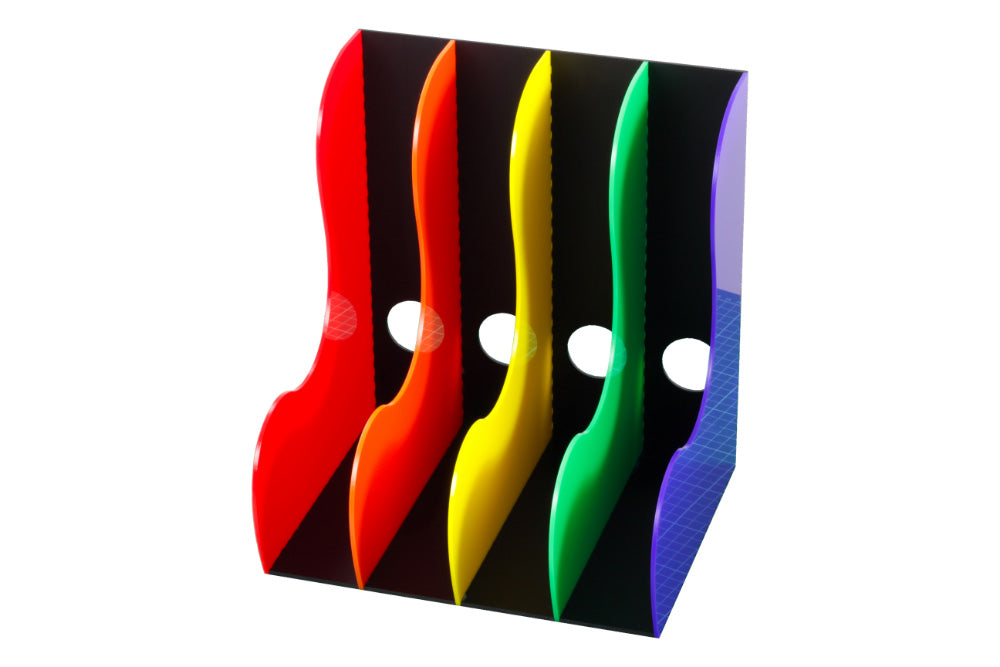
We have used:
- 1 x 3mm Value Frosted Black Acrylic Sheet
- 1 x 3mm Red Value Acrylic Sheet
- 1 x 3mm Orange Value Acrylic Sheet
- 1 x 3mm Yellow Value Acrylic Sheet
- 1 x 3mm Green Value Acrylic Sheet
- 1 x 3mm Blue Value Acrylic Sheet
- Superglue
- Laser Cutter
Step 1 – Selecting the materials:
Open up the DXF provided at the top of this blog. The image below shows how it will look when you open it (left) and a shaded version to demonstrate which panels are cut from which materials. The pieces coloured in black are to be cut from Value Frosted Black Acrylic, and the blue panel should be repeated five times and each cut from a different colour – one red, one orange, one yellow, one green and one blue.
Of course, you can cut your panels from whatever colour you like!

Step 2- Cutting out the parts:
Take it to the Laser Cutter! The image below shows how all the panels look separately.
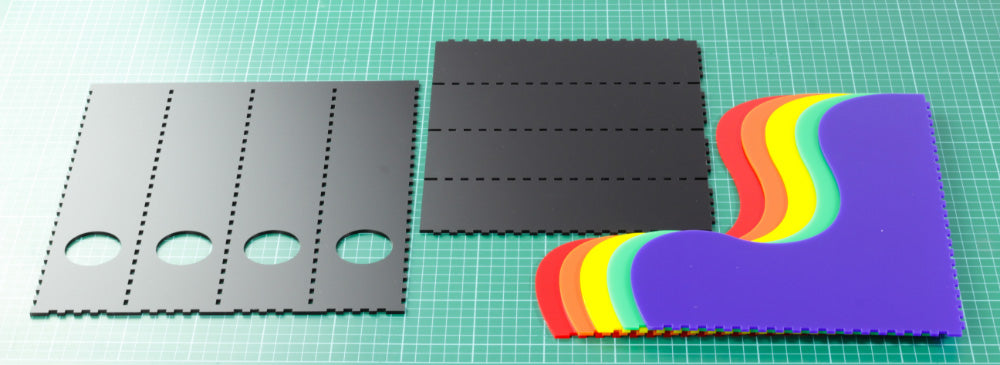
Step 3 – Putting it together:
Using superglue sparingly, attach the panels together using the finger joints. This is easiest if you attach the dividers all to one of the black panels first, then attach the second once the glue dries on the first panel.
Make 2: Four-Compartment Stationery Holder:
We have used:
- 1 x 3mm Value Frosted Black Acrylic Sheet
- 1 x 3mm Orange Value Acrylic Sheet
- Superglue
- Laser Cutter
Step 1- Choosing the materials:
As with the first make, you’ll want to open up the DXF provided at the top of this blog. The image on the left shows how it will look when you open it and the shaded version demonstrates which panels are cut from which materials. Black indicates Frosted Black Value Acrylic, and orange indicates Orange Value Acrylic.

Step 2 – Cut and assemble the panels:
Laser-cut the panels, and assemble them! Using a little superglue sparingly will join the finger joints sufficiently.
The middle dividers slot together to form an x (shown on the right side of the image labelled 1) and they then slot into the base. Once the middle is in place, attach the side panels one at a time.
Please note: The pen pot has a compartment at the front made for sticky notes. The front sections, incidentally, are shallower. Please assemble in the alignment shown.

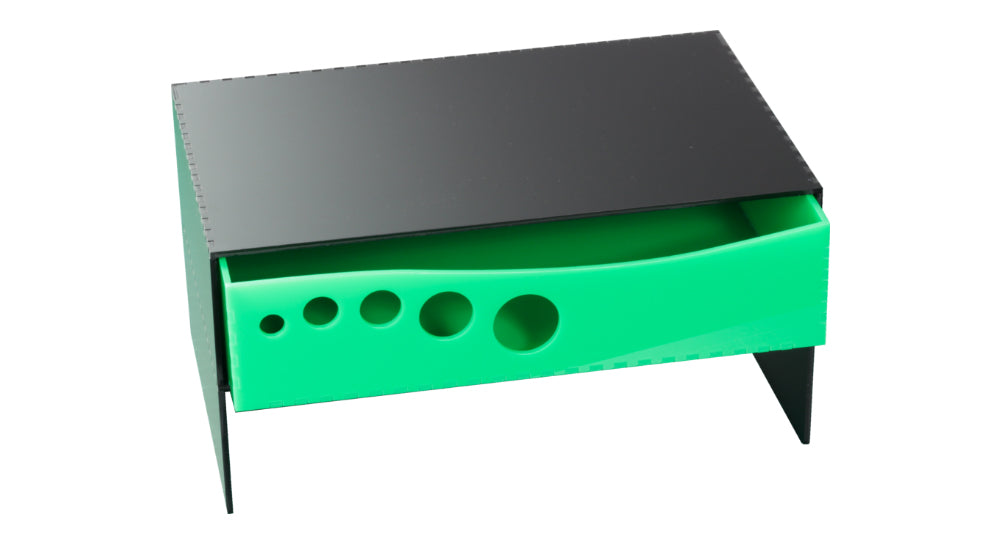
Make 3: Monitor Riser with Drawer
We have used:
- 2 x 3mm Value Frosted Black Acrylic Sheet
- 1 x 3mm Green Value Acrylic Sheet
- Superglue
- Laser Cutter
Step 1 – Choosing materials:
Open up the DXF for the main body of the riser – we will cut the shelf later. This entire section is cut from Value Frosted Black Acrylic.

Step 2 – Cutting out the riser:
Cut out the main section of the riser.

Step 3 – Assembly:
Assemble as shown below, using superglue sparingly on the finger joints.

Step 4 – The shelf:
Open the DXF for the shelf. This entire section is cut from Green Value Acrylic.

Step 5 – The drawer:
Laser-cut the drawer. Using superglue sparingly, attach the sides to the base of the drawer.

Step 6 – Final Assembly:
Slide the drawer into the main section of the riser as so. You’re done!
Now you’re done! You can choose your own colour combos to suit your aesthetic, and you can customise the shape of various parts of the makes, such as the profiles of the pen pot or the magazine rack dividers, or change the design of the front of the drawer.
Now go forth and tidy your desk space in style!
Sign up to our newsletter and learn everything sooner!

