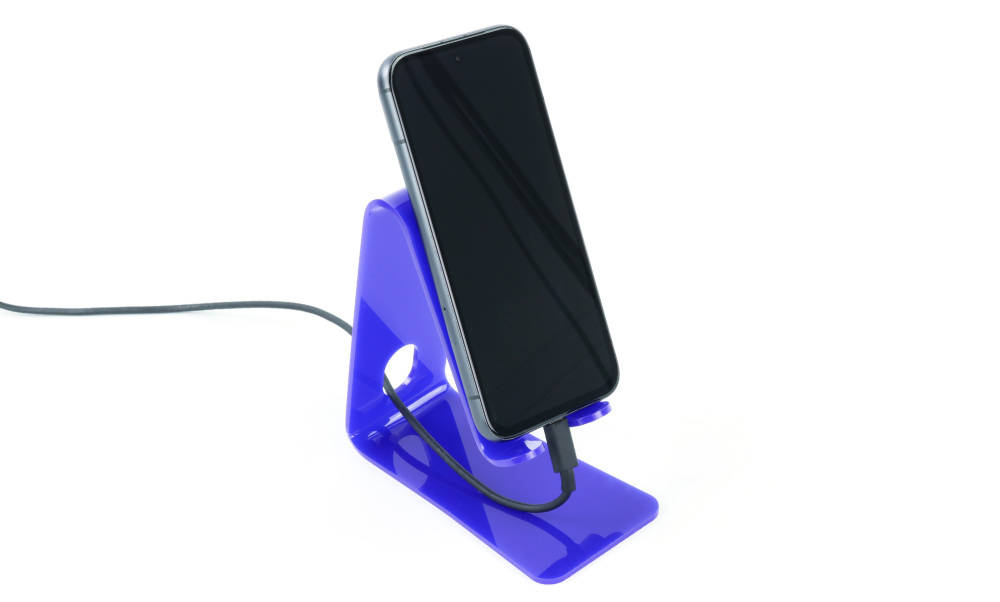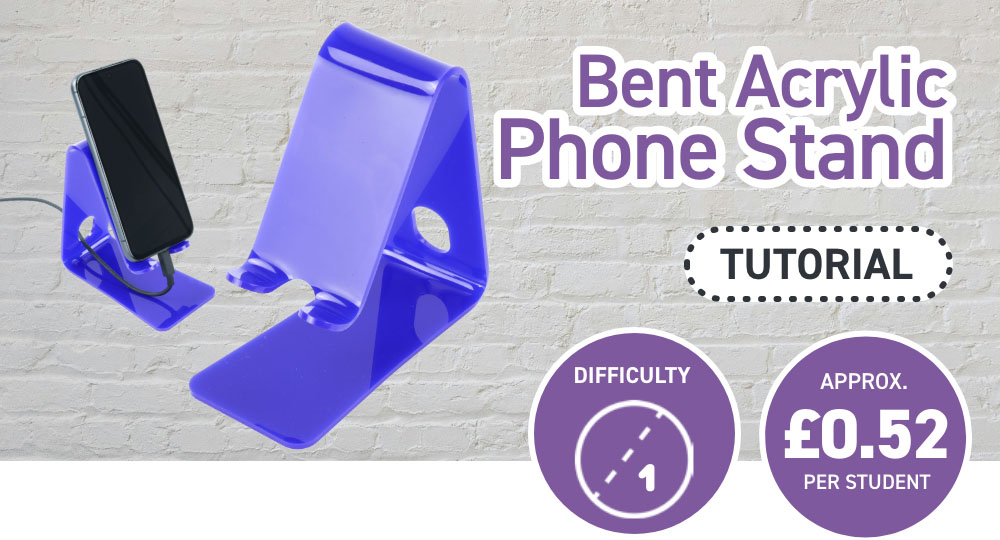
This is a nice easy project for a class just learning how to laser cut and heat bend acrylic. The stand features space for a charging cable – considering this sort of feature can elevate a project and lead to a more considered and usable final product.
This blog was was written by Emma and is one of the 6 included projects in the Book of Projects Volume 5. Background Image by Joe Woods on Unsplash.
This make covers:
What did we use?
- Value Acrylic Sheet (Blue, 600 x 400 mm) (43189)
- A Heat Gun
- A Laser Cutter
- This DXF design file.
Note:
- Price per student calculated based on the exVAT price for one sheet of 3mm thick 600mm x 400mm Blue Value Acrylic, with each sheet fitting 9 Phone Stands.
- The price may fluctuate slightly over time but was correct at the time of printing.
Step 1 – Check out the design files.
This DXF contains the design for this project. The diagram below shows you how to work with the file.
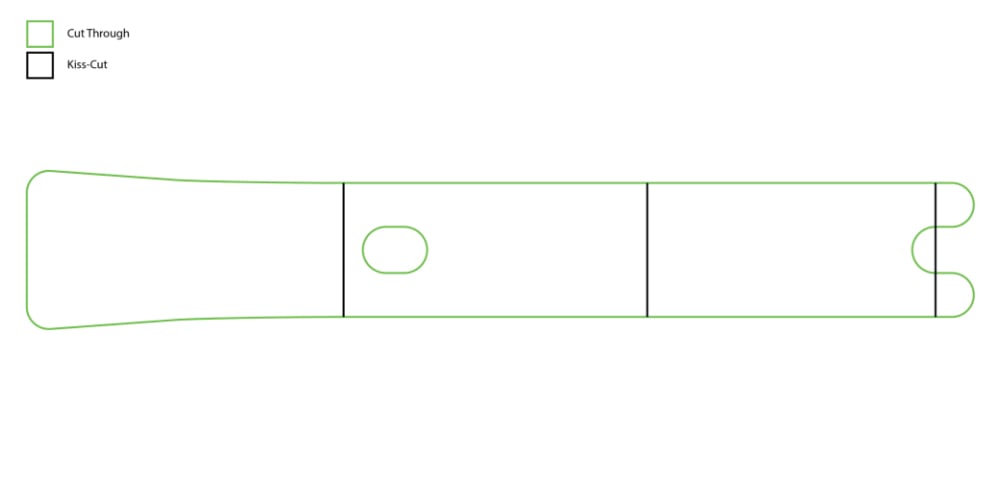
This design can be tiled nine to a sheet of 600 x 400mm material. The black lines should be kiss-cut (a cut that doesn’t go all the way through the material), and then after that the green lines should be cut through all the way.
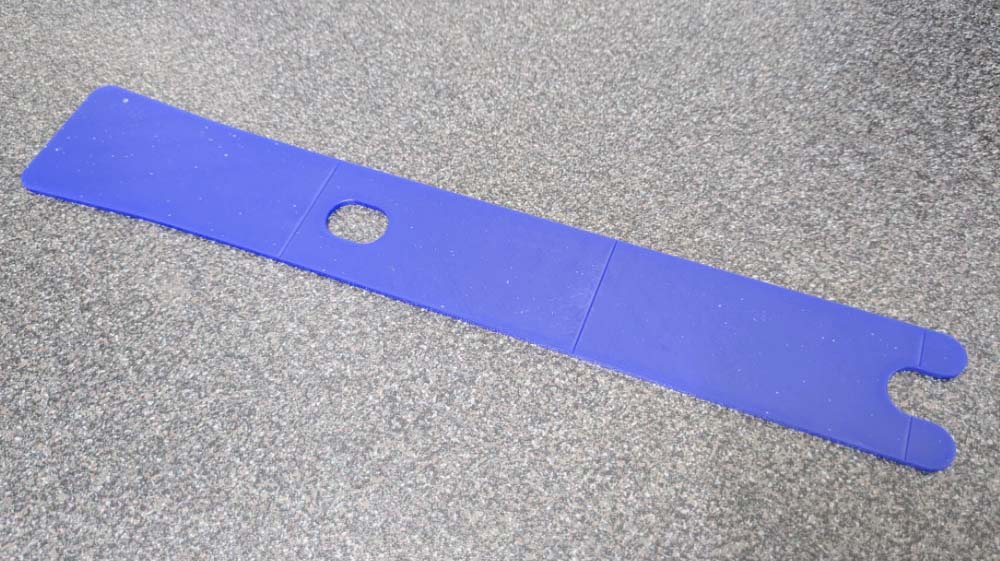
Step 2 – Laser cut the phone stand.
As specified above, cut out the phone stand. You could also use a fine-tooth saw if you do not have a laser cutter available.
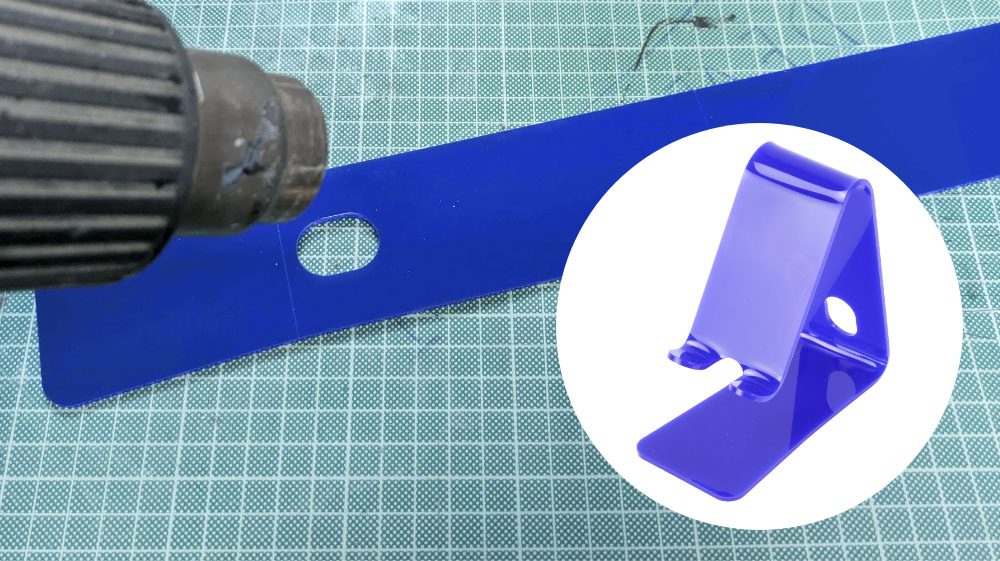
Step 3 – Heat and bend the phone stand.
Bend the acrylic along the kiss-cut lines, forming the stand. Remember to heat gradually to avoid warping and bubbling, and take care not to burn yourself!
Step 4 – Let it cool, and you’re done!
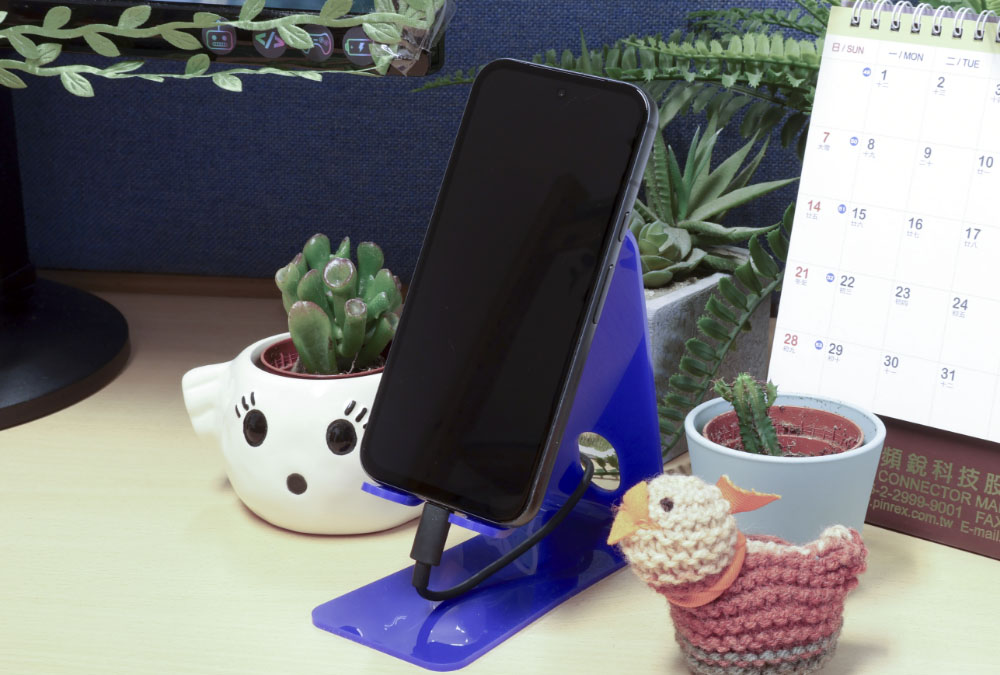
Your phone can sit on the stand as pictured below, and your charging cable can thread through the holes too!