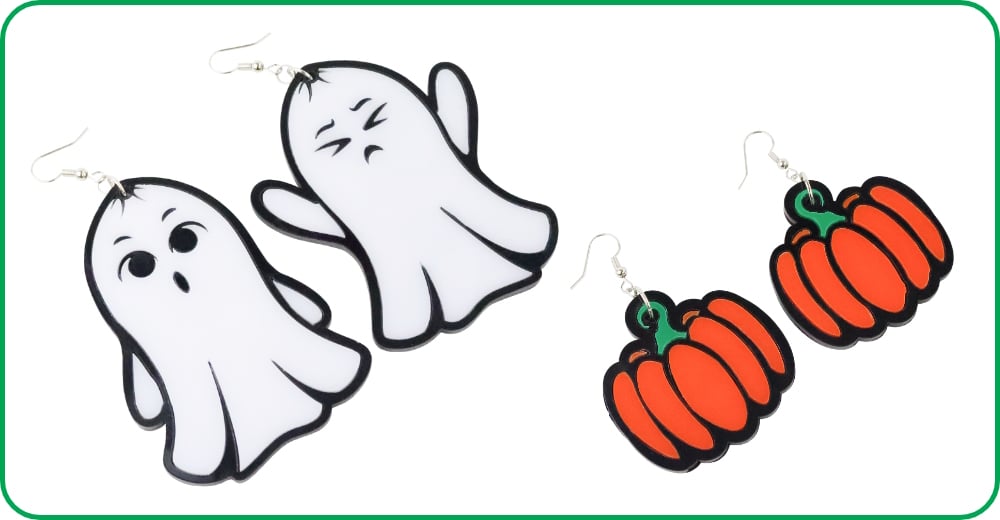
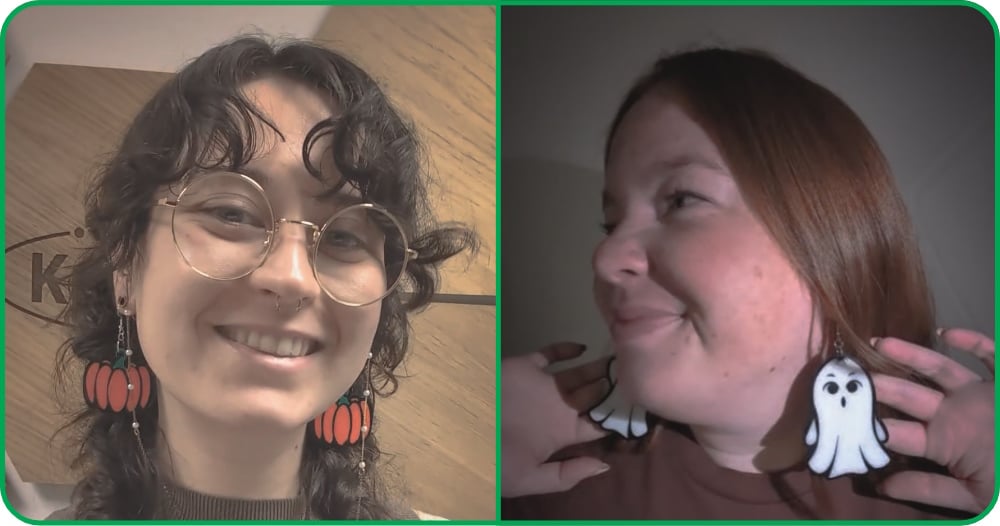
This Halloween, we’re bringing you two earring designs – amazing if worn as is when part of a spooky outfit, but also easily converted into keyrings, pendants or decorations if you don’t have pierced ears!
Find Emma’s instructions for both sets below, along with downloadable design files so you can make along! If you want to do your own thing, there are plenty of other Halloween icons you could use for this kind of make, like bats, witches, black cats, and skeletons.
This Make Covers:

*Price per student is calculated based on exVAT prices for a class of 30, each making both earring designs, using the designs as provided with the exact materials we used. Background Image by simon_berger on Unsplash.
What did we use?
- Black Value Acrylic [43186]
- White Value Acrylic [43187]
- Orange Value Acrylic [43192]
- Green Value Acrylic [43190]
- Black HIPS (5701)
- Laser Cutter
- Superglue
- Earring Hooks and 10mm Jump Rings
- This DXF Design File (Zipped)
Step 1 – Check out the design files.
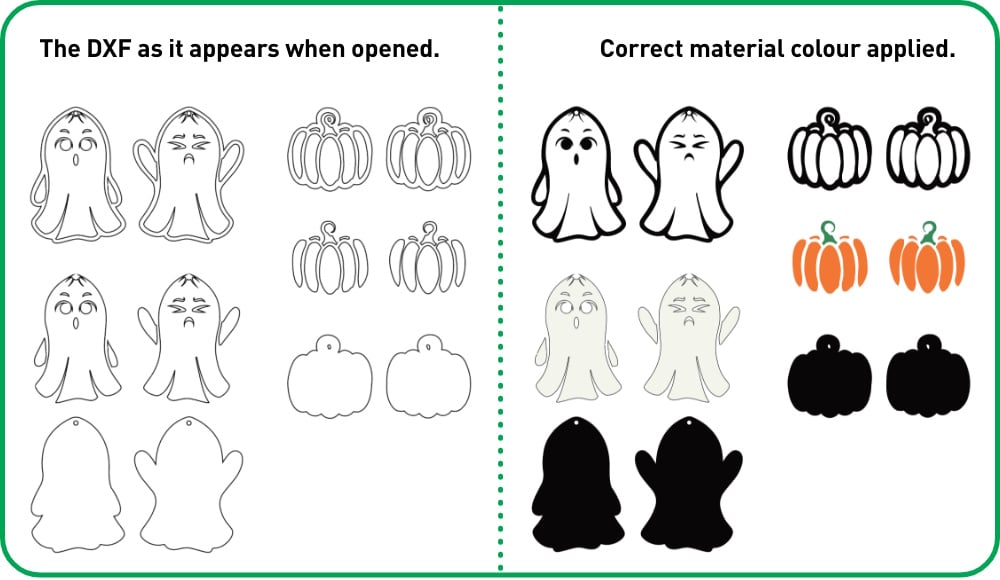
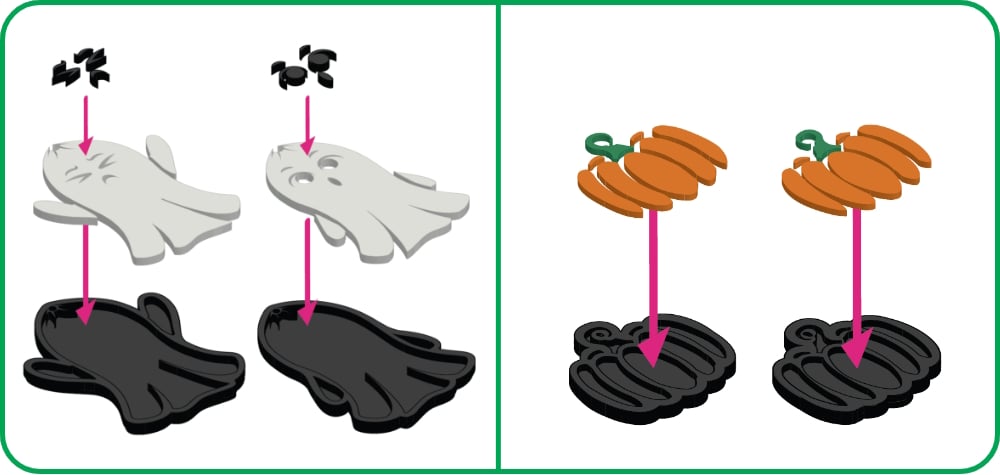
This DXF contains both earring designs. You can see below how it will appear when it is opened or imported, as outlined shapes, and also how each element looks when the correct material colours are applied. This can help visualise what each part is.
The black “outline” pieces and the coloured panels are all made from 3mm thick Value Acrylic, and the full outline piece at the bottom of each design is a base panel made from 1mm thick black HIPS. This base is light and thin, ensuring there is something to anchor the design onto without adding much weight.
Step 2 – Laser cut the designs.
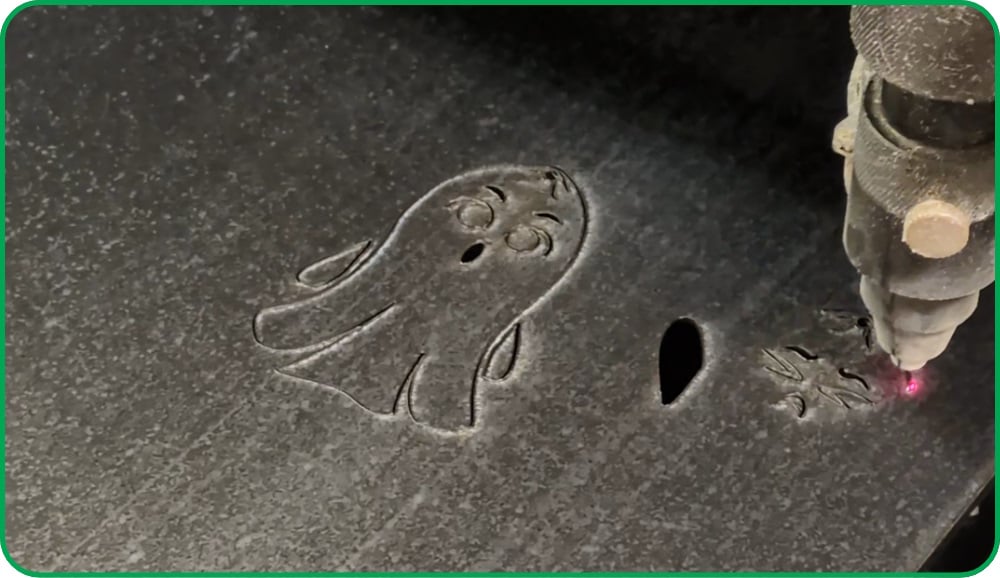
Cut the designs out! There are some very fine pieces here, for instance, the tip of the green pumpkin stem section, so you may need to edit the design or fine-tune the settings on your laser cutter to make it possible to cut this out.
NOTE: Many of the pieces are similar but not the same between the earrings in each set, so make sure to pay attention to which panel belong to which earring, and perhaps store each earring’s pieces separately.
Step 3 – Glue the black outline onto the black HIPS base layer.
Use superglue sparingly to affix everything together, so as not to cause frosting or glue residue on the visible outer of the earring. Doing this step first will make it easier to place the coloured panels afterwards.
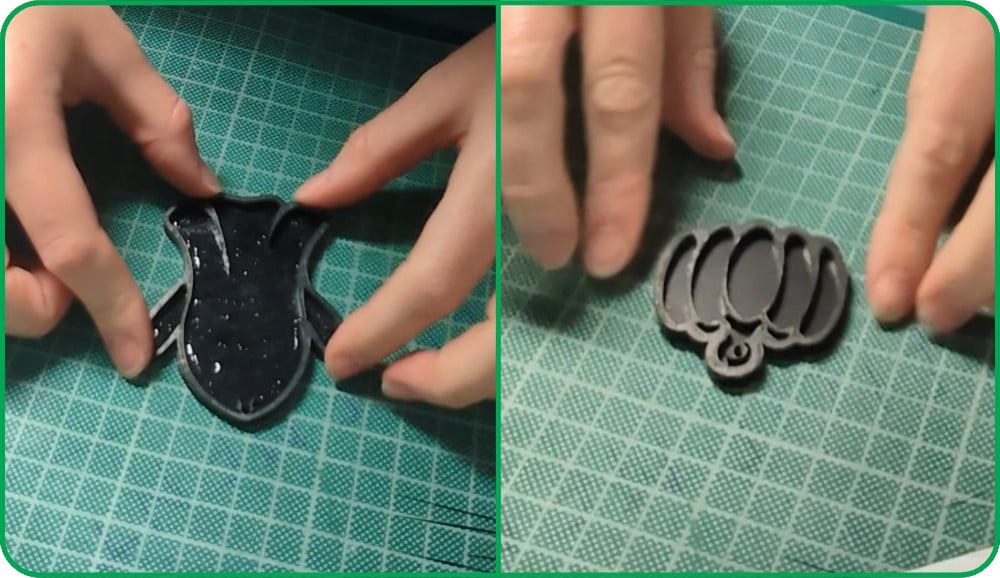
Step 4 – Glue in the coloured panels.
Affix the coloured panels inside the gaps in the black outline to finish the design, being careful not to get glue on the top of the acrylic.
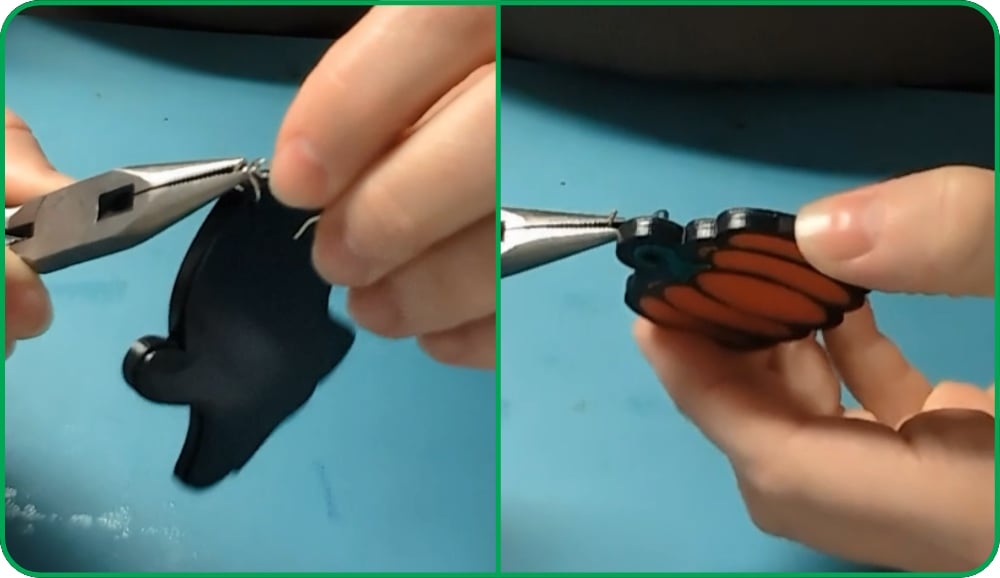
Step 5 – Attach your earring hardware.
We grabbed some low-cost earring hooks and a set of jump rings in a matching colour. You’ll need jump rings with a 10mm diameter to fit around the large cross-section of the layered design, though you could design something thinner depending on the thickness of material you use and how many layers your design requires.
It can also help for the hole that the jump ring feeds through to be closer to the edge, though this could compromise the top of the design and make it easier to break.
Step 6 – You’re done!
Whether you’ve created earrings with these designs as we have, or used them for keyrings or decorations, you can now brighten yourself or your space this Halloween!