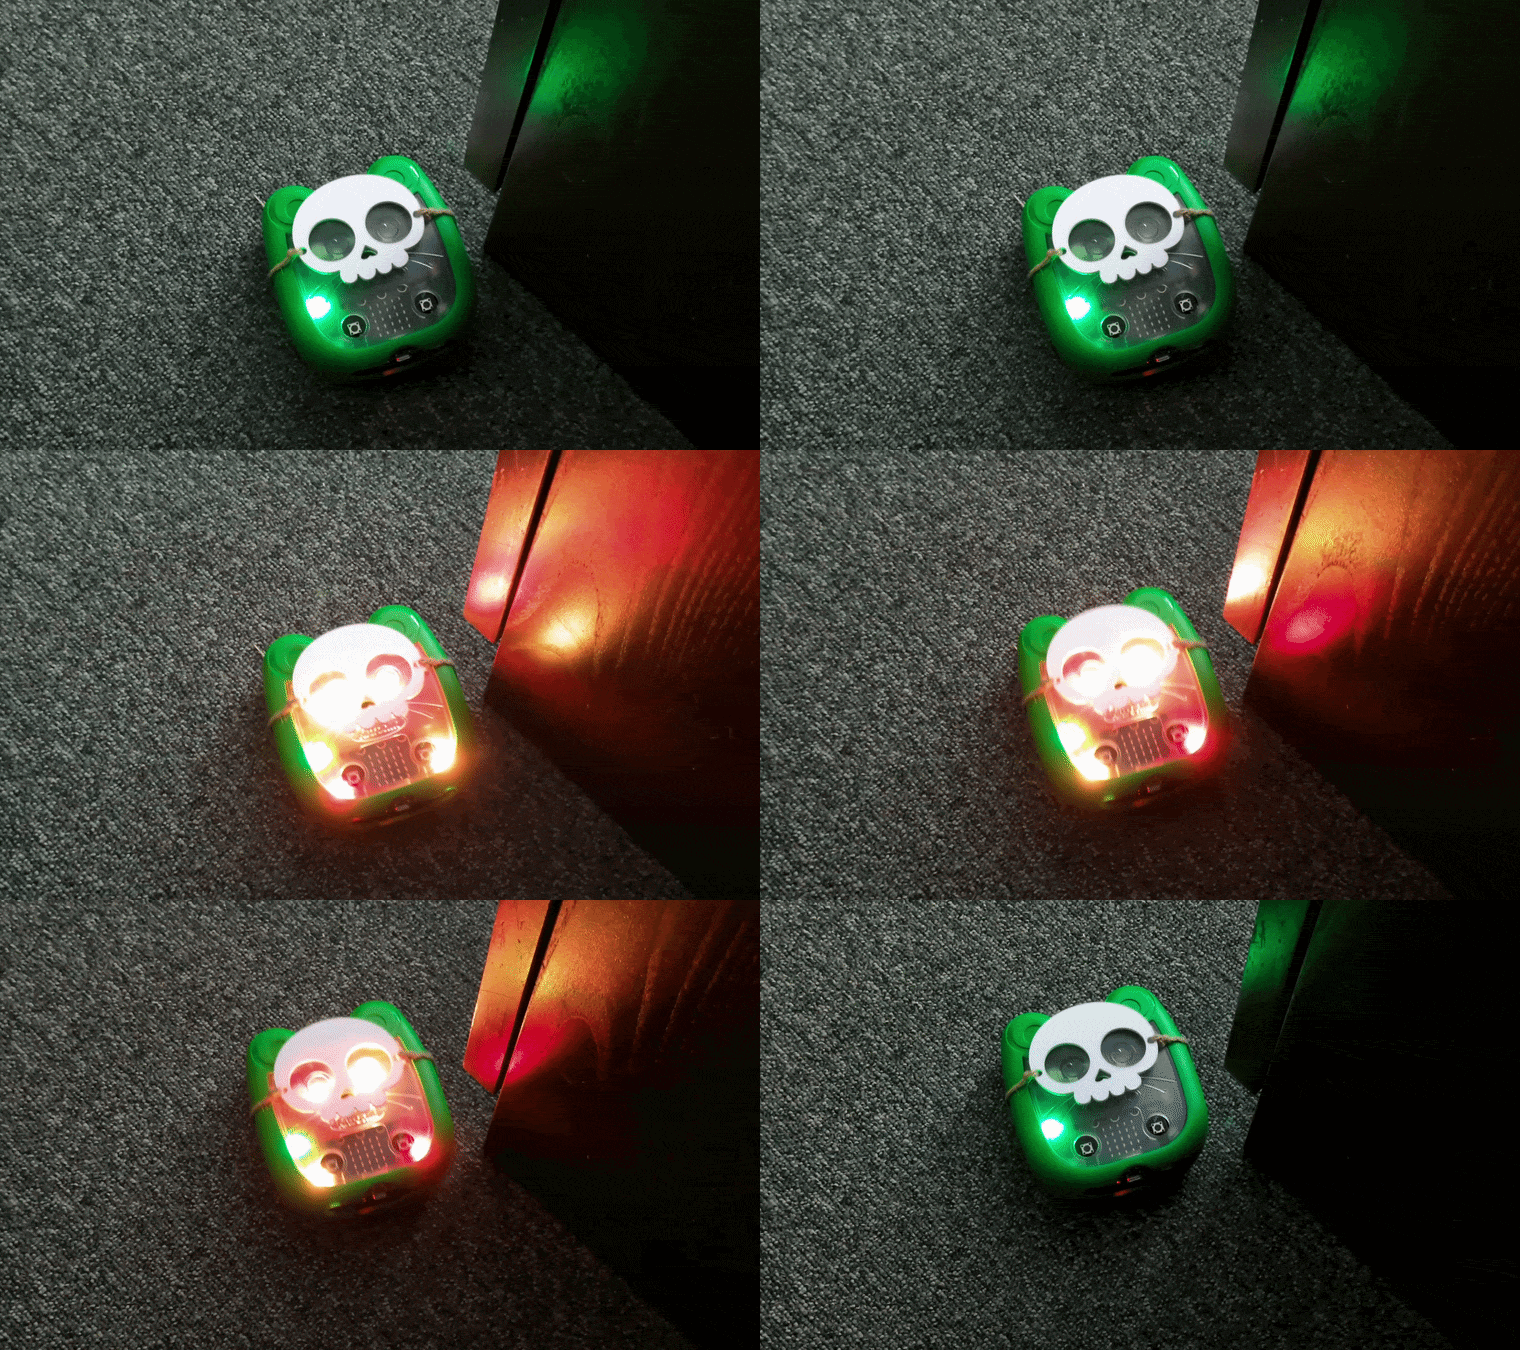
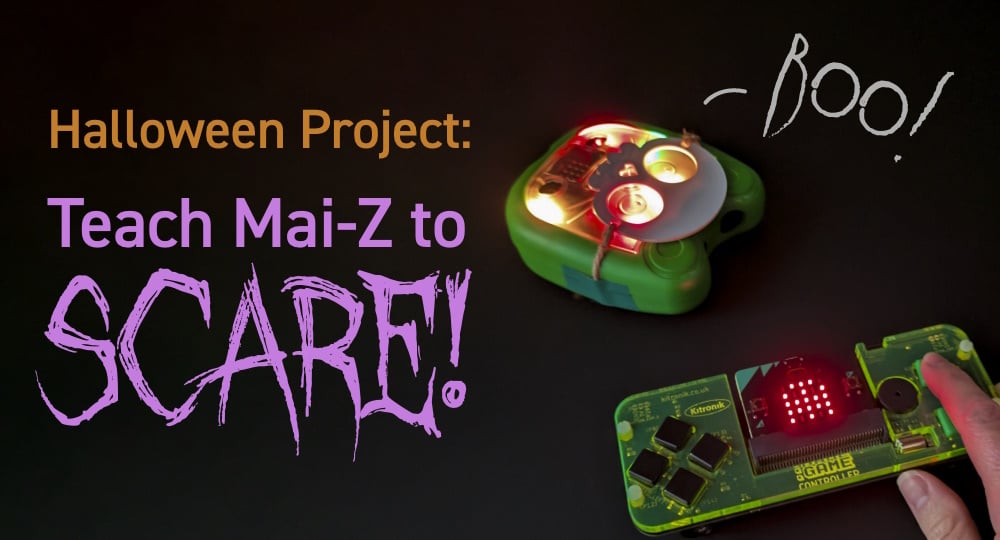
This Halloween, celebrate the changing of the leaves and the lengthening of the nights by teaching your trusty Mai-Z the MouseBot how to scare!
This is a simple addition to a regular remote-controlled Mai-Z setup, using a :GAME controller and with the terrifyingly cute addition of one of the masks we made last year, when we taught two Mai-Zs to sing Danse Macabre together.
Read Emma’s step-by-step instructions to find out how to code this project!
What did we use?
- 1 x Mai-Z The MouseBot (56130)
- 1 x :GAME controller (5644)
- 2 x Mai-Z The MouseBot“>micro:bits (56100)
- 2 x AA Batteries (2207-04)
- Our 2025 Mai-Z Halloween blog
- MakeCode Editor for mciro:bit.
Optional: Make Mai-Z a Halloween Mask!
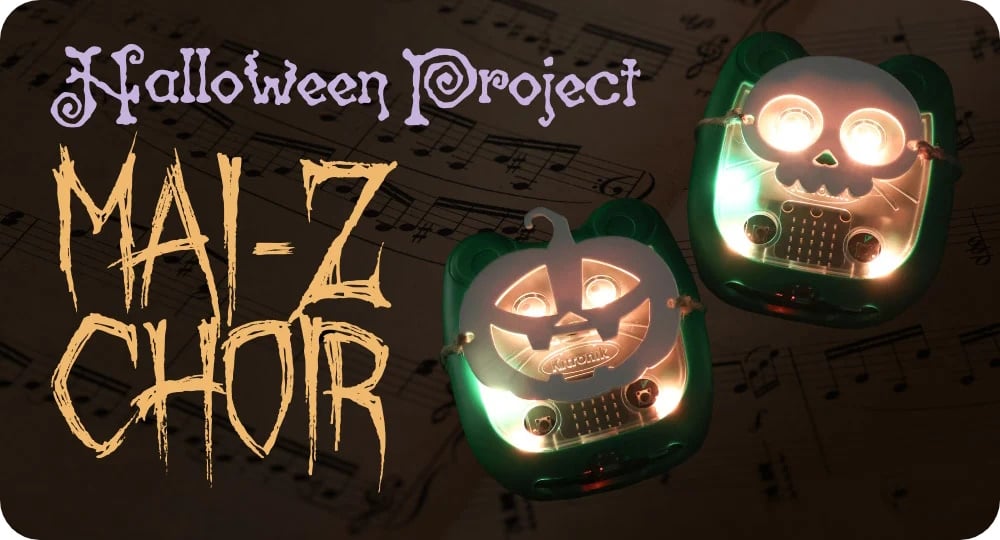
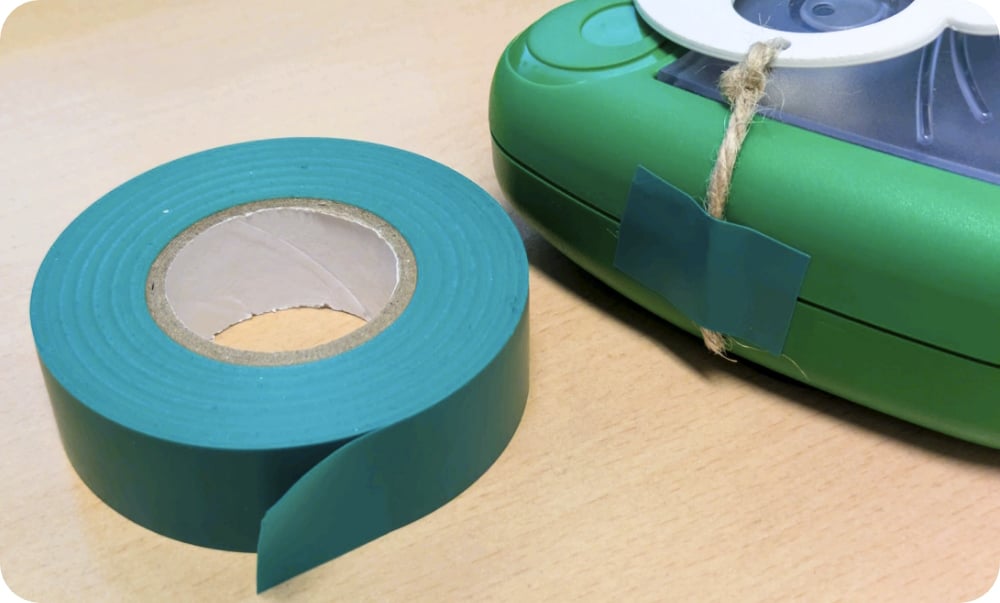
Read our 2025 Mai-Z Halloween blog to find the mask design files for free! When using the mask while Mai-Z is moving, we found we had to cut off the back of the string so that it didn’t cause friction or stop the wheels from touching the floor.
You can also take some inspiration – you could have your Mai-Z scare sound spookily melodic like these two!
Step 1 – Add the :GAME Controller Extension in MakeCode
Head over to MakeCode and begin a new project.
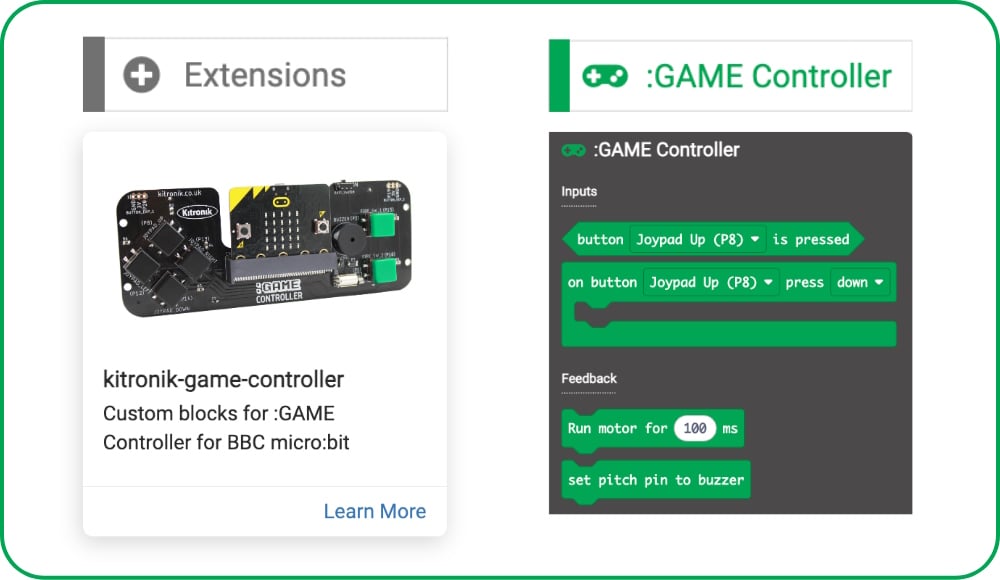
Click on the “Extension” Tab on the MakeCode editor sidebar and, then search for “kitronik-game-controller”. Click on the extension shown in the image below, and you should see the extension appear.
Step 2 – Code your :GAME Controller
The micro:bit in the controller will turn the button inputs into radio signals.
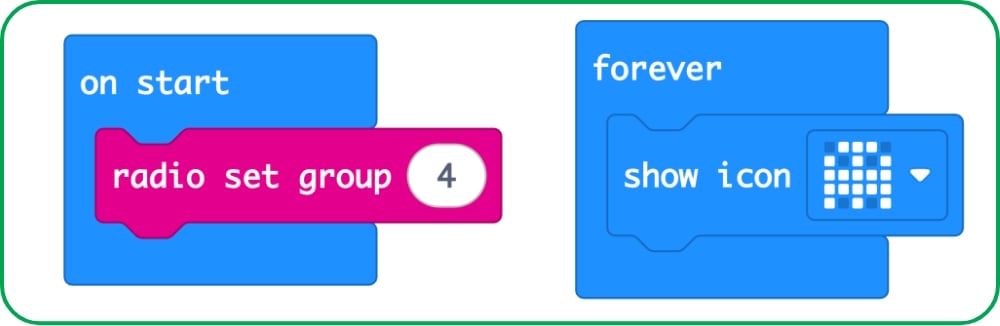
First, you’ll want to set the radio group. You can pick any number, but if completing this project alongside others also using radio, it will be useful for everyone to use a different number, so you don’t end up accidentally driving one another’s Mai-Zs!
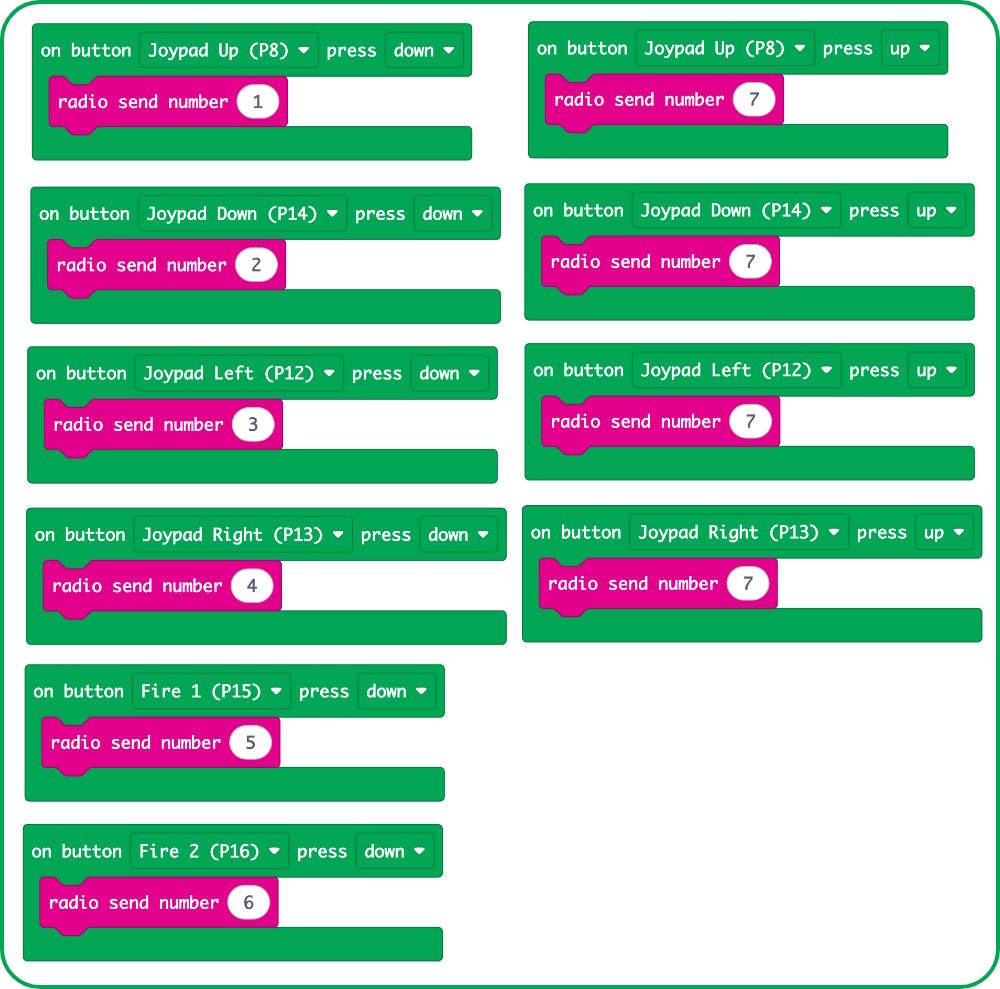
Afterwards, using the “radio send number” block inside “on button” blocks as shown, assign a number to each button. This will allow us to tell Mai-Z to perform an action based on the number that the micro:bit receives.
You’ll notice we’ve also assigned the number seven to the “press up” action for each directional button, which ensures we can code Mai-Z’s micro:bit to respond to a button being released by stopping movement.
Download the controller code in the embedded MakeCode window below!
Step 3 – Add the Mai-Z Extension in a new project.
Begin a second project for the code on Mai-Z’s micro:bit.
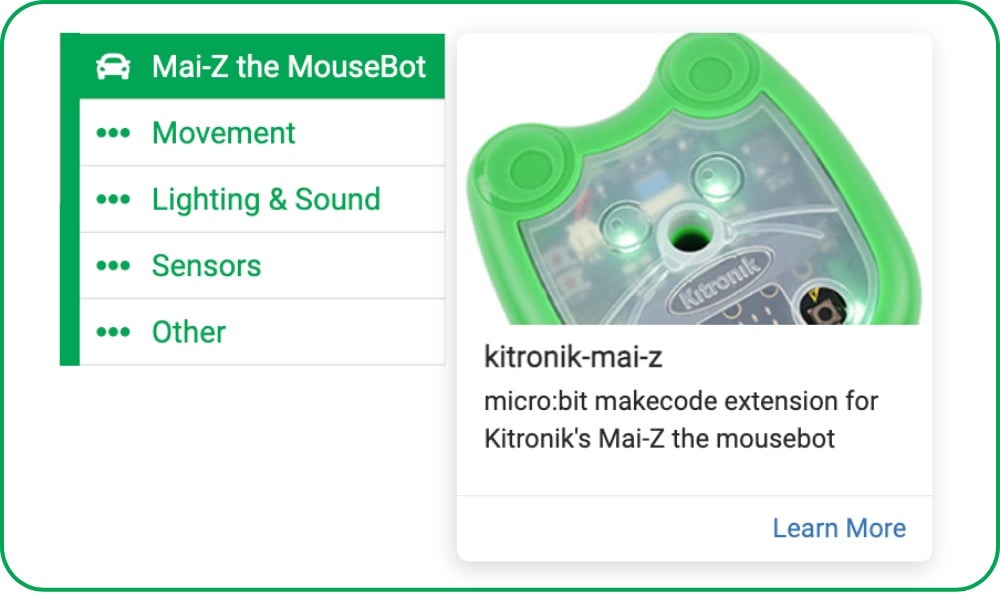
Like with the Controller, you’ll want to click the “Extensions” tab, and then search for the extension “kitronik-mai-z” and select the one pictured below.
Step 4 – Code your Mai-Z
Now we need to code the second micro:bit as the receiver. The code below shows how this is done.
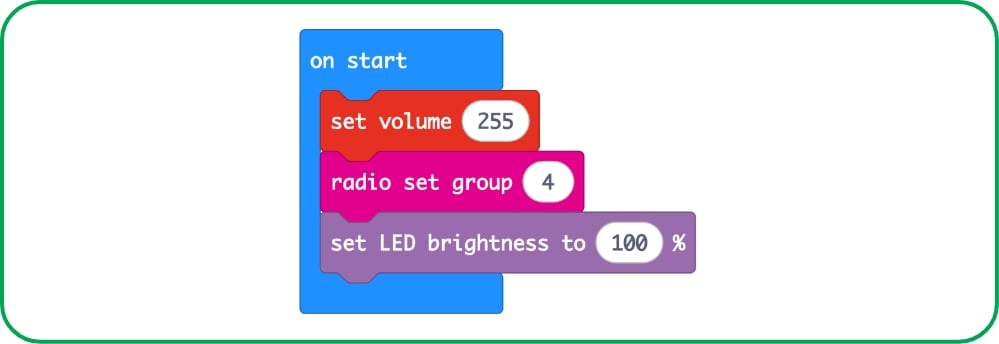
On start, set the radio group to the same number used in the controller. Also set the volume and LED brightness – loud and bright makes for a good scare, but remember to be mindful and respectful of those around you!
Then we want to define what Mai-Z will do when each number sent by the first micro:bit is received by the second. Within an “on radio received” block from the “radio” tab, use an “if/else” block to list what you want Mai-Z to do when each number is received.
Remember to refer back to your controller code to make sure you assign the correct button to the correct movement!
We’ll start with the directional movement. Go into the Mai-Z extension tab to find your movement blocks. For us, the number 1 is assigned to “Joypad Up”, so we used the “move” block to assign a continuous forward movement at 50% speed to the up button. Repeat this with the left, right and down directional buttons.
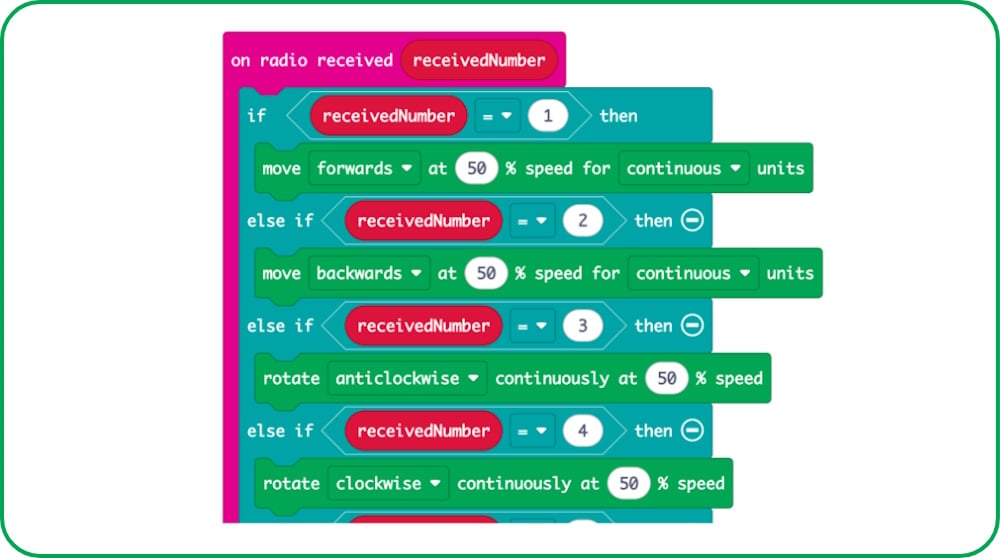
Now, to add the scares. This will be done using one of the action buttons. We left the second button controlling the horn, but you could make an additional scare for this one too, or use the music blocks to sequence Mai-Z a spooky novelty horn!
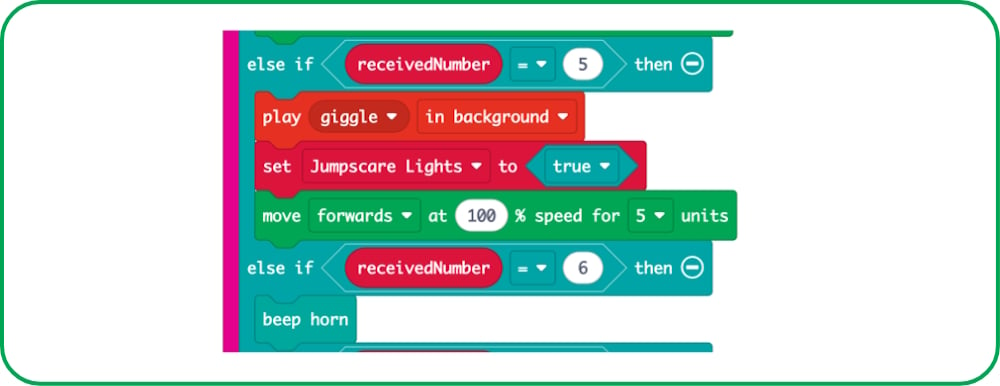
So we’ve used the move block to have Mai-Z jump forwards at 100% speed for 5 units, and the “play” block to make Mai-Z giggle once in the background as a playful scare, but you’ll also notice we’ve used a “set variable” block. So, how did we make the “Jumpscare Lights” variable?
As you can see below, it’s a simple “if” statement. If the variable is set to true, then we repeat an alternating series of red and orange lights twice with a “repeat” block and the “set LED” block from the Mai-Z extension. Then, after the repeat block, we make sure to set the LEDs to black to turn them off, and finally set the variable to false.
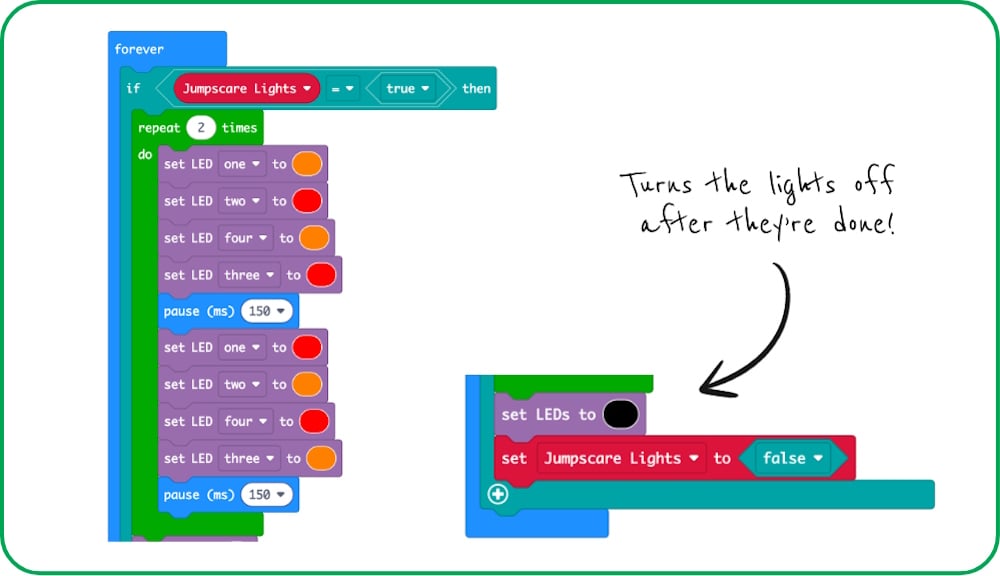
Download the controller code in the embedded MakeCode window below!
Step 5 – You’re Finished!
Now pop the micro:bits in your controller and Mai-Z, drive her to a hidden spot, and then push the action button to execute your jump scare!