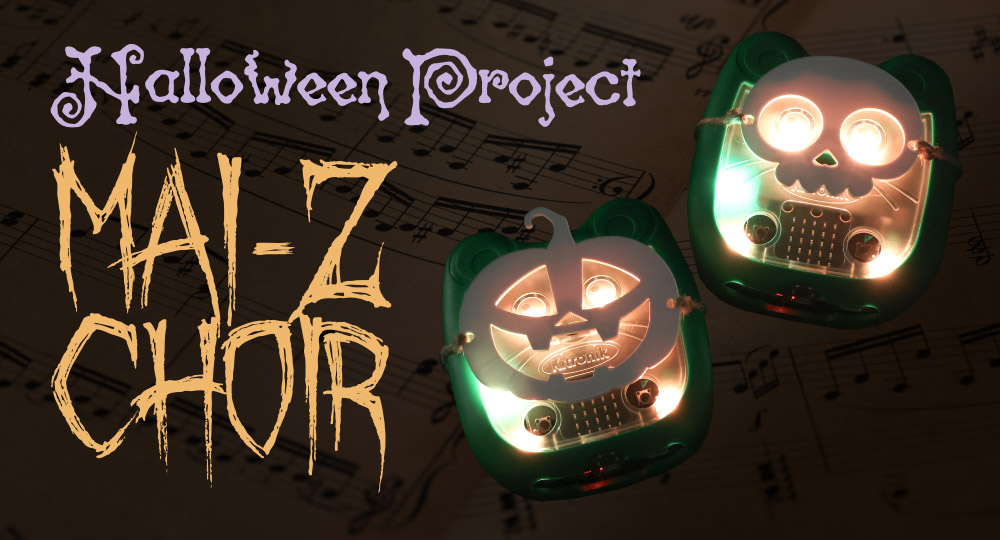
Mai-Z the MouseBot, our newest robot, loves to get a little spooky! We’ve made two cute Mai-Z sized masks, and coded up three micro:bits to have them sing together when the A button is pressed on a remote micro:bit.
Read on to find out firstly how Emma made the masks, and secondly how to code the music onto the micro:bits!
What did we use?
- These design files, for the shape of the masks.
- HIPS (Optional).
- A Laser Cutter (Optional).
- String or Ribbon to tie the mask on.
- Code Examples, or download them from the embedded editors below.
- Two Mai-Zs.
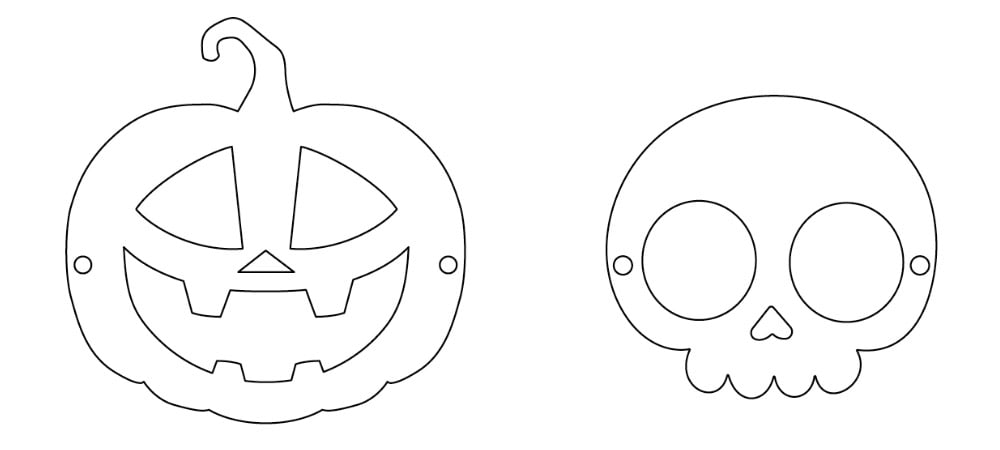
Step 1: Cut out the masks
Using the files above, cut out the masks. Either use the DXF for a CAD option, or use the PDF and print it out to use as a stencil.
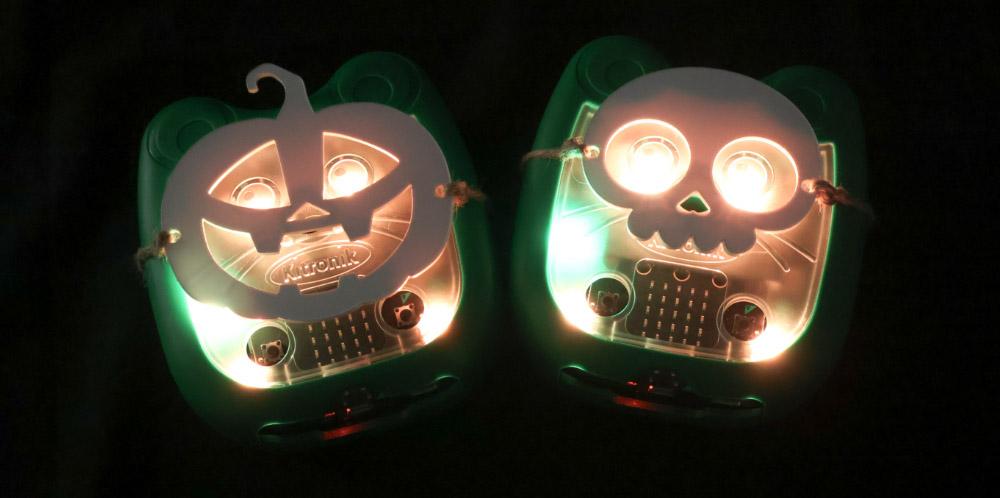
Step 2: Tie the masks to the Mai-Zs
Using string, twine, yarn, ribbon, or something similar, use the holes in the sides of the masks to tie them around the Mai-Zs – like you would with a normal mask.
Coding the Choir
We will be coding three micro:bits in order to make the choir. Two will sing and control the LEDs on the Mai-Zs, and one will be a remote control that will start both the others singing at once when the A button is pressed.
What did we use?
- The Mai-Zs with Halloween Masks.
- Three micro:bits (56100).
- micro:bit-compatible Battery Cage (2271).
- 2 x AA Batteries (2246).
micro:bit 1 – The Remote Control
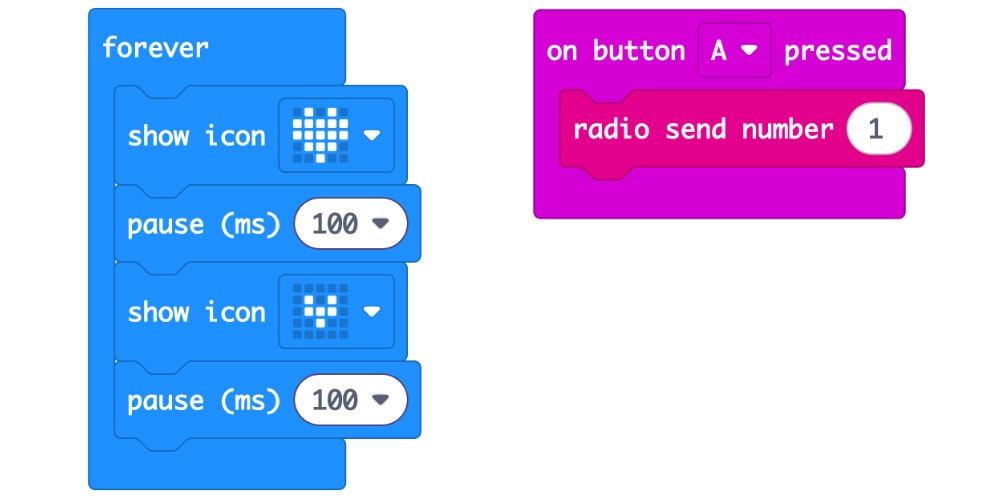
To begin, we will be putting an incredibly simple piece of code on the micro:bit we’re using as the remote control. This will simply use the radio to send the number 1, when button A is pressed.
Additionally, we have set the LEDs to show an animated heart symbol, just to indicate that the micro:bit is powered when we plug in the battery pack.
micro:bit 2 – The Violin Lead
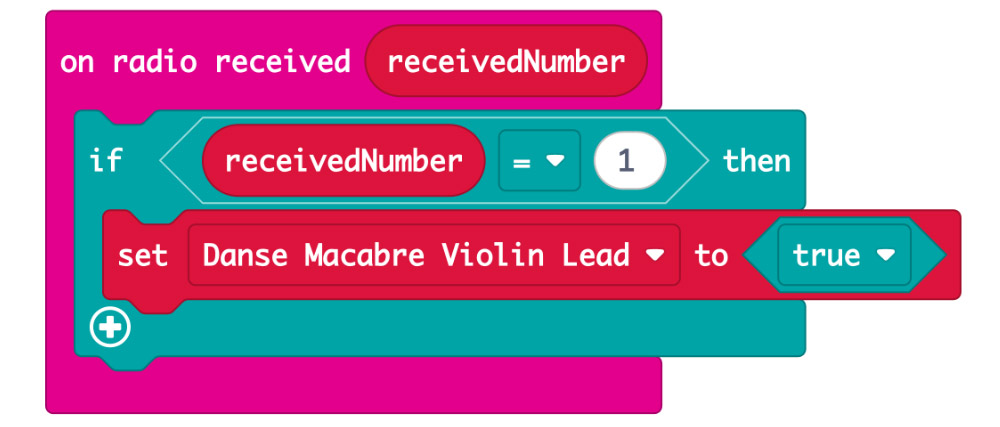
When plugged into one of the Mai-Zs, this micro:bit will play the melody when it receives via radio the number 1 from the remote control micro:bit, and it will also control the orange LEDs to flicker like candles.
The code begins with an if statement, setting the variable for the violin lead to true if this micro:bit receives the number 1 from the remote control micro:bit.
Then after this, inside a forever block, set the volume, tempo, and then define the variable by sequencing the song using the music blocks inside an if statement. At the end of the song, make sure to set the variable to false so that the music stops playing.
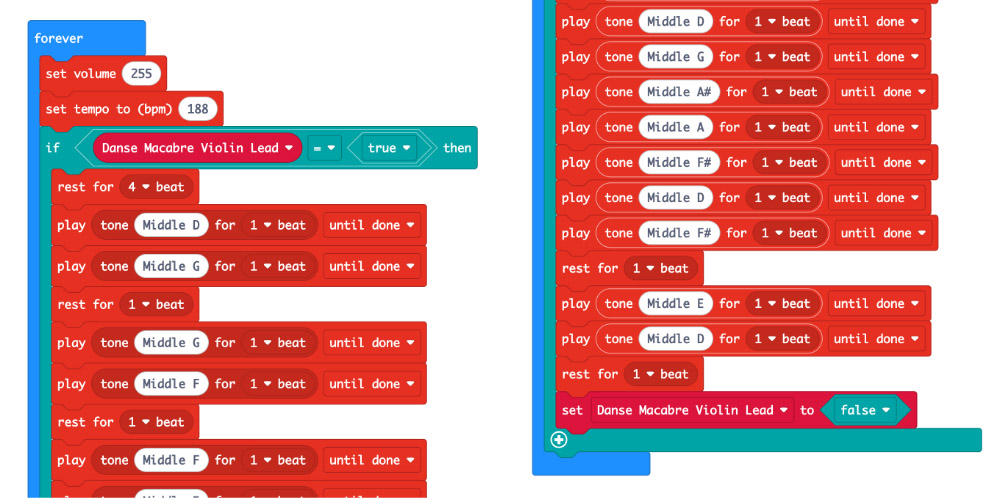
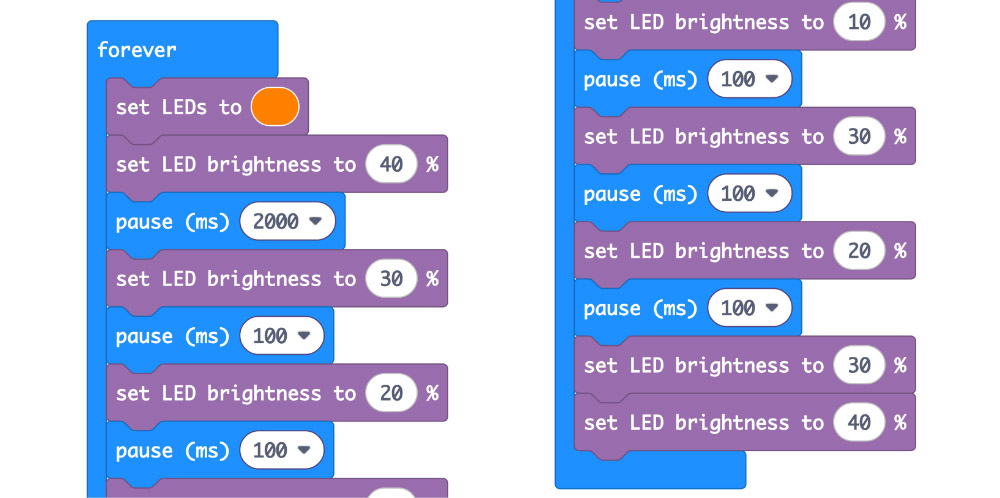
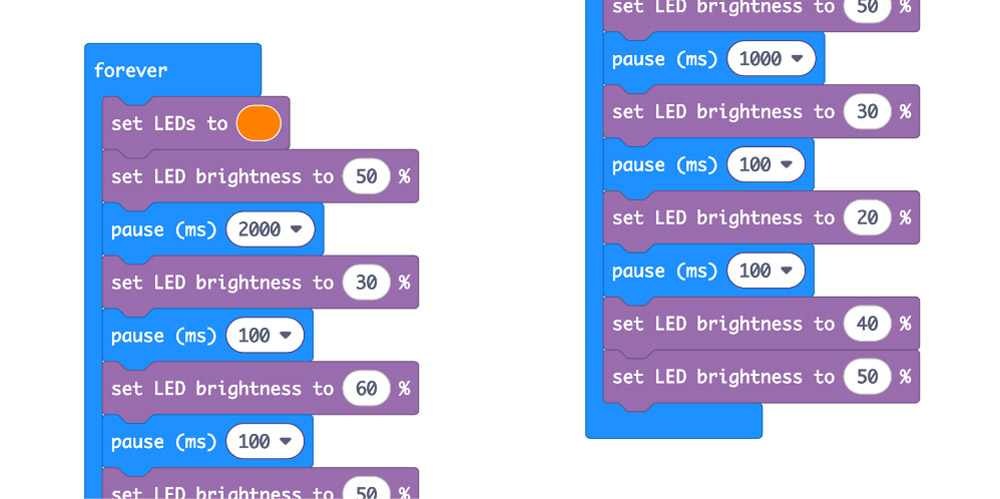
Lastly, we’re making the LEDs flicker orange like candles.
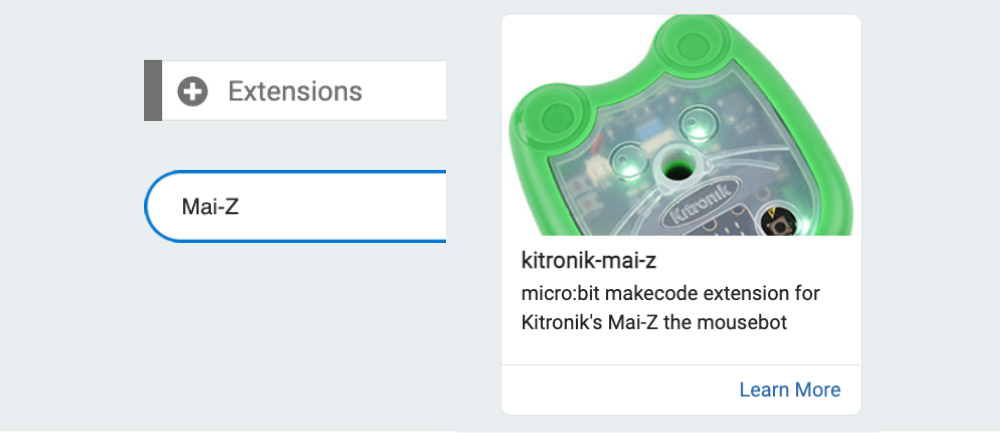
In order to import the custom Mai-Z blocks, press the “Extensions” tab in the code editor, type “Mai-Z” into the search bar, and click on the “kitronik-mai-z” extension.
Using the custom Mai-Z blocks, vary the LED brightness, and pause for different amounts of time in between.
micro:bit 3 – The Accompaniment
When plugged into one of the Mai-Zs, this micro:bit will play the accompaniment upon receiving the number 1 from the remote control micro:bit, and will also make the LEDs flicker orange.
The code begins with the same if statement, setting the variable for the chords to true if this micro:bit receives the number 1 from the remote control micro:bit.
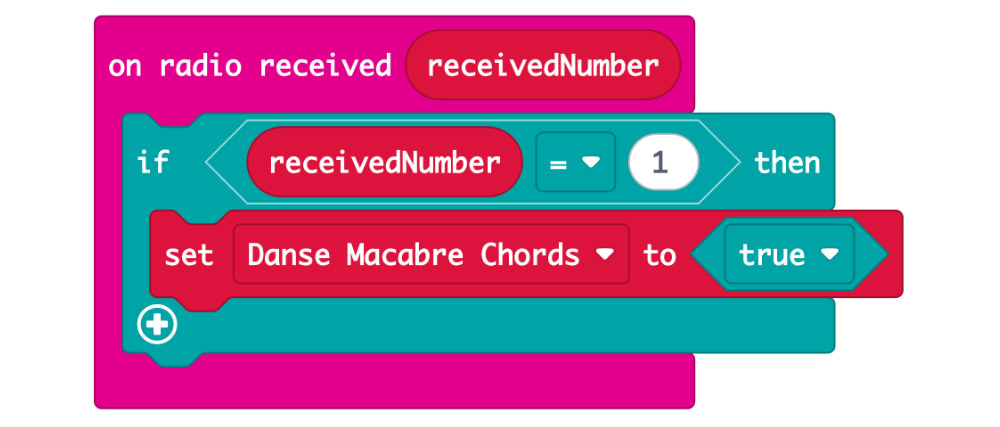
Then, in the same way we did for the melody, we define the variable in a forever block and set the volume and tempo.

Finally, a slightly altered flickering candle sequence is included.