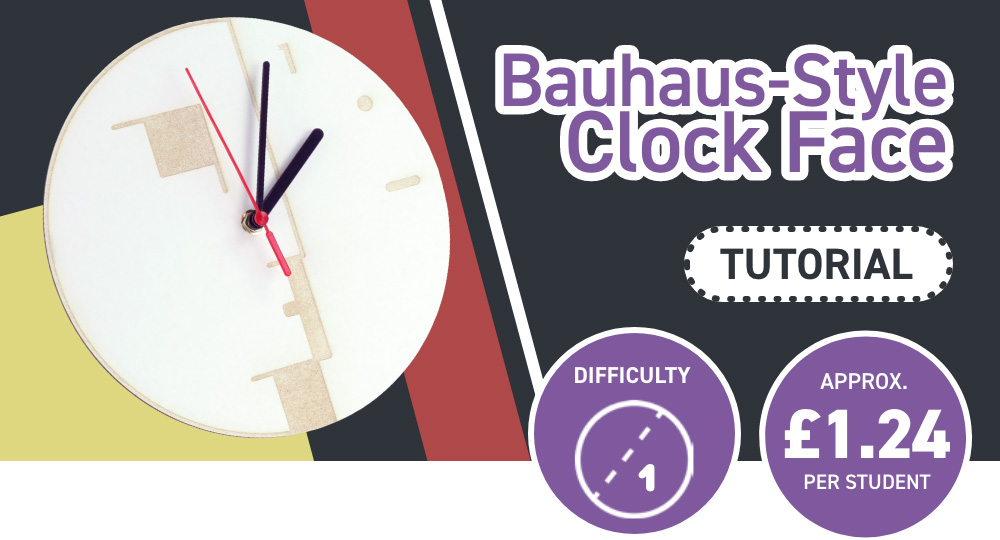
The Bauhaus art movement began as a school in Weimar, Germany founded by Architect Walter Gropius. From that school sprang an art movement whose influence is still visible in the current day. Their design philosophy balances form and function, with most Bauhaus design appearing to us today as a very recognisable kind of sleek modernism. Drawing from this, we’ve designed some simple, sleek clock faces drawing on their design principles.
You can absolutely use these directly, or edit them, but we strongly encourage that you do your own research into the Bauhaus, and the people who taught and learned there, and try your own hand at designing something using their work as an influence.This blog was was written by Emma and is one of the 6 included projects in the Book of Projects Volume 5.
This make covers:

What did we use?
- Finnboard Laser Craft Card (32186)
- Short Spindle Clock Movement (2810-01)
- A Laser Cutter
- This DXF design file.
Note:
- *Price per student calculated based on using one Short Spindle Clock Movement, and 1/12 of a sheet
of 1000mm x 700mm Finnboard. - The price may fluctuate slightly over time but was correct at the time of printing.

Step 1 – Check out the design files.
This DXF contains the design for this project. The diagram below shows you how to
work with the file.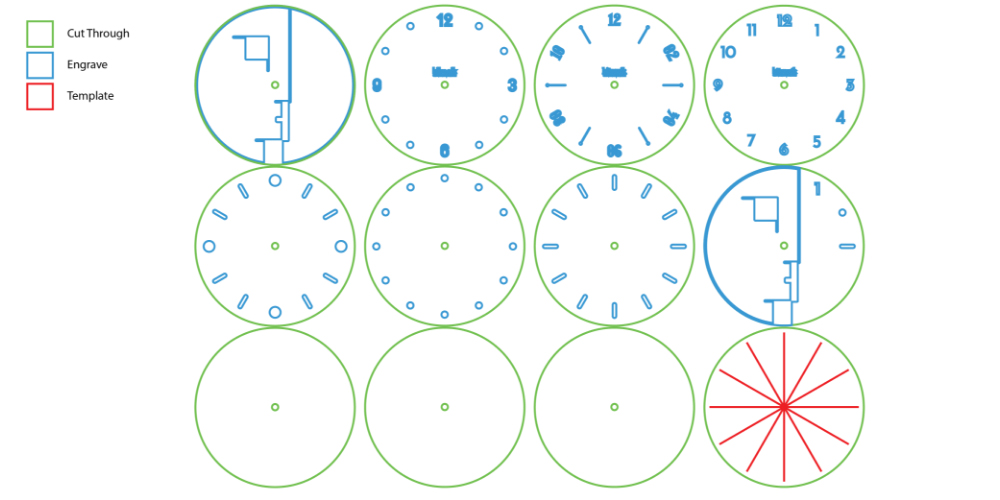
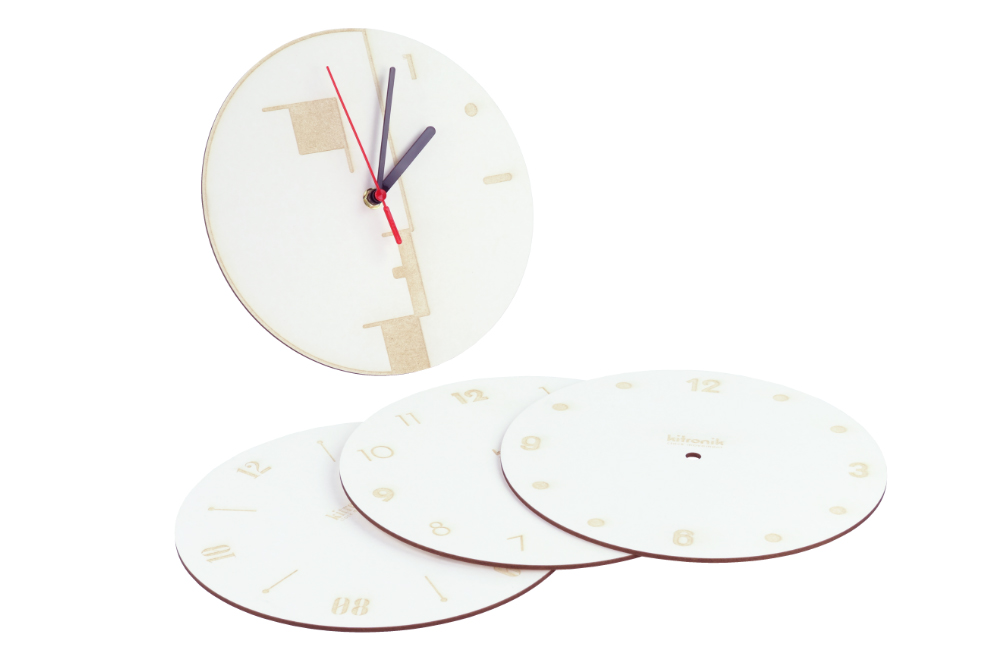
This design is supplied with multiple versions, and as demonstrated you can fit twelve Clock faces onto a single sheet of 1000 x 700mm Finnboard. The blue lines should be engraved, and then after that the green lines should be cut through all the way. The red lines are a template, indicating the correct division of the clock face for the placement of the numbers. The angle between each radius is 30°.
Step 2 – Laser cut the clock face.
We used laser cutting and engraving, however you could pre-cut finnboard clock faces or purchase our pre-made MDF clock faces. You could use both as a base and apply More traditional art media on top to create the designs, such as collage, painting, or given that Finnboard is a paper surface, even sketching and inking.
Step 3 – Screw on the Clock Movement.
Our clock movements are super easy to use. All you need to do is push the spindle through the hole in the middle, drop on the washer, and then the nut screws on over the top. Don’t screw it on too tightly – you’ll want to leave enough slack there so that you can make sure the top of the clock movement with the hanger points to twelve. Then, push the hands on. The thicker hour hand first, then the slimmer minute hand, and then the red second hand. These will push neatly onto the end of the spindle, and it does not matter which way they are facing – you can set the time later!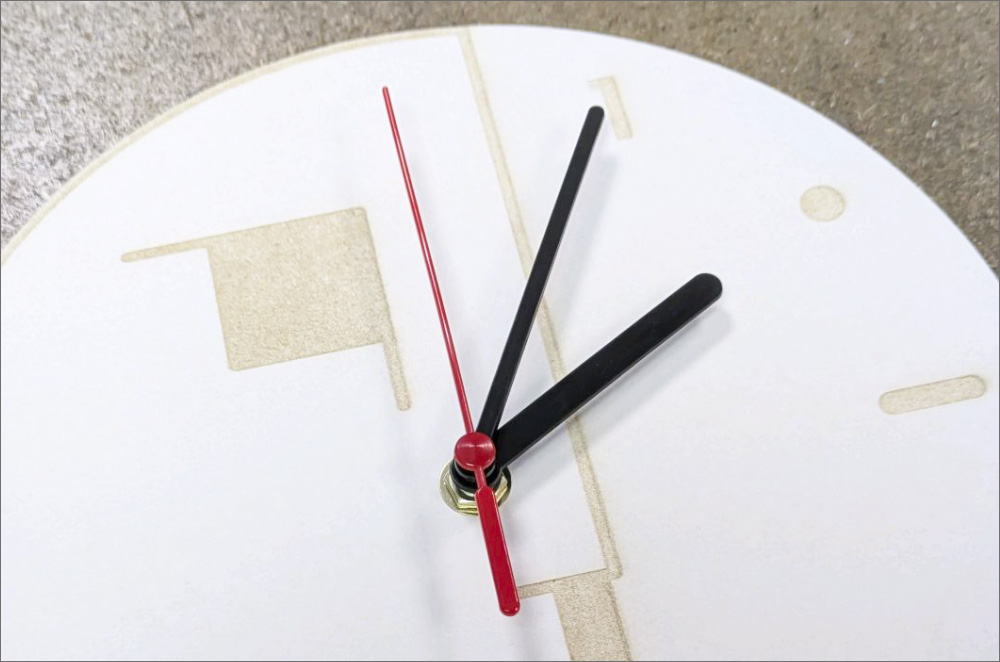
Step 4 – You’re finished!
Add one AA battery into the clock movement, set the time as you would for any other clock, and find a nice space to hang it!