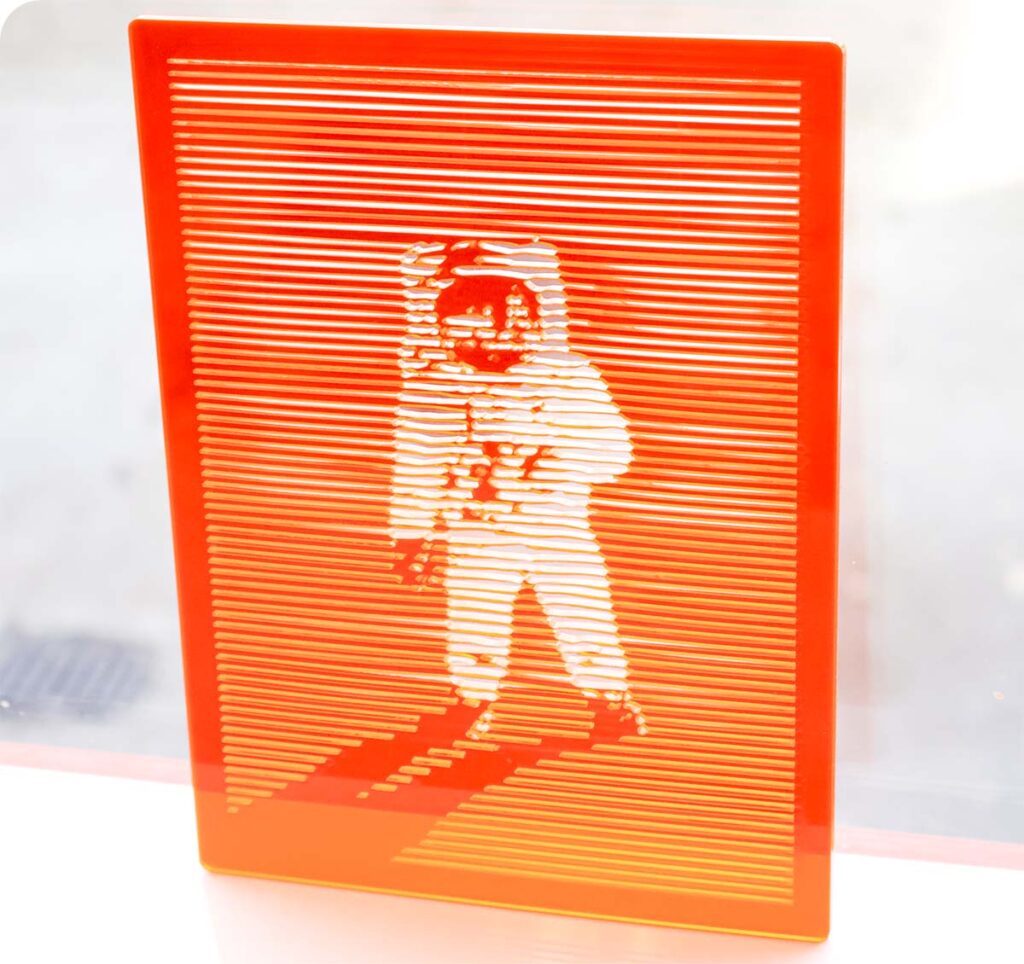
In this make, Emma shows you how to create artwork that maximises the glowing effect of a fluorescent acrylic! These acrylics boast a futuristic glow on their edges, and therefore creating more edges within the design is a great way to maximise this!
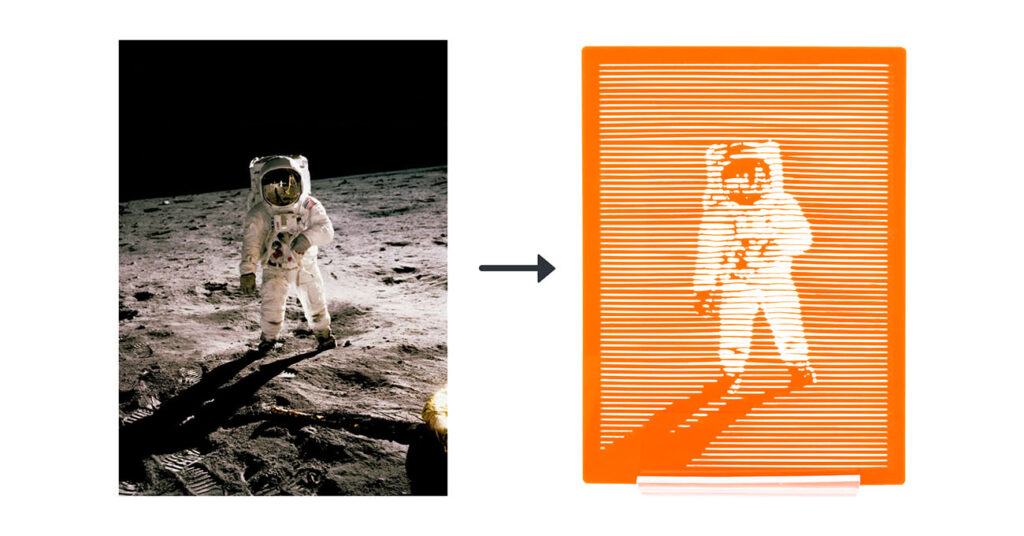
The design we have chosen is a photo from the Apollo 11 mission, owned by NASA and taken by Neil Armstrong, depicting Buzz Aldrin on the surface of the moon, with the Lunar Module and Neil both reflected in his visor. This felt suitably retro-futuristic, and therefore suitable as a design choice for the fluorescent acrylic.
*Price per student calculated based on exVAT prices for 30 students, fitting 8 designs on one 600 x 400mm sheet of Fluorescent Orange Value Acrylic. Background Image by Nicolas Thomas on Unsplash.
This Make Covers:

What did we use?
- Orange Fluorescent Value Acrylic (43318)
- A Laser Cutter.
- This design DXF.
Step 1 – Choose your photo, and bring it into your photo editing software.
We’re using Photoshop, though there will be tutorials out there for doing this with other photo editing software, too.

Going forward, we used this tutorial by YouTube user @PANTERvision, who focuses on Design tutorial content, to edit the image in the simplified halftone lines style.
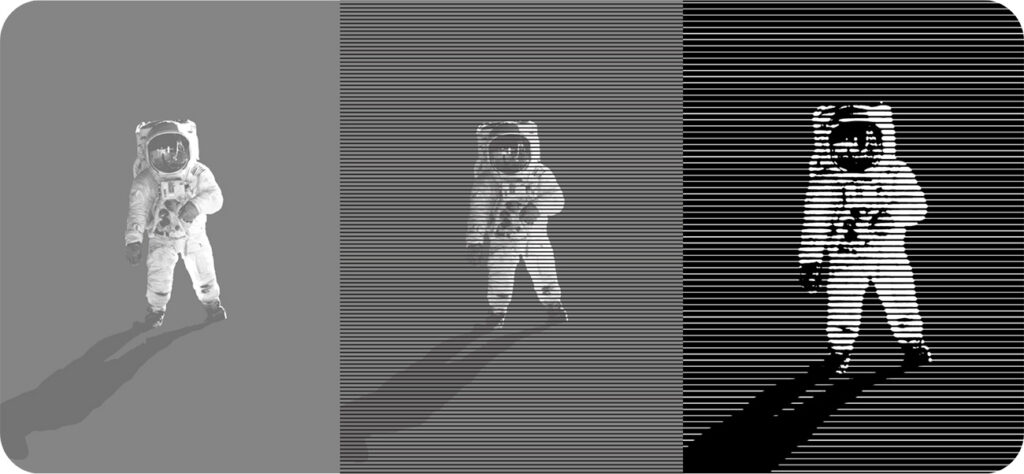
Step 2 – Edit the photo:
As stated above, we will be editing the photo into an optical illusion-style simplified design using halftone lines. Follow the tutorial linked above to edit your own!
Note that we have cut out Buzz and his shadow and applied a mid-grey to the background in order to raise the contrast, and in the final image we decided on larger black bars and a closer zoom on the subject – this simplifies the design and makes sure that it will hold up when laser cut, and there aren’t any slim lines that will be fragile.
Step 3 – Vectorise the design:
Vector illustration software such as Adobe Illustrator, Affinity, Inkscape and CorelDRAW all feature the ability to vectorise a raster image, which is critical for then exporting this design as a DXF that can then be used on a laser cutter.
We used Illustrator, and not only vectorised the image, keeping only the areas in black, but then also created a chunky border around the outside, which will provide support for the complex design in the centre.

Step 4 – Export your DXF, or download ours:
Set your design to outlines only with no fill, ungroup everything, then export it as a DXF for laser cutting!
If you’d like to use ours, then you can download it here. Have a look at the diagram of our file below!
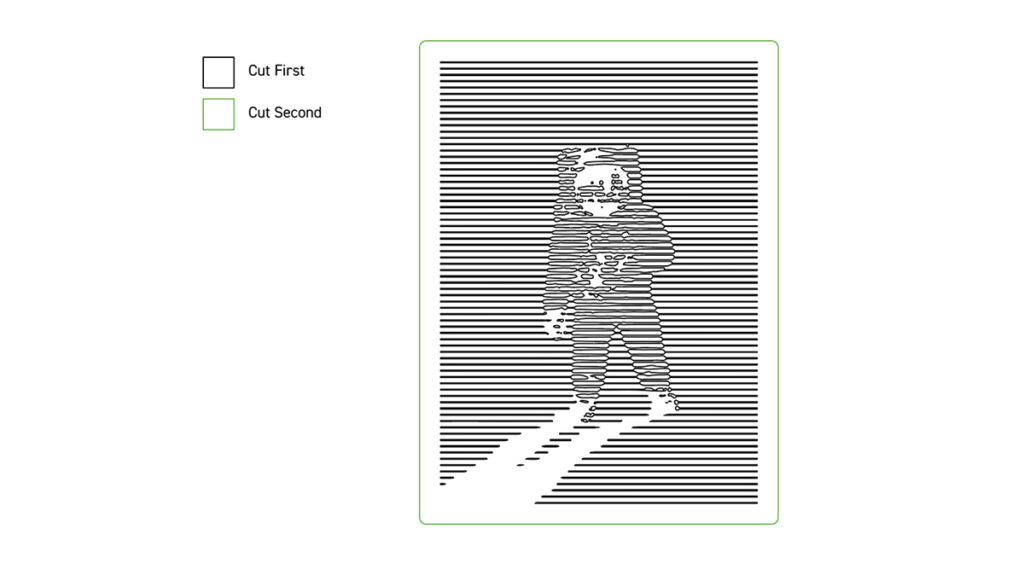
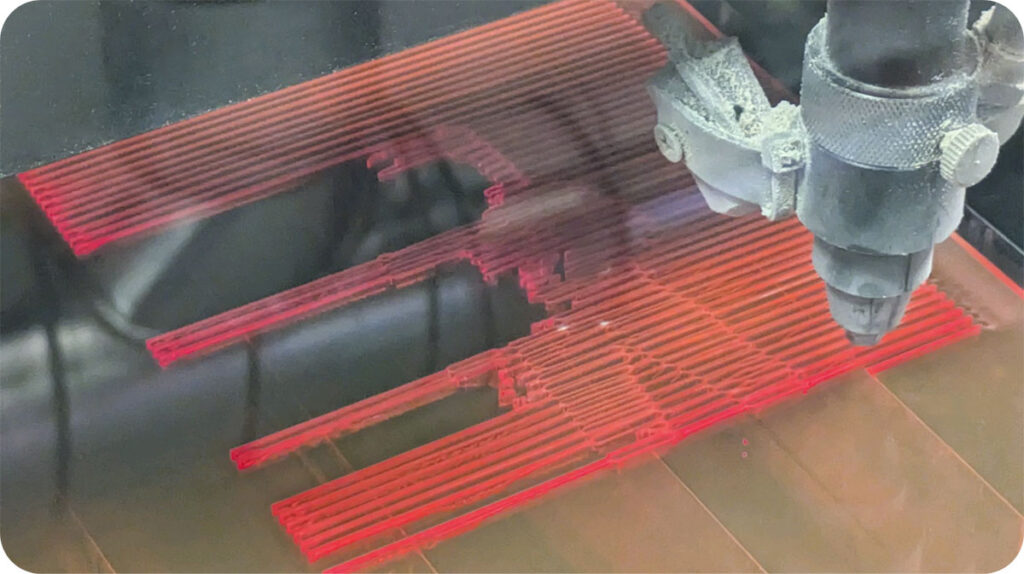
Step 5 – Laser cut the design:
As shown above, laser cut the internal design first, and then the outline to prevent any shifting. Then, you’ll want to clean it delicately.
Step 6 – You’re finished!
The edges of fluorescent acrylic glow the most under natural light, so we recommend that these designs look their most magnificent against a window, allowing sunlight to filter through!