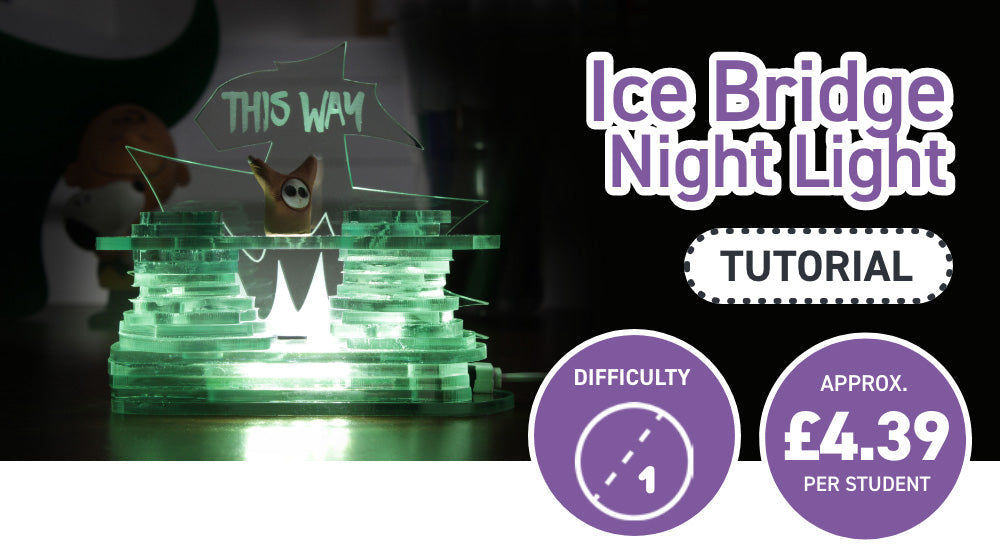
Kev shows you how to create a fun night light diorama using the Kitronik Value Acrylic Glass Look 3mm x 600mm x 400mm sheets and our USB LED Strip with Light Sensor Modules.
This Make Covers:

We Have Used:
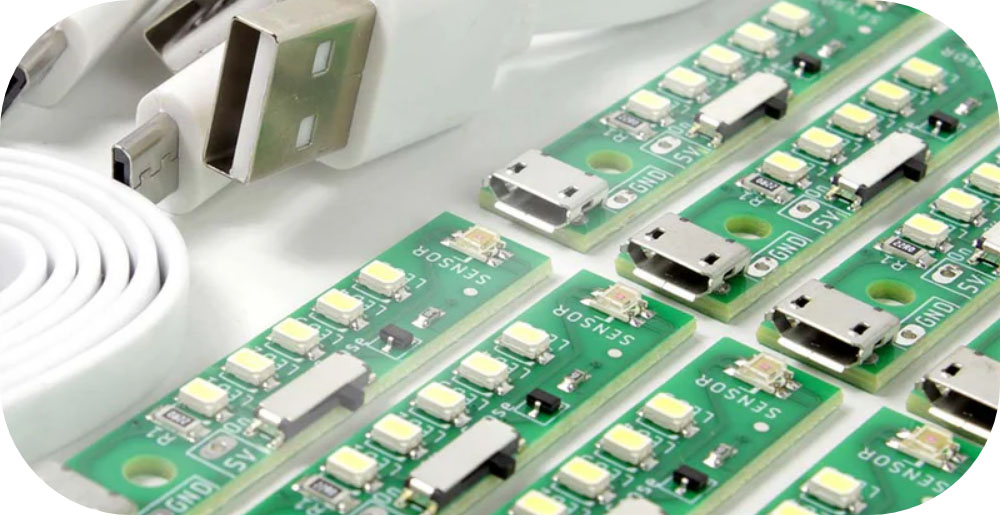
- USB LED Strip with Light Sensor & USB Leads (30 Pack) (2195)
- Glass Look Value Acrylic Sheet (43320)
- An adhesive of your choice
- This DXF.
Download our DXF Template
We have created a design which looks aesthetically pleasing and works well with the lighting strip with sensor. We have made the design to look like a tall Ice Bridge. If you’d like to save a few extra pence per design, you can reduce the number of “ice circles”.
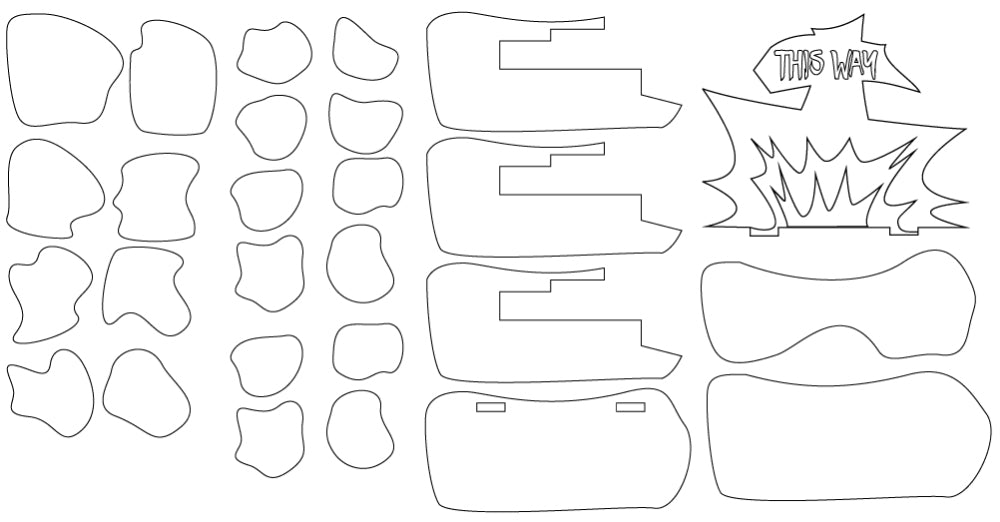
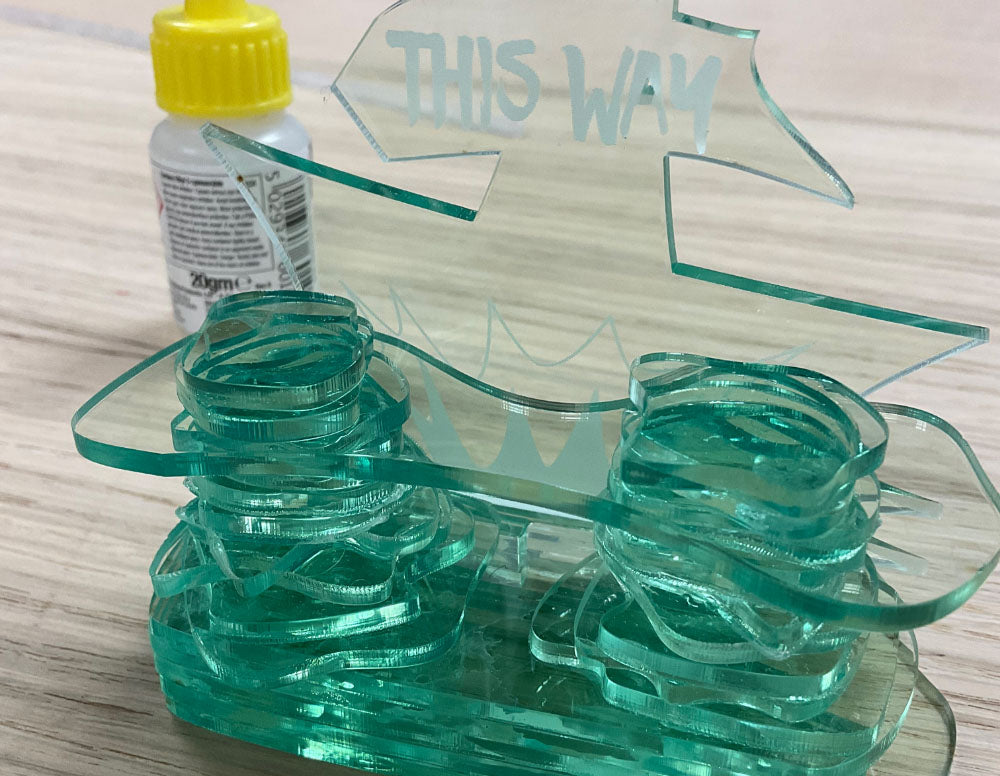
Gather Your Ice
Once cut, lay out the pieces of Glass Look acrylic in an order you’d like to glue them, for ease of making both sides together equally.
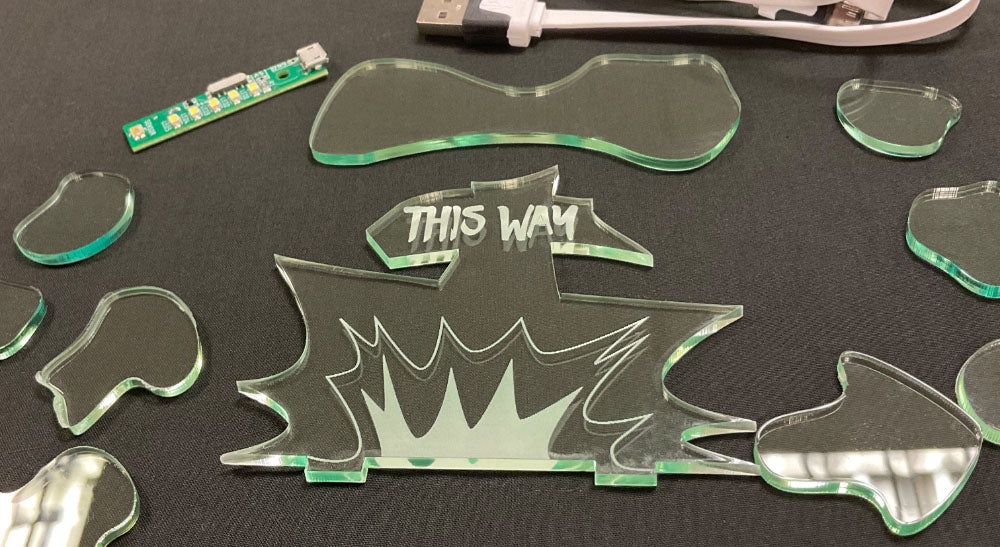
This way
Glue the 4 base pieces together using super glue or equivalent, allowing you to slide the light strip and USB connection in and out easily and push the back wall ice direction sign into place.

Building Bridges…Ice Bridges
Start glueing the ice circles in order and place the bridge on top. You can add a couple of extra circles on top to add to the aesthetic.
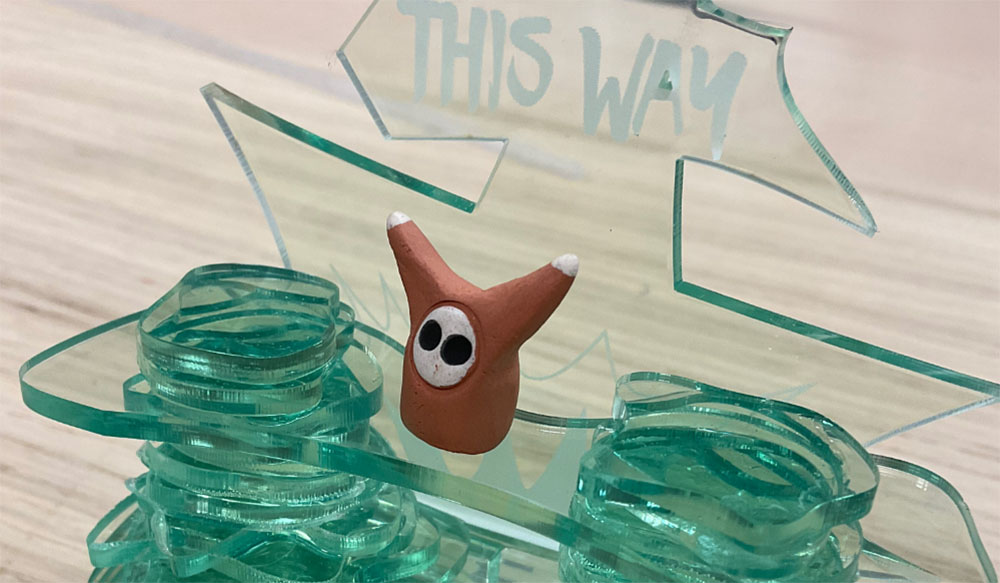
Figuring.
Place any figure/model you’d like to venture across your bridge.
Lights.
Slide the light switch to sensor and wait for the night to arrive…
