An excellent way to encourage creative thinking is by setting requirements and limitations for a project that may seem silly or nonsensical on the surface. This could mean including an outlandish colour or shape requirement in a project brief, setting an extremely limited time frame, or building around a small and uncommonly shaped LED kit like this one!
This make Covers:

We Have Used:
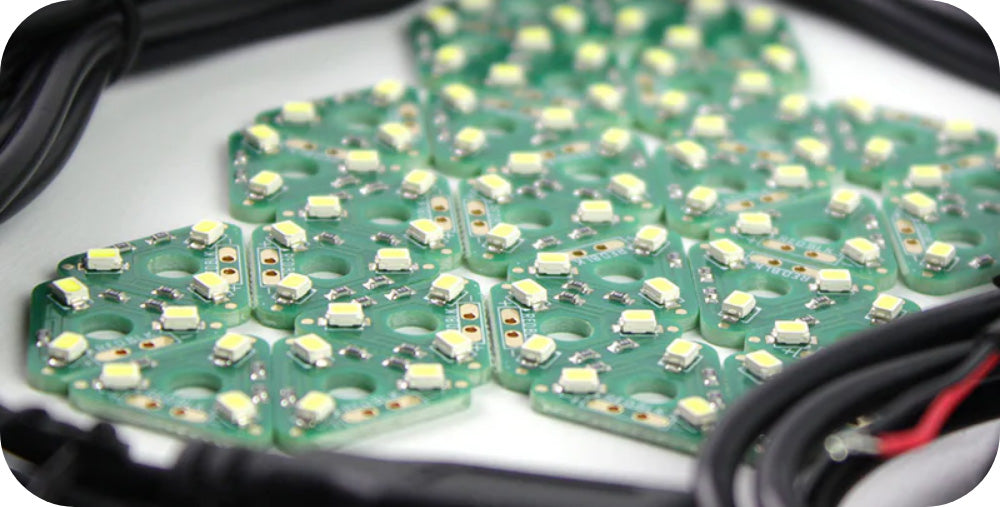
- Mini LED Lamp Modules and USB Power Leads (30 Pack) (2189)
- White Value Acrylic (600mm x 400mm)
- Yellow Value Acrylic (600mm x 400mm)
- 3 x 8mm Plastic Spacers (2306)
- 6 x 6mm Pan Head Screws (2309)
- 1 x 8mm Countersunk Screw (2334)
- 1 x M3 Hex Nut (2315)
- This DXF.
Design your Lamp!
For this sort of project, it benefits to look at how the PCB can be mounted as one of the first steps. This could inform the shape of everything around it if you need to use a particular type of screw, for instance.
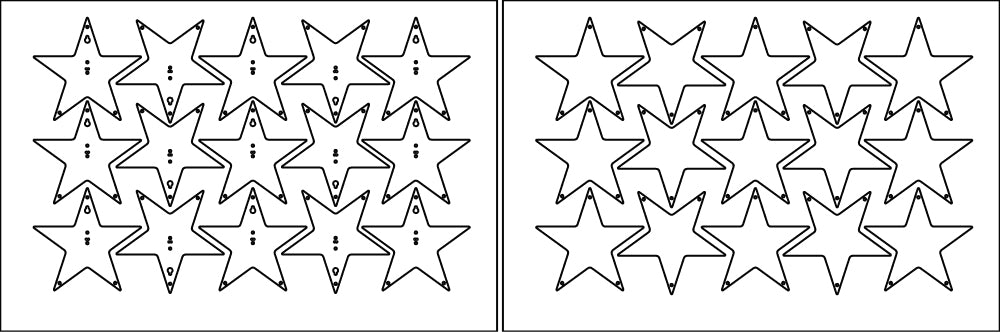
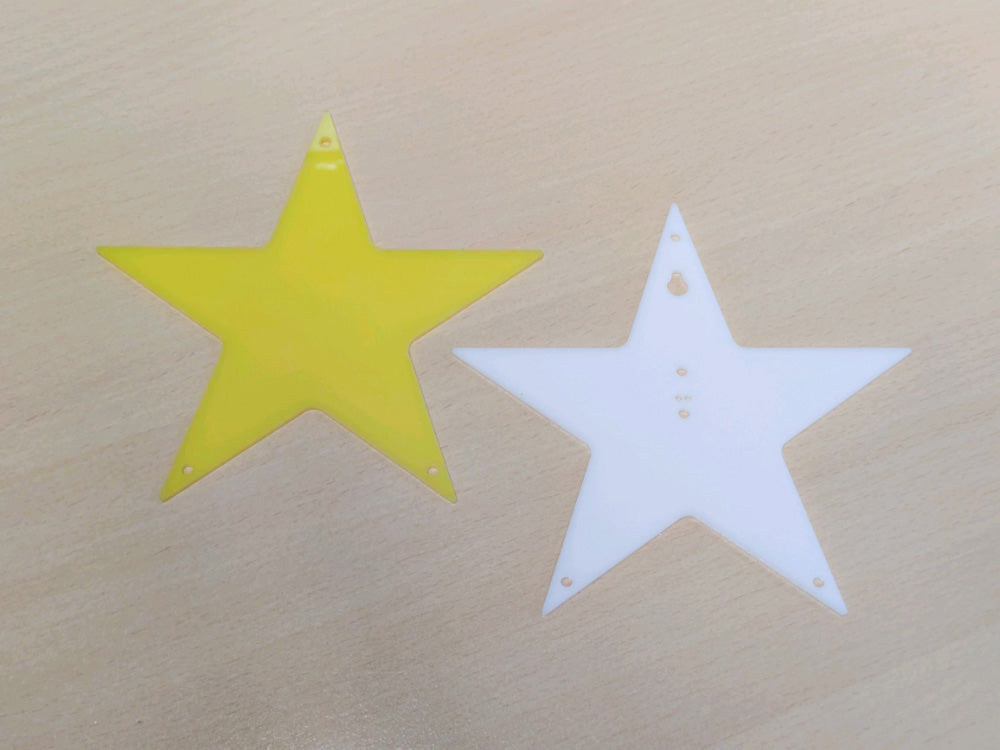
We’ve designed an enclosure that resembles a simple star shape, which is formed from two star-shaped panels. The back panel is shown below on the left, and the front Panel is on the right. They are tessellated 15 to a sheet.
Laser Cut the Enclosure!
As mentioned in Step 1, the bottom layer here is cut from White Value Acrylic, and the top is Yellow Value Acrylic.
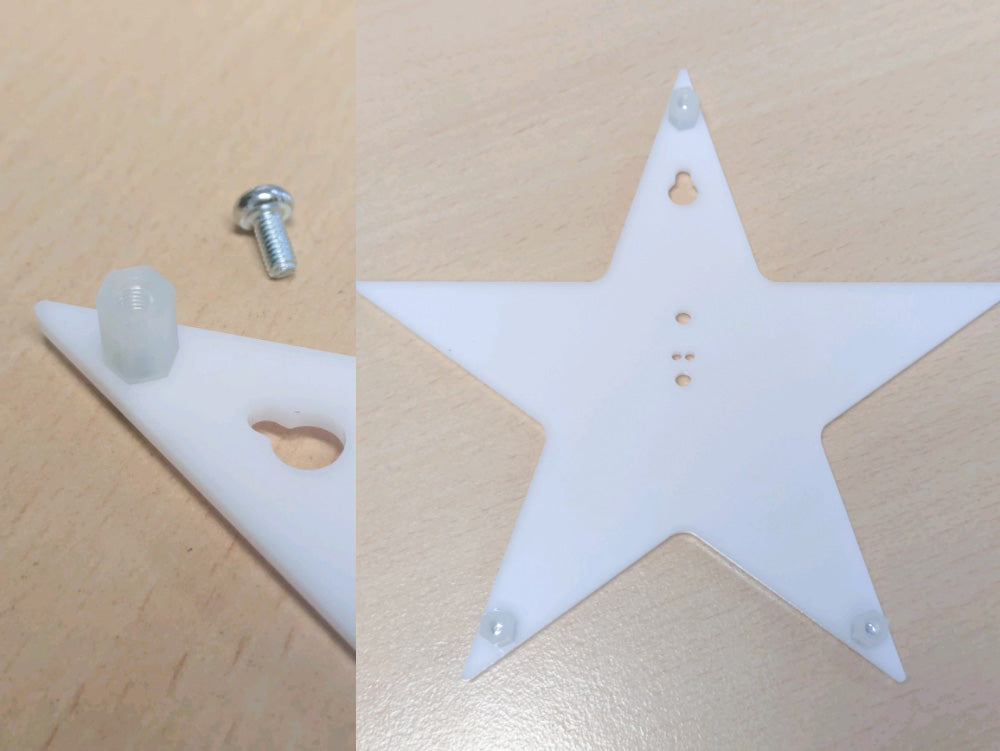
Add the Spacers
Using 3 6mm M3 Pan Head Screws, we secured 3 plastic Spacers into the holes in three of the points of the star. These will hold the front panel over the back panel.
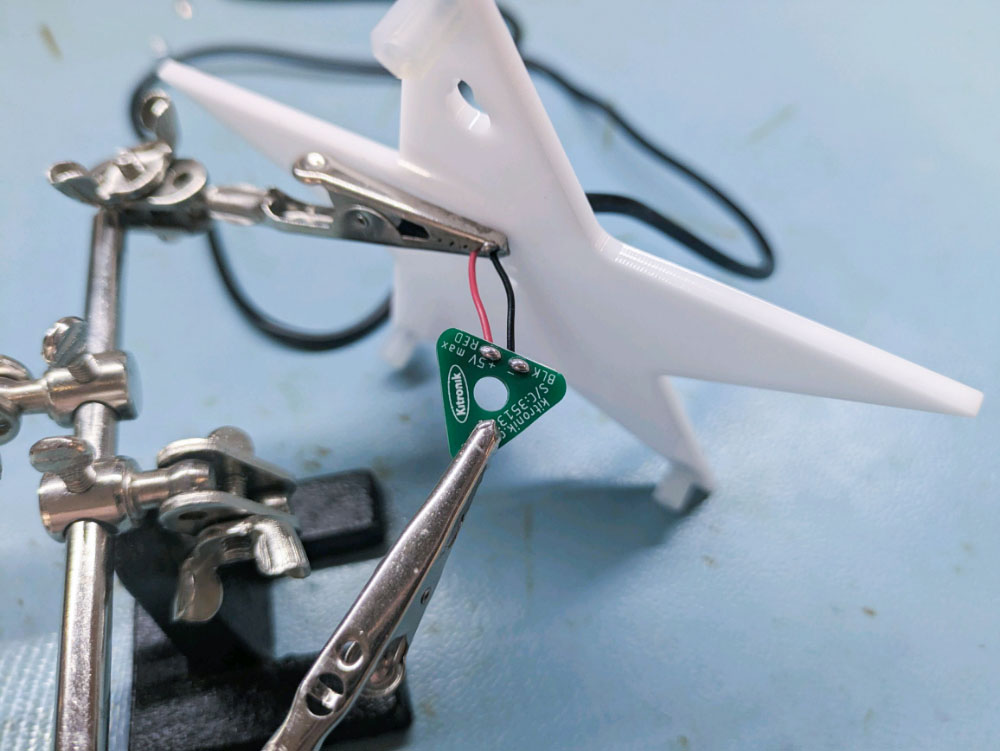
Solder the USB Lead to the LED Module
As we show in the image, you will need to solder the red and black leads onto the board. The pads are labelled black and red to help you get the wires correctly oriented, and the wires should be fed from the back to the front through the small hole indicated in the image below:
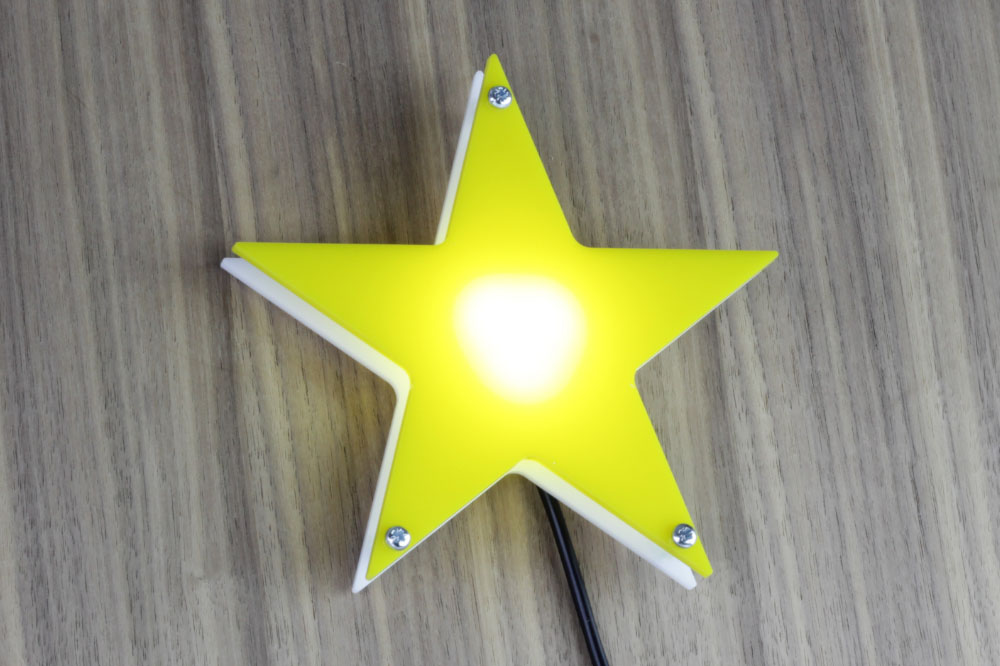
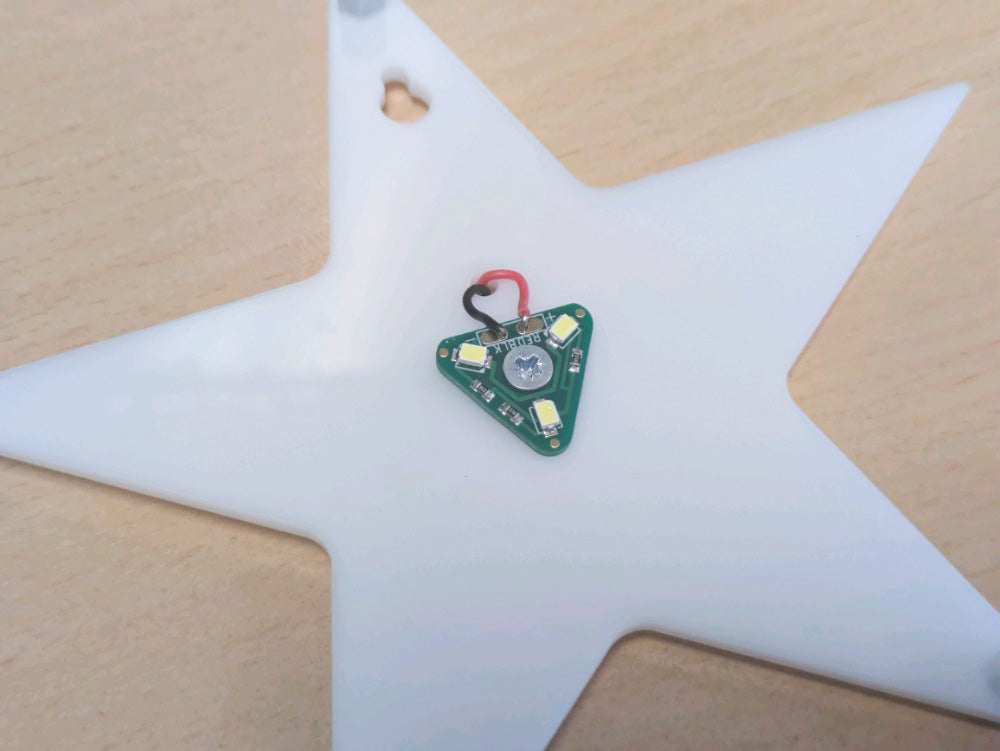
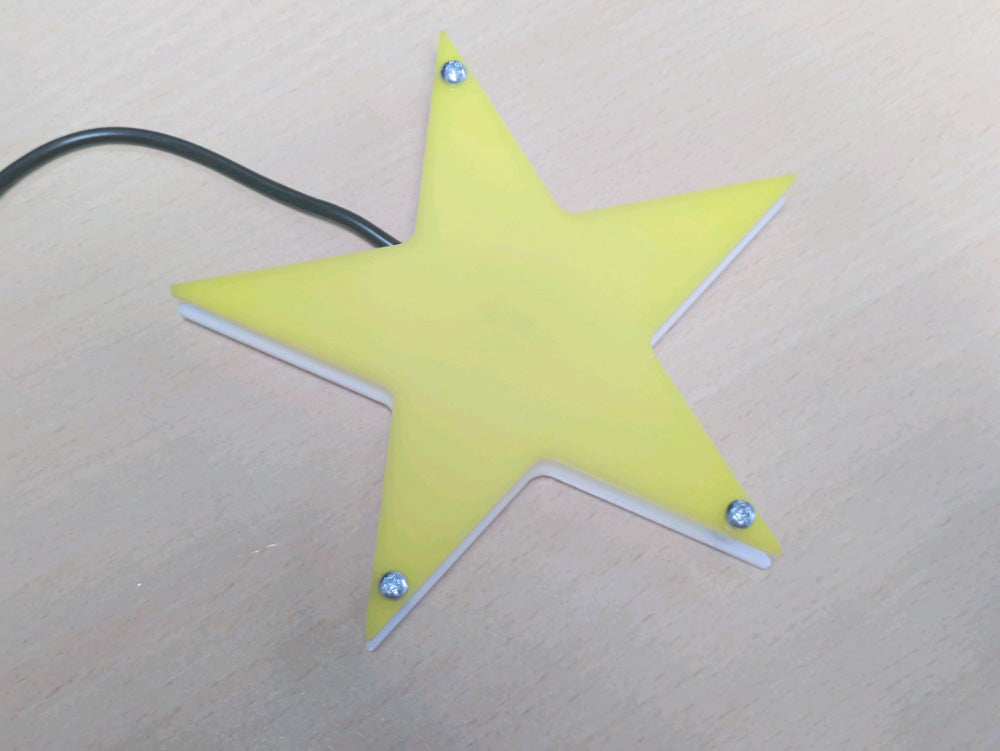
Secure the LED Module to the Back Panel.
Using a single 8mm M3 countersunk screw and an M3 hex nut, attach the lighting module to the star using the Mounting hole and the hole at the centre of the star. The image below shows how it will look.
Screw the front panel on using the spacers.
Finally, use the spacers to attach the front panel, in this case our yellow layer, with 3 6mm M3 pan head screws.
Now you’re finished!
Mount your new lamp on a wall near a USB power source and enjoy your design!