Good news! :MOVE mini has been updated to MK 2 and now comes with much better wheels. This page has been left here for information purposes, get the new and improved :MOVE mini MK2 here .
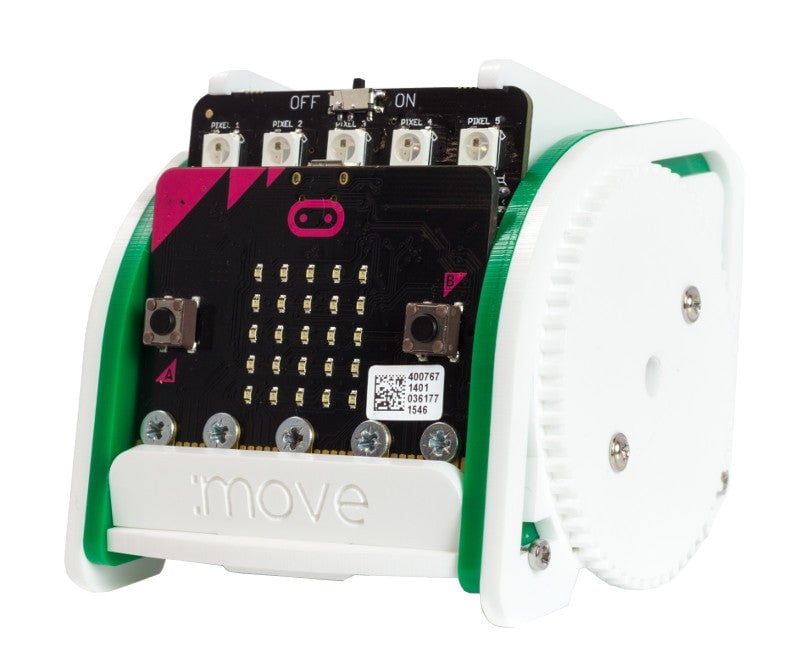
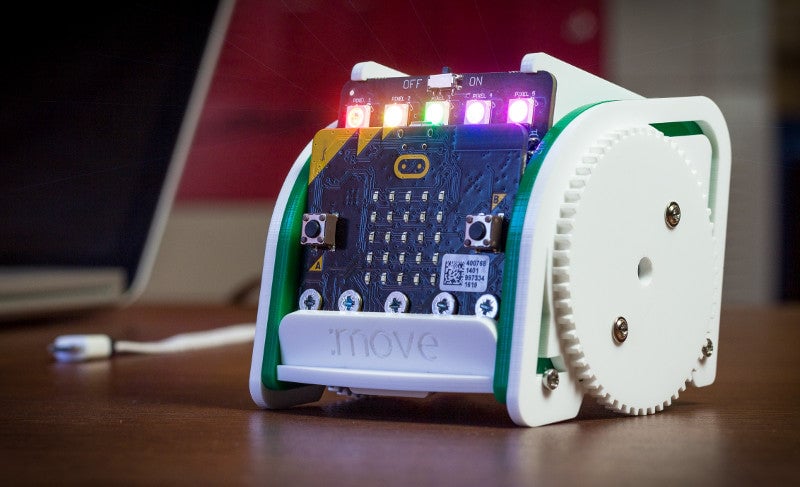
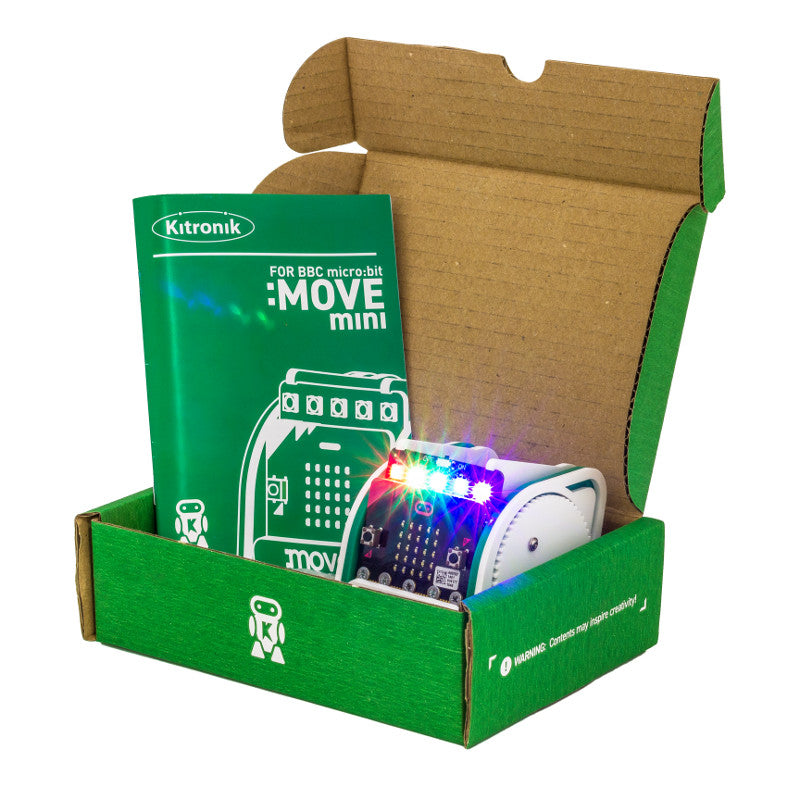
The Kitronik :MOVE mini buggy kit for the BBC micro:bit provides a fun introduction to robotics. The :MOVE mini is a 2 wheeled robot that is suitable for autonomous operation, remote control projects via a Bluetooth application or being controlled using a second BBC micro:bit as a controller via the microbits radio functionality.
The Kitronik :MOVE mini is powered by two continuous rotation servo motors. The speed of these servo’s can be controlled by simply altering the PWM (Pulse Width Modulation) signal to the servo, which is easy to do using the Servo blocks in the Microsoft MakeCode Block editor. We have also produced Kitronik custom blocks for the Servo:Lite to make the task of coding as quick and painless as possible, see the resources section at the foot of this page for more information.
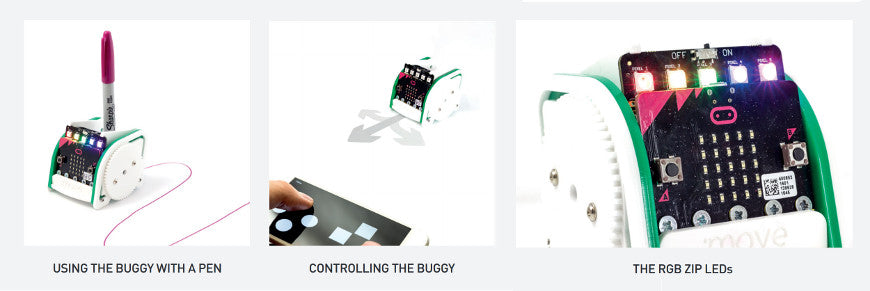
The buggy also has 5 x RGB individually addressable ZIP LEDs (NeoPixel compatible), which can be used as indicators, reverse lights etc…
It is possible to add a pen or other extra parts to the kit to increase the range of tasks for which it can be used.
The BBC micro:bit is sold separately and the kit requires simple assembly, buy the microbit here.
Video:
The included Kitronik :MOVE servo:lite board can also be used in conjunction with a BBC micro:bit to build other movement based projects. We’ve produced a wide range of tutorials and guides that can be found in the resources section below. We have guides detailing; how to control a third servo, how to code the buggy to draw shapes, how to write code for the on-board ZIP LEDs, how to code the buggy for Bluetooth control and how to use a second microbit as a controller.
We have also produced a number of add-ons for :MOVE mini, each with their own guides and code downloads. If you are looking for guides for a specific add-on, they can be found via the links below;
- Bulldozer Add-On for the :MOVE mini.
- Tipper Truck Add-On for the :MOVE mini.
- Bumper Add-On for the :MOVE mini.
Note:
- This kit requires mechanical assembly.
- If using this kit in conjunction with an add-on them some soldering maybe required.
Features:
- The kit offers a fun introduction to the world of DIY robotics.
- Add code for autonomous operation.
- Use in conjunction with an App and control it over Bluetooth.
- Use the radio function and a second microbit as a controller.
- Attach a pen and code the robot to draw shapes.
Contents:
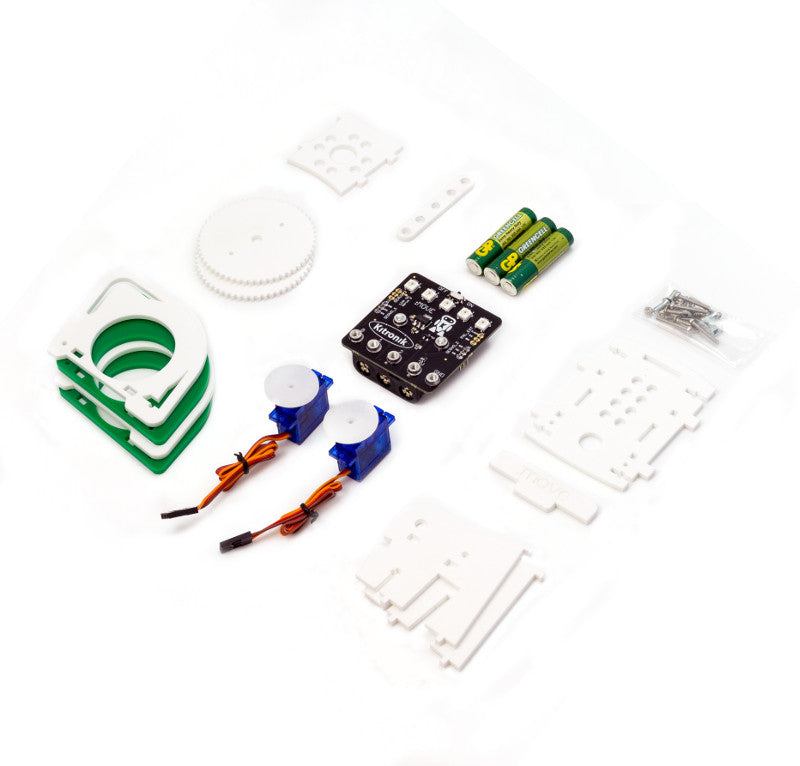
- 1 x Set of chassis parts.
- 2 x Micro 360 degree continuous rotation Servos with accessories.
- 1 x Servo:Lite board.
- 2 x Counter sunk M3 6mm screw.
- 5 x Counter sunk M3 8mm screw.
- 6 x M2 16mm Pan head steel screw.
- 6 x M2 Hex Full Width Nut.
- 3 x AAA Batteries.
Dimensions:
- Length: 80mm.
- Width: 65mm.
- Height: 70mm.
Resources:
- Lesson Plans For :MOVE mini By Lorraine Underwood.
-
Assembly Instructions.

- Calibrating 360 Degree Servos For :MOVE mini.
- Guide For Kitronik Custom MakeCode Editor Servo Blocks.
- Getting Started With The Servo:Lite board.
- Guide For Controlling 3 Servos With The Servo:Lite board.
- Guide For Using Kitronik ZIP LEDs With The BBC microbit.
- Guide for Controlling :MOVE mini With The microbit Radio.
- Guide For Adding Bluetooth Remote Control To :MOVE mini.
- Guide For Drawing With The :MOVE mini For The microbit.
- Guide For Coding Automatic Headlights For :MOVE mini.
- Guide For Coding Indicators For :MOVE mini.
-
WS2812B Datasheet.
-
Servo:Lite board Datasheet.
- Kitronik :MOVE Android App For Android 5.0 and up.
Note:
- Once the Servo:Lite board is attached to the microbit there is a maximum clearance of 6mm for the plastic sheath of the USB cable. Our noodle cables and the cable which is supplied in the official Go pack both fit.


Reviews
There are no reviews yet.