The downside of using a Bluetooth App to control :MOVE mini is that you can’t have both Bluetooth and NeoPixel blocks in the same project. The good news is that there is an alternative method of remote control, where using the desired LED code is also possible. if you use a second micro:bit and the micro:bit’s radio function you can also make use of the Servo:Lite onboard ZIP LEDs.  In this resource we are going to look at some code we’ve produced that allows you to control the :MOVE mini by tilting a second microbit. Then transmitting that information to the micro:bit that is attached to the Servo:Lite board in the :MOVE mini buggy.
Controlling :MOVE mini With The microbit Radio Module:
The radio module on the micro:bit is super useful. Information gathered by one micro:bit can be transmitted to other micro:bits in the same radio group. Which can then perform actions based on the information received. Before we get down to coding the :MOVE mini, let’s get acquainted with how to make use of the microbit radio module.
Primer:
In the following example, we are going to measure the light level of a room with a micro:bit, the micro:bit will then transmit that information to a specific radio group. We will have another micro:bit in the same radio group that will pick up that broadcast and then convert the information to a real time graph displayed on its own LED matrix.  On the first micro:bit we’ve chosen to broadcast to radio group 1. We have then created a variable called light and told the micro:bit to store the light level it measures into the variable we created. It is measuring the light with its LED matrix as the LEDs are also light sensors. It then transmits the information held in the variable to its radio group. As we used a forever loop, it will continue to transmit this data, in real time, until the micro:bit is powered off.
  The above code was put onto our receiving micro:bit. The micro:bit knows that it is listening out for information transmitted to radio group 1 and it has specifically been told to listen out for a number. Whenever it receives this number it displays it as a graph on its LED matrix, this graph is a real time representation of the light levels being measured by the first micro:bit. The ‘up to’ number of 250 was chosen so that max amount of light possible filled up the display on the receiving micro:bit completely, you may find that another number works better for your ambient light levels. Now we have some understanding of how to use the radio function to transfer information from one microbit to another, let’s get coding the :MOVE mini…
Using Radio To Control :MOVE mini:
The Aim: To use a second micro:bit to control :MOVE mini just by tilting the micro:bit. The Code: We need to write code to; A. Gather tilt Pitch & Roll data on one micro:bit and transmit it to a radio group. B. Code a basic light show on the onboard ZIP LEDs. C. The micro:bit that is connected to :MOVE mini to receive tilt information and use it to control the servos that it is connected to.
A – Gather Pitch & Roll tilt data and button presses on one micro:bit and transmit it to a radio group.
The code on the Transmitting microbit is as follows;  In the above code there are three distinct sections; The on start loop sets the radio group to 1. Any micro:bit that is also set to radio group 1 will be able to receive this data and act on it. The forever loop The forever loop tells the microbit to continually broadcast Roll and Pitch data to radio group 1, as directed in the ‘on start’ loop. It sends the data as a Key/Value pair so that the other microbit can decode which thing has been sent. There is a built in failsafe that ensures that this data is only sent if you are also pressing the A button on the controller microbit, if you are not pressing the A button 0 will be transmitted as Pitch & Roll data which will stop the :MOVE mini buggy from moving. The on event blocks are to enable you to send button press information from the controller microbit to the microbit that is connected to the Servo:Lite board. The microbit that is connected to the Servo:Lite board has some light show code on that is controlled by the buttons on the front of that microbit, button A turns on the lights and button B turns them off again. In the forever loop block of code above, you’ll notice that we are already utilising the button A as a failsafe. We want to be able to turn the lights on and off again from the controller microbit, we’ve facilitated this by using an AB button press on the transmitter. Each time you press A and B together it will transmit either a 1 or 0, depending on what was sent last time. The code below shows how the receiving microbit interprets the information; if it gets a 0 it ‘clicks’ button A, otherwise it clicks button B – which turns on or off the lights.
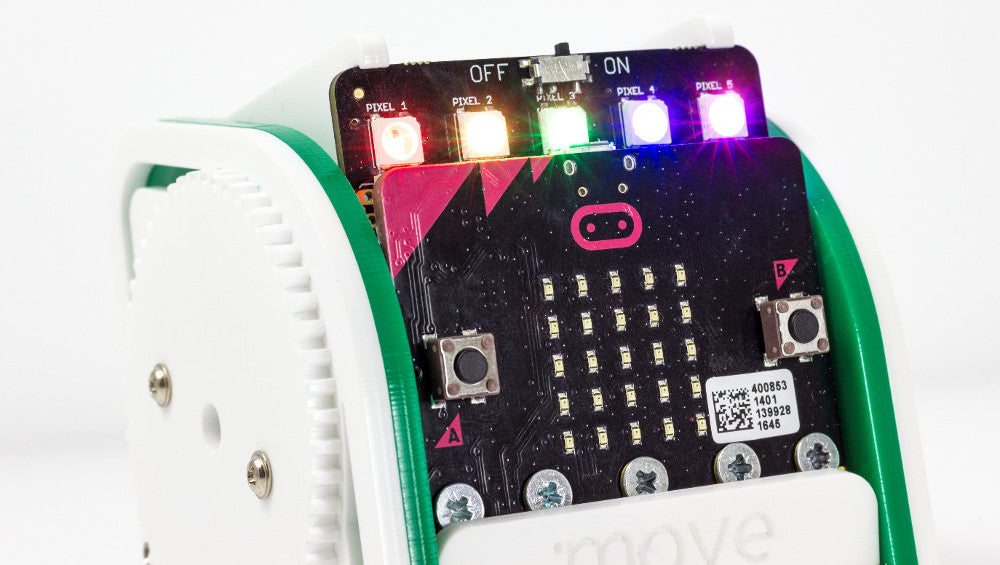
B – Code a basic light show on the onboard ZIP LEDs on the Servo:Lite board:
The code below is part of the code that is on the micro:bit that is attached to the Servo:Lite board, this code makes use of the onboard ZIP LEDs and creates a light show that we can turn on and off using the buttons on either of the microbits.  On Start: Tells the microbit to listen to radio group 1 and also creates the variable, Pixel, that we are going to make use of with our ZIP LED code. The last block lowers the brightness a little. On button A pressed: This lights up all of the LEDs and assigns them each a separate start colour. On button B pressed: This turns the LEDs off. Forever Loop: Changes the colour of each LED sequentially through all available colours once every 1/10th of a second. The Show Block: You’ll notice that after each set of instructions we need to use the instruction PixelArray show, if we didn’t use this command then the ZIP LEDs would not show the change, and our pattern would not move. C – The microbit that is connected to :MOVE mini to receive tilt information and use it to drive the servos that It’s connected to. Admittedly, the code for the receiving microbit looks a little tricky…
On Radio received code:
The received data is decoded using the key into Button B, Roll, or Pitch. Depending on which it is the data is then processed. Data for the button press is used to trigger an event that causes either a button A or button B press. The data transmitted for Roll is converted from +- 90 degrees of roll into a speed signal for the left and right servos. The Pitch data is converted into a forwards / reverse speed signal. Because one servo has to rotate in the opposite direction to drive the :MOVE mini The Right servo pitch information is taken from 180 to do this. The pitch (turning) and direction values are then summed and divided by 2 to give the final servo output command. This is sent in real time to P1 & P2 which are the microbit outputs that the :MOVE mini uses to tell the servos to move or stop moving.
Downloads:
You can either produce the code yourself, using the screengrabs above as a guide or download the zip file below which contains the code for both the transmitter microbit and the receiving microbit.
- Down load the zipped hex files here.