Customer Notice:
This Page is now for reference only. We have discontinued maintaining the Kitronik bluetooth App and we have removed it as a download in the Playstore, we apologise for any inconvenience that this may cause. We have left this page up as a resource for those that already have the app installed.
This Resource:
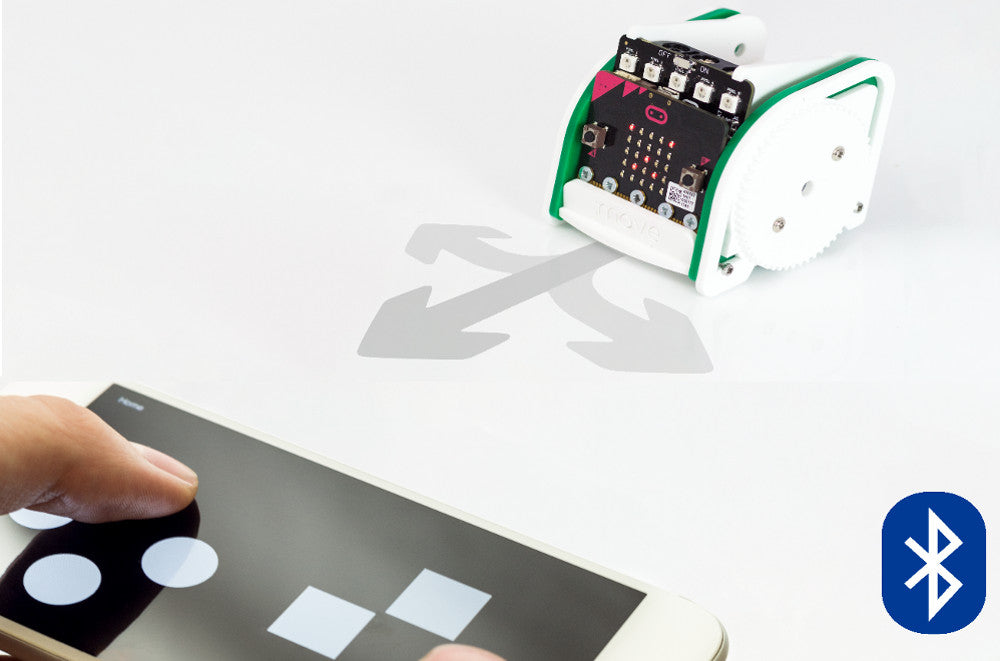
Our :MOVE mini kit offers a great introduction to robotics. It can be used in a number of different ways. Most are mainly facilitated by the code that you place onto the microbit. In this resource, we’d like to show you how to add Bluetooth remote control to :MOVE mini.  Adding Bluetooth functionality to :MOVE mini is as easy as putting some code onto the microbit. Then downloading the Kitronik :MOVE App for Android. Please note this app is no longer available.
Kitronik Custom Blocks For The Microbit Javascript Block Editor:
To add our custom blocks to the editor. Click on the cog in the top right of the editor and select ‘Extensions’ from the menu. This will open a dialogue window with a search box. Type Kitronik into the search box and all of our custom blocks will appear as tiles. Select the tile titled ‘servo-lite’ and it will be added to the blocks menu.  To add Bluetooth functionality to the menu, we have to first add the Bluetooth package. Select Extensions from the menu and then select Bluetooth. We are now ready to write some code.
Writing The Bluetooth Remote Control Code:
As we are going to control :MOVE mini over Bluetooth we need to code the microbit so that it responds in the right way when it receives Bluetooth commands.  All of our remote control code is going to be placed within an ‘on event’ loop. As shown above. You can find the ‘on event’ loop by expanding the Advanced menu option, You can then find the loop in the Control menu. This will ensure that the microbit knows to expect commands from the DPad controller and what to once it receives them. We are going to use the A, B, C & D buttons in the App for driving, you can see how they are orientated on the App pads in the image below.
Our controls will be:
- A – Forwards.
- B – Backwards.
- C – Left.
- D – Right.
As well as writing our code to respond to a button press, we also need to write code for what to do when the button is released. For our code, button release will always equal stop.  In the code above you can see how the code for the A button press works. When the A button is pressed, the buggy will drive forwards. When the A button is released, the buggy will stop. We follow the same procedure for the other three button presses, just altering the drive command type for each. We also want to write code to give some visual feedback via the microbits LEDs as to whether Bluetooth is connected or not. If the Bluetooth connection is dropped, ideally, we would want the buggy to stop regardless of the last command. The stop command acts as a failsafe to protect the system if control fails.
  The code above will display a smiley face on the microbit when Bluetooth is connected. If for any reason the connection is lost then a sad face will display and the servos will stop turning. In the embedded editor below you can see the whole program. Once you grasp how the on event block works and how to define an on event value the code is uncomplicated to produce.
Downloads & Information:
You can download our code here. Note: Unzip the Bluetooth Remote Control file and either drag the HEX file into the MakeCode editor for editing or connect your microbit to your computer and drop the file directly onto your microbit via your file explorer. The microbit should show up as a removable drive.