Nothing says it’s Christmas quite like a Christmas tree, learn to make our 3D Printed LED Christmas tree for day two of our 12 Makes of Christmas. It’s an easy project to make, once the parts are printed the job of putting it together shouldn’t take many minutes.

If you have a 3D printer, all you will need is a suitable filament, 4 LEDs, and a coin cell battery and you’re all set. It’s a quick print and won’t tie up your printer for long. As, always, we’ve included a free download of all of our design files, which you can find in the ‘You Will Need’ section below. Let’s get making!
You Will Need:
- A 3D Printer.
- PLA or ABS Filament.
- 4 x LEDs of your preferred colour.
- 1 x Coin cell battery.
- 3D Printer files – download.
The ZIP file for the 3D printed parts also contains an stl for 3D printed Hollow Tree that can be used as is, once printed.
3D Printed LED Christmas Tree:

The above render shows how all of the printed parts and the coin cell battery relate to each other. As you can see, it will be an easy build project and it’s also one that you can involve young children in.
Step 1:

Print all of the parts and assemble and glue the connector pieces into place. Once this is done it should like the above picture. As you can see, the connector pieces allow the two halves of the Christmas Tree to be easily pushed together.
Step 2:

You will need 4 LEDs of your preferred colour and one CR2032 coin cell battery. Solder your LED’s together in a tower, as pictured- all of the positive pins should be on the same side.
Step 3:

Insert the LEDs into the slot and push the battery into its slot, with the positive side of the battery facing down. The positive pin of the bottom LED should be bent under the coin cell with the negative pin resting on top.
Step 4:

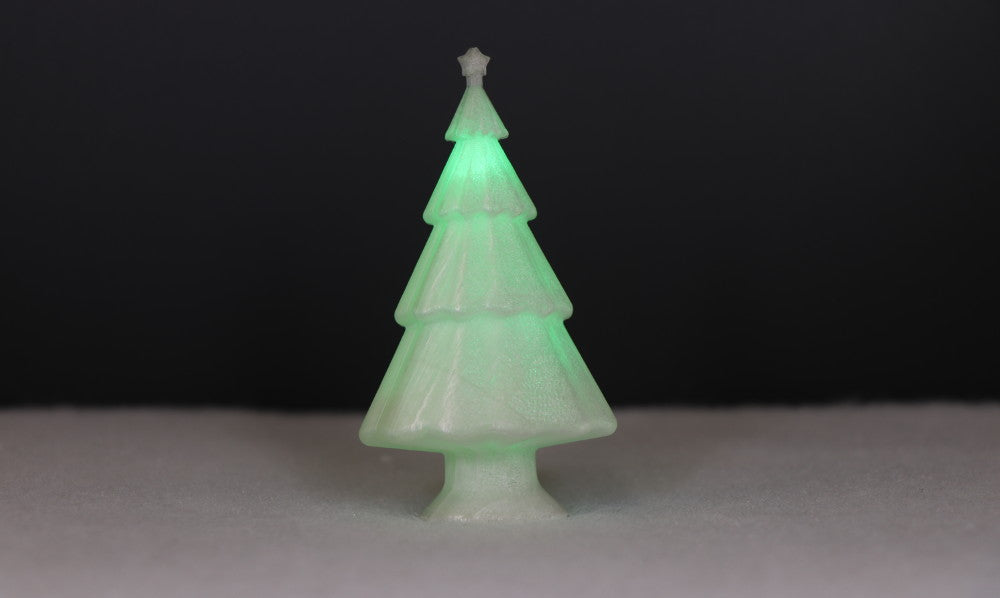
All that remains is to fit the two halves together to complete your glowing 3D printed glowing Christmas Tree!
This concludes the second of our 12 Makes of Christmas, we’ll be back tomorrow with another festive making activity. You can check out the other Makes of Christmas, here.