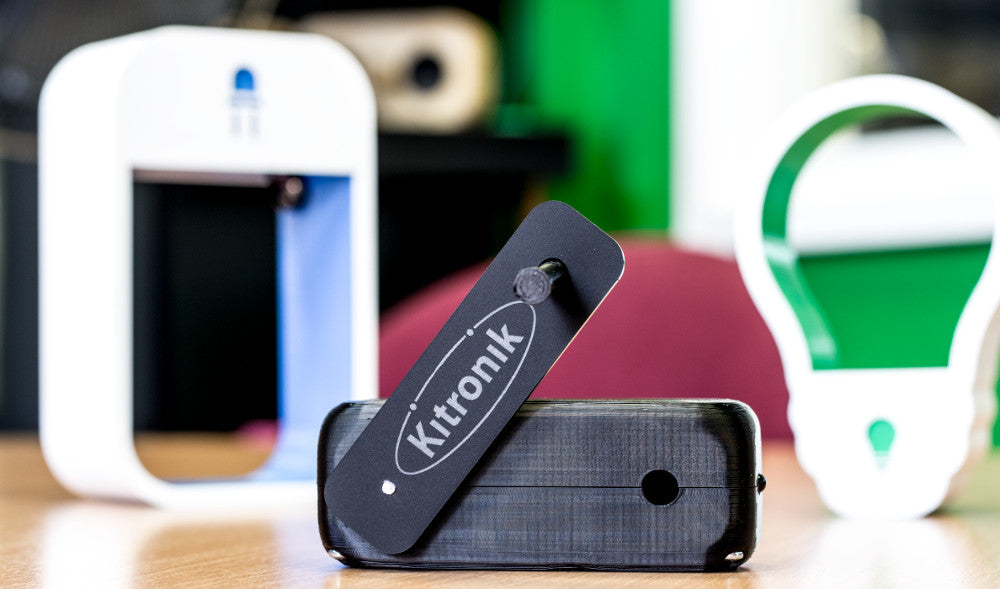
We’ve recently released the Kitronik Windup torch kit, which is a great way to learn about electronics and alternative power sources. It also lends itself perfectly to enclosure design projects, students can be tasked with designing a case and handle.

The handle has been cut from a black acrylic sheet while the rest of the design has been printed on our Robox 3D printer using black ABS, however, PLA is recommended for this print and any colour can be used to create an alternate aesthetic.
Making A 3D Printed Windup Torch Kit Enclosure:
Although the handle shown has been cut out of Perspex, you can use any 3mm laser compatible material, or you can substitute the Perspex and 3D print the handle along with the rest of the components. The files for printing a handle are also included. Note: If laser cutting the handle, add your own design to be engraved!

3D Printed Windup Torch Kit Design Aims:
- Simple design.
- Easy to use.
- Easy to print.
- Easy to assemble.
- Fits designated kit.
When designing parts or projects to be 3D printed, we always try to minimise overhangs to reduce the need for support materials. The benefits of this approach are that you can literally go straight from printer to assembly. 
Printing:
The parts for this torch have been printed using Robox’s open source software, AutoMaker. Robox printers use smart reels which tell the printer what material it is using, meaning the printer sets the head and bed temperature automatically. The casing can be printed with as low as 15% infill and the rest of the components worked well at 80%.  Note: Due to curved edges, it is recommended not to print at maximum quality, but feel free to experiment to get the best results from your printer. No need for support material.
Assembly:
 The kit slots into the casing and the PCB can be fixed in place by a crossbar and two 6mm M3 screws (This piece can be either laser cut or 3D printed – files included).
  Ensure that the LED is placed into the slot as shown.
  Join the second half of the case using four 30mm M3 screws.
  Snap the handle pieces together as shown.
  Slot the handle and spacer (If you have 3D printed the handle there is no need for the spacer) onto the motor shaft and glue in place.
  Now that the design has been fully assembled, it is ready for testing!
  Once it’s time to put the torch away, the winder can be pushed back in for easy storage.
Download Our Files:
Included in the zip are the following files;
- Body 1 (stl) – The bottom half of the torch case.
- Body 2 (stl) – The top half of the torch case.
- Crossbar (stl) – The crossbar which fixes the PCB in place inside the torch.
- Handle part 1 (stl) – 3D printed handle that fits onto the motor.
- Windup Torch Laser Components (dxf) – Laser cut components, delete as appropriate – includes Handle part 1 in two parts (the handle and a spacer) and the Crossbar.
Download the design files here. Grab the files above and the kit below and get making!