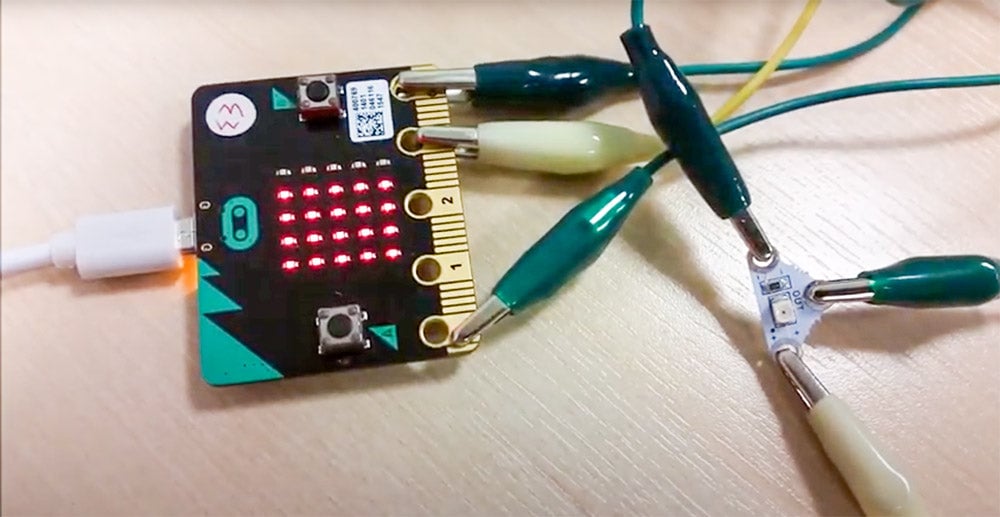
Learn how to add additional light sensing to the BBC micro:bit with this very simple tutorial. The video below shows the light sensing function in action. For those times when the microbit needs to be hidden from the light around it.
Adding light sensing to functionality to the BBC micro:bit is incredibly easy if you use the Light Sensing board from our Electro-Fashion range. You might be thinking; “Doesn’t the microbit already have light sensing via the LED matrix?” The simple answer is, that yes it does. The more complex answer is; yes it does, but only if the microbit isn’t covered over. You may be working on an e-textiles project where the microbit is covered over. Then, using a more discreet light sensing option might be the way to go. The only parts needed are:
- Electro-Fashion light sensor.
- 3 x clip wires, something like these.
Add Light Sensing To The BBC micro:bit:
The Electro-Fashion Light Sensing Board (shown below) is very simple. It has three connection points which can be connected to the BBC micro:bit with clip wires (or also with conductive thread if you prefer).

The ‘Out’ pin of the Light Sensing board provides an ‘analog’ voltage that is proportional to the brightness of the light falling on the sensor. As the light level increases, the voltage also increases on the ‘Out’ pin. Typically this will swing (approximately) between 0.9V (dark) and 3V (light) due to varying light levels. Firstly, he Light Sensing board should be connected to the BBC micro:bit in the following way (also see diagram):
Pin Assignments:
| Light Sensing Board Connection | BBC micro:bit Connection |
|---|---|
| Out pin | P0 pin of the BBC micro:bit |
| + pin | 3V pin on the BBC micro:bit |
| – pin | GND pin on the BBC micro:bit |
Add Light Sensing To The BBC micro:bit Code:
The code demonstrated in the video is very simple and can be seen below. It was created using the MakeCode Editor and is based around a ‘forever’ loop. The loop has a succession of ‘else if’ statements. Firstly, the value of the analog reading on P0 (connected to the light sensor) is checked and depending on it’s value one of six display options is shown. This also repeats and varies the display as the light level alters, giving a kind of bar graph look.
In addition, you can also use the Plot Bar Graph function in the Block Editor, see the diagram below.


