This Make Covers:

Today, wearing tech is nothing new. Smartwatches, for instance, are regularly used to monitor and track health-based body stats, smart glasses can help translate text in real-time, footballers often wear trackers to plot their movements on the pitch so that they can improve their skills, and cosplayers often sew electronics into their costumes so that they can do things like light up or react to sound!
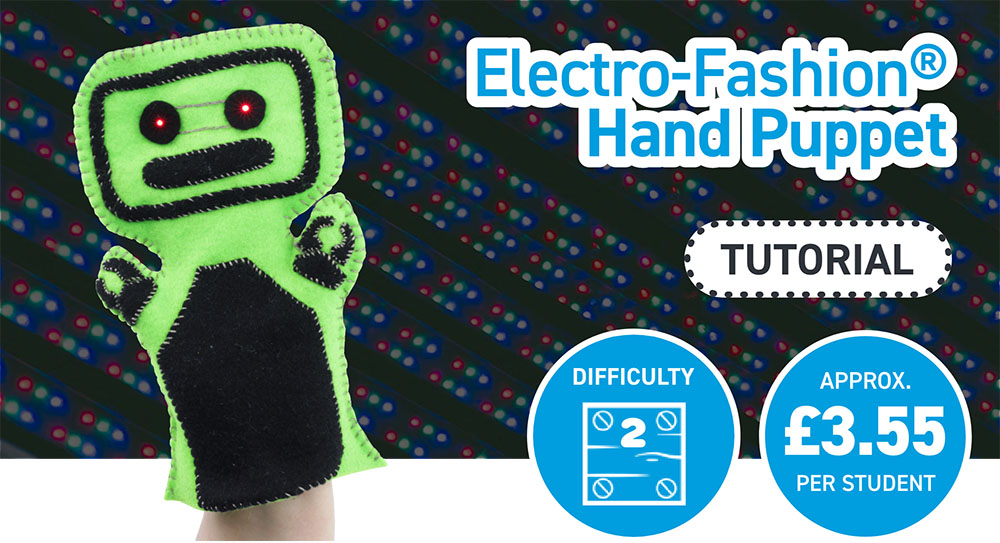
This blog from Emma will go through a simple, classroom-friendly e-textiles make. ElectroFashion® is Kitronik’s range of e-textiles components and materials made to be as simple and easy to use as possible!
We Have Used:
- Electro-Fashion® Conductive Thread (250m) (2744)
- Electro-Fashion® Sewable LEDs (Red, Pack of 10) (2712)
- Electro-Fashion® Slide Switch (2709)
- Electro-Fashion® Sewable Coin Cell Holder (2701)
- CR2032 3V Coin Cell (2262)
- Needle Set (2741)
- Non-Conductive Thread
- Felt Fabric
- Our outline template.
Alternatively, for a single project:
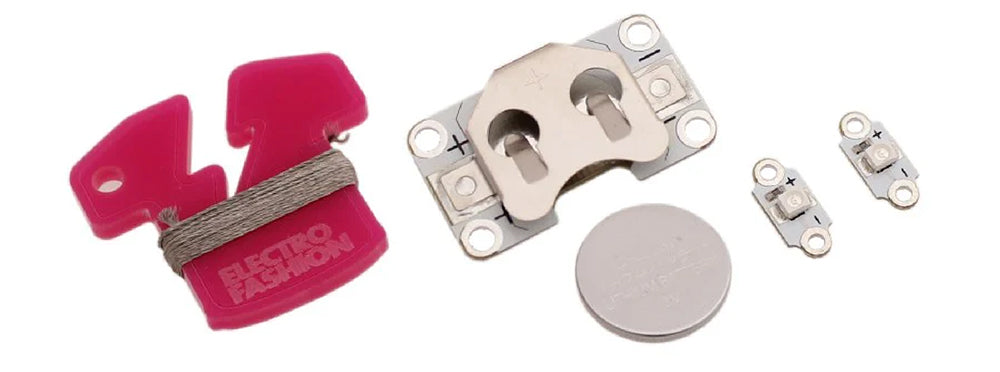
- Electro-Fashion® Sewable Light Kit (2737)
- Electro-Fashion® Slide Switch (2709)
- Needle Set (2741)
- Non-Conductive Thread
- Felt Fabric
- Our outline template.
Design your Puppet!
We’ve provided a basic hand puppet outline for you to use, not just to draw on to plan your design, but also to print and cut out as a cutting pattern for your fabric! Click the link below to download the outline.

As you can see, our original design is a lot more detailed than the final puppet – it’s important to keep your design simple so that it doesn’t take too long or become too difficult to sew.
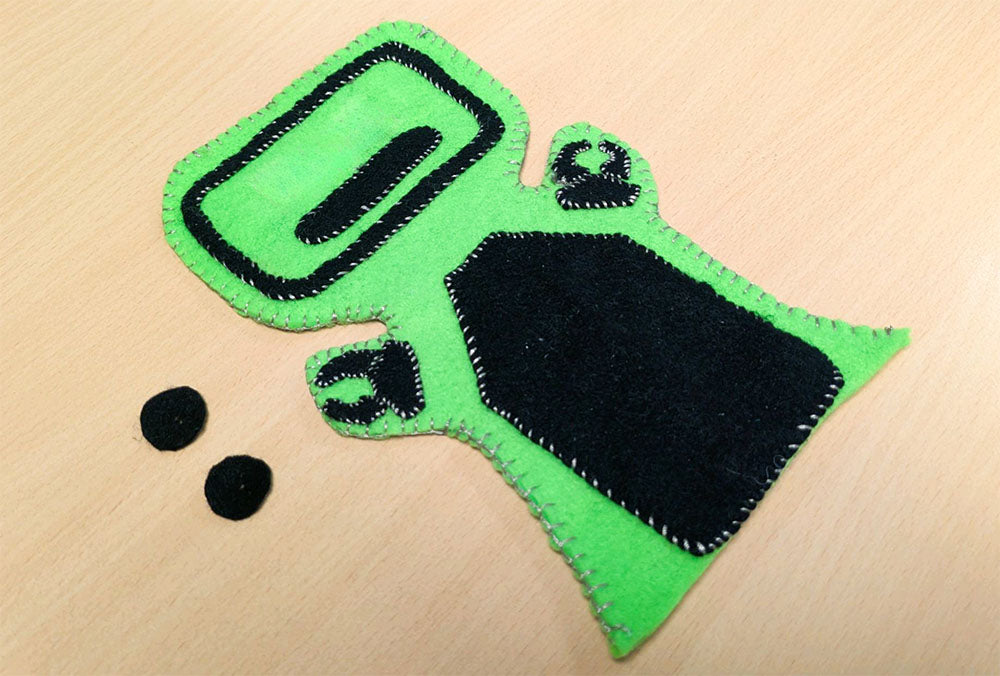
Put together the main puppet body.
Either by sewing as we have, or using fabric glue, put together the majority of your puppet, excluding the parts that will contain the electronics.
For us, that’s the head, and we want the electronics to be visible on the outside. This means we put both sides of the puppet together before this step, but if you want to hide the battery or switch on the inside you’ll want to add the electronics before connecting both sides.
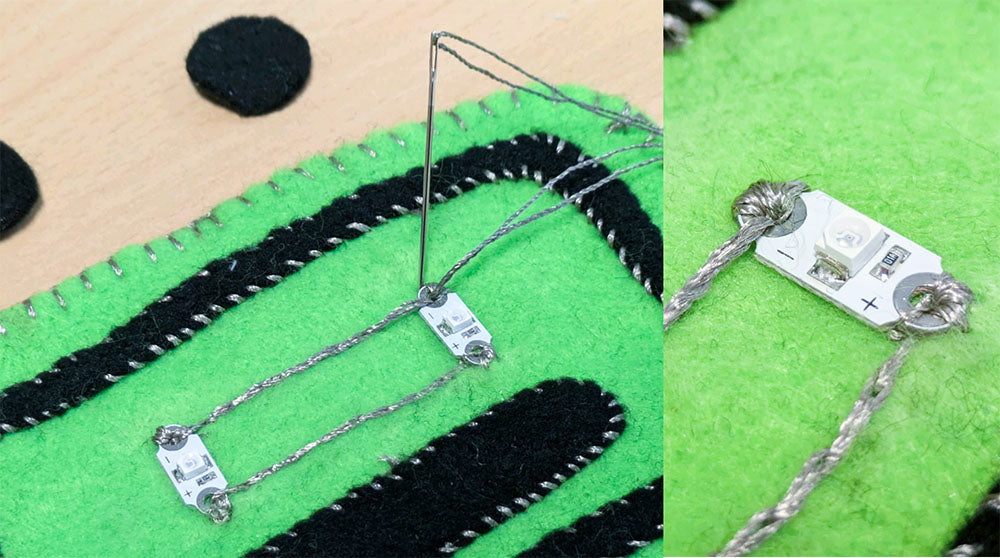
Begin adding the electronics.
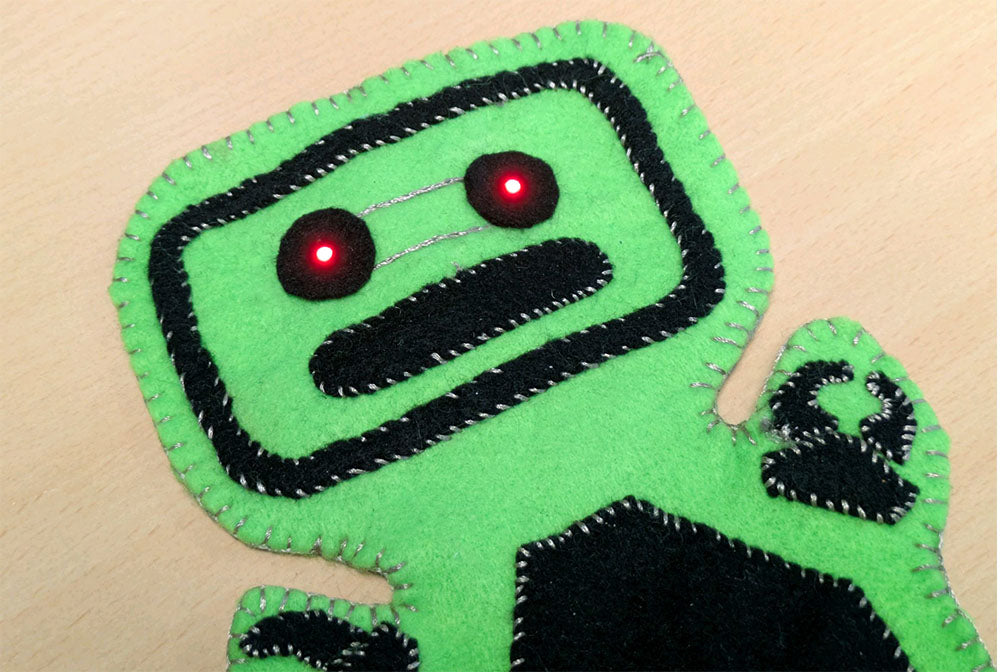
We are using our LEDs to light the eyes, so we’ve looped around the pads a few times to secure them in place and to ensure a good connection with the conductive thread, before connecting positive to positive, and negative to negative, as indicated by the + (positive) and – (negative) signs next to the pads. We are connecting them in parallel.
Note: If you’re also putting the electronics on the outside as we are, make sure not to stitch all the way through when using the conductive thread to avoid creating any shorts in the circuit.
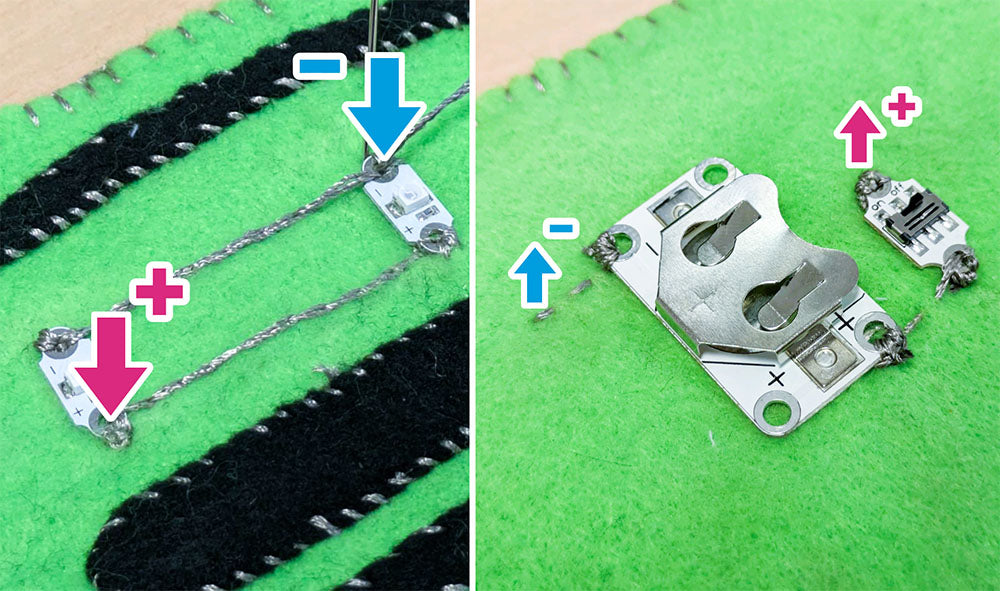
Add the battery and switch.
In the locations we have indicated in the image, we passed the thread through to the back panel to continue the circuit on the back. As shown, the thread from the side marked + (positive) should be connected to the side of the battery also marked + (positive), and the same for the sides marked – (negative).
On one side (we chose positive), add the switch along a straight length of stitches.
Add a battery, switch on the circuit, and you’re done!