
It’s time for another make! This is a neat little edge-lit stand for our new USB LED Strip with Light Sensor, complete with a tiny sleeping panda! You can customise the design all you’d like, including changing the colour of the edge lit design and the stand.
The key feature of the kit we’ve used is the light sensor, which makes this nightlight fully automatic. Connect it to a suitable power source, and let the ambient light levels trigger the switching. Read on to learn how Emma made this!
We have used:
- This DXF
- 3mm Perspex® Sweet Pastels Parma Violet
- 5mm Clear Acrylic
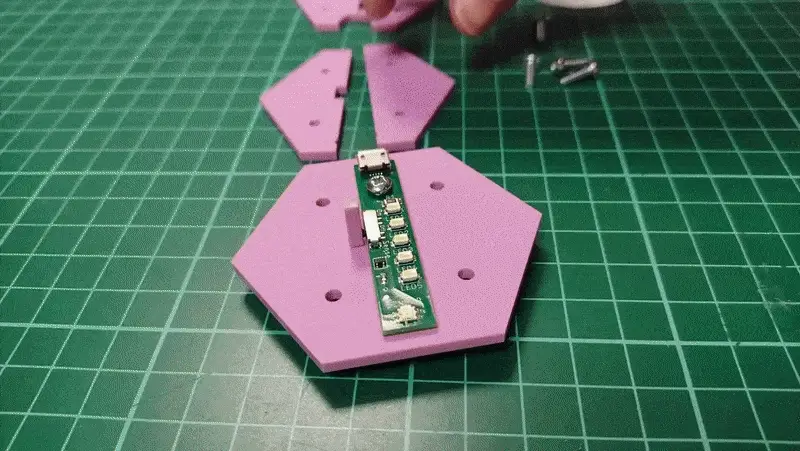
- Kitronik USB LED Strip with light sensor
- 1 x 6mm M3 Flat Head Screw
- 4 x 10mm M3 Pan Head Screws
- 1 x M3 Hex Nut
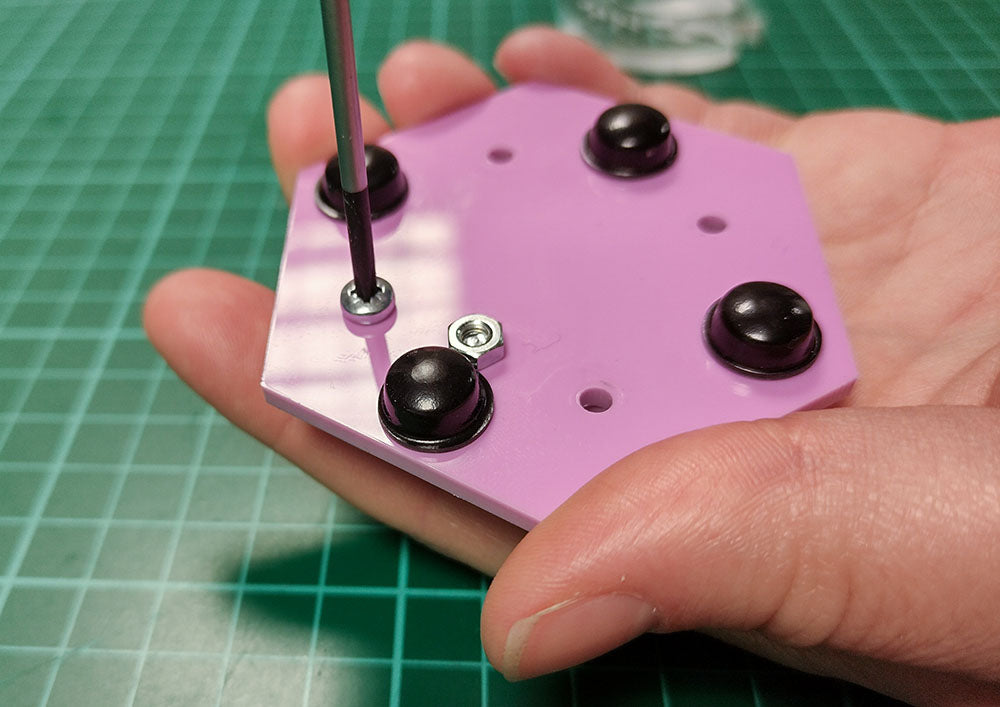
- (OPTIONAL) 4 x Rubber feet
Step 1 – The Design (Optional):
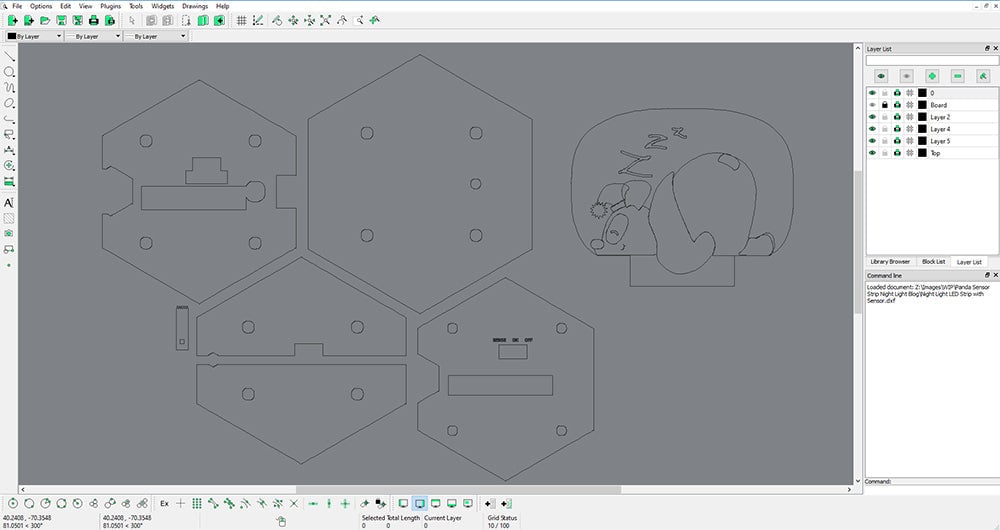
Load the provided DXF into your CAD software of choice, LibreCAD shown above. From here you can personalise the edge lit part of the design until it’s completely to your liking. For fewer headaches it’s probably best to leave the base part of the design alone unless you are confident in your CAD skills.
Step 2 – To the laser cutter:
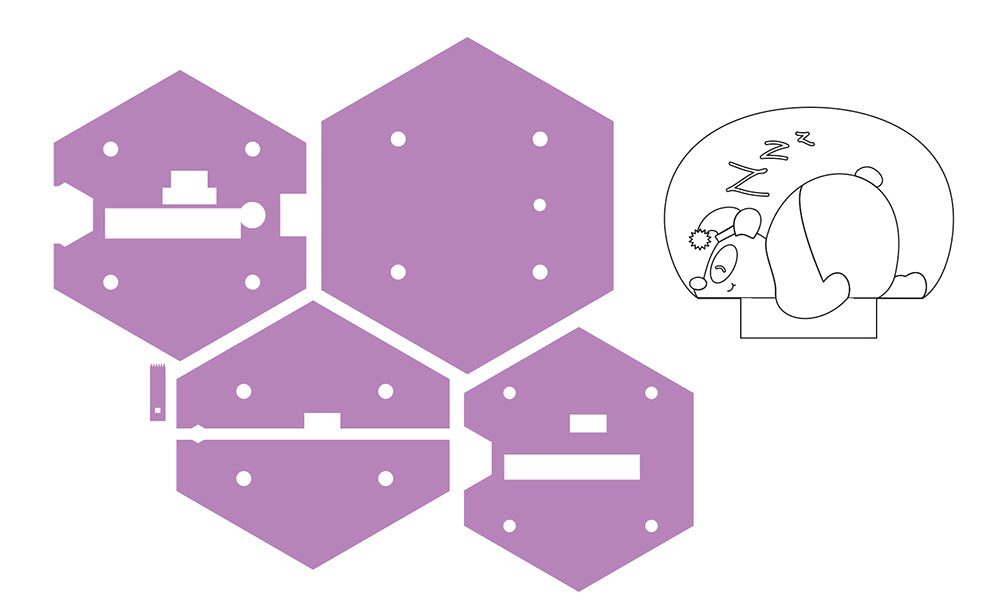
Cut the DXF we have provided out on your laser cutter! The Base panels should be cut from 3mm acrylic, and the edge lit design itself should be on 5mm clear acrylic of any colour. The world is your oyster! Remember to only kiss-cut the panda design.
Step 3 – Assembling the Base:
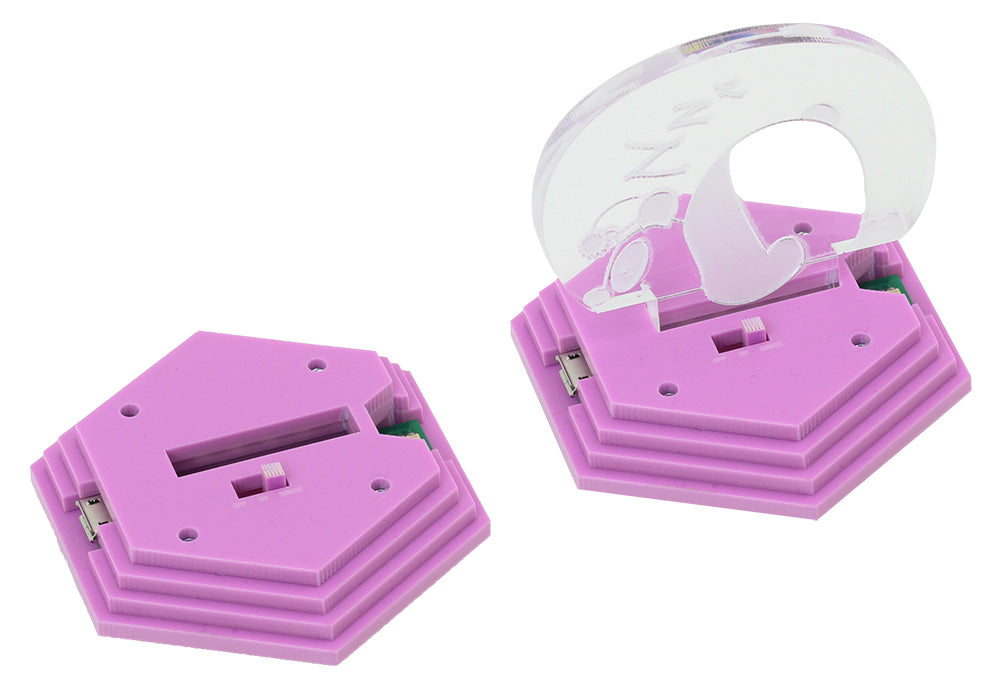
Assemble the base! Everything will stack neatly in descending size order to make a stepped effect. Attach the LED Strip to the base first with the shortest screw and hex nut, then screw the base together fully from the bottom.
The top layer has slightly smaller holes so the screws will self tap and hold in place.
Step 4 – Finishing up
Pop in your design, and you’re done!
Make sure you don’t miss out on other news or free resources by signing up for our newsletter here.