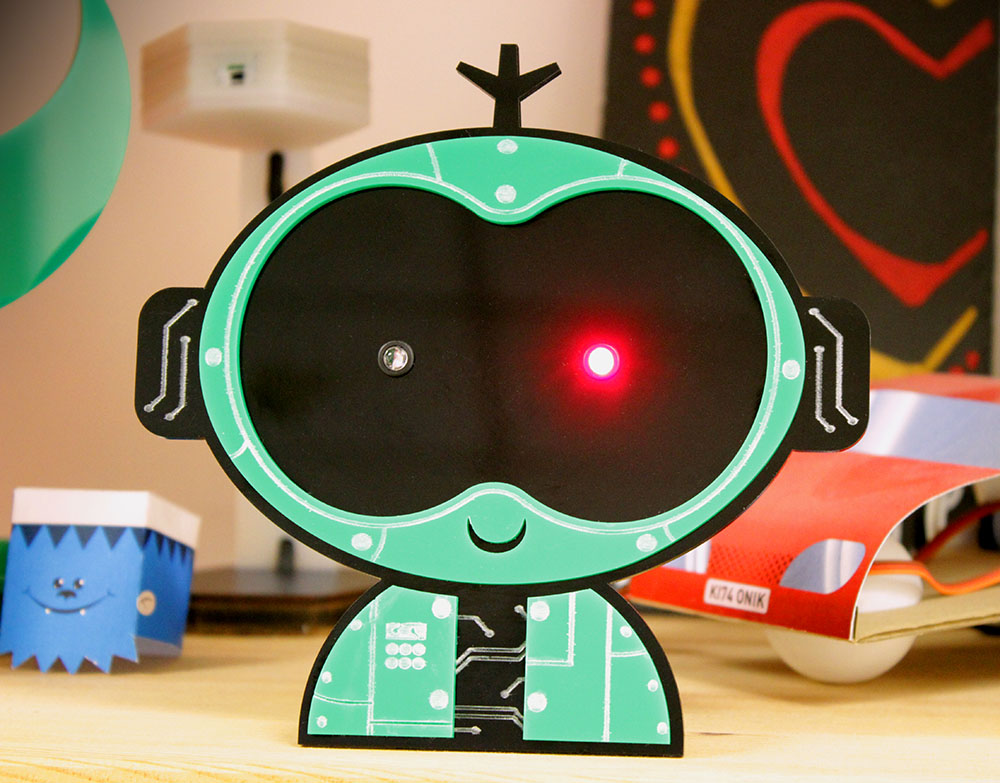
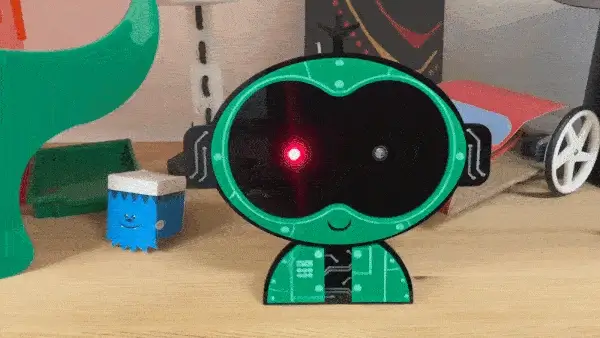
Using the Kitronik robot design and the Kitronik flashing Bike Light, you can now create something that wouldn’t look out of place in a sci-fi cartoon.
This make by Kev, our in house illustrator/designer, is great for the classroom. It combines electronics and design, and the result will look good on a desk, a shelf, or in a workshop.

What we’ve used:
- Kitronik Rear Bike Light Project Kit
- Black Value Acrylic
- Green Value Acrylic
- Panel Mount LED Clips 5mm
- This DXF

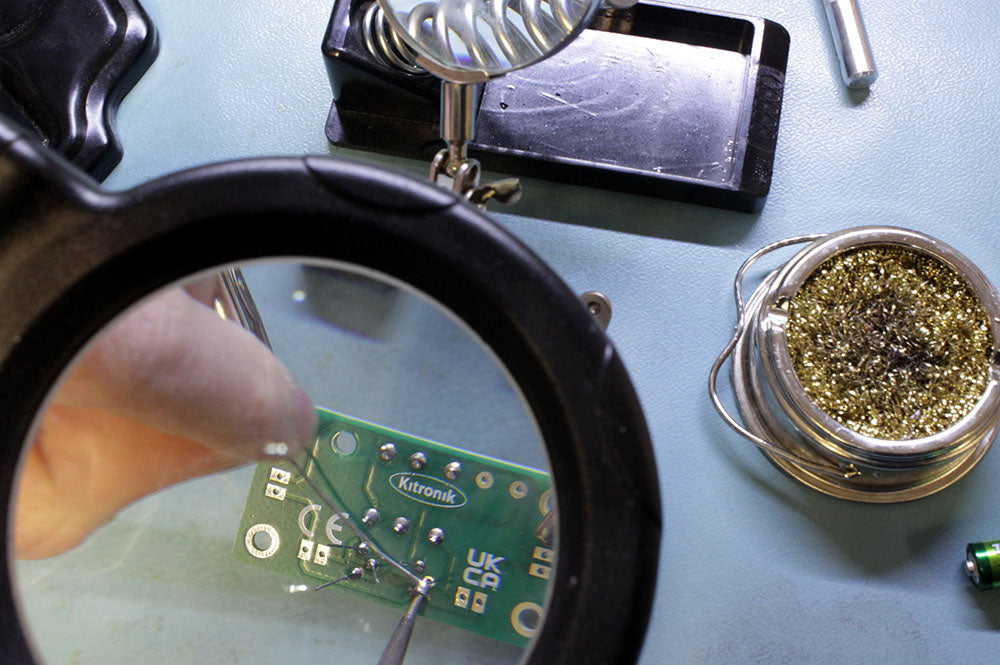
STEP 1 – Solder Solder:
Start your robot, by soldering the bike light kit together, making sure to follow the instructions carefully, aligning each element correctly. Note: Be sure to have the LEDs protrude further out than the capacitors.

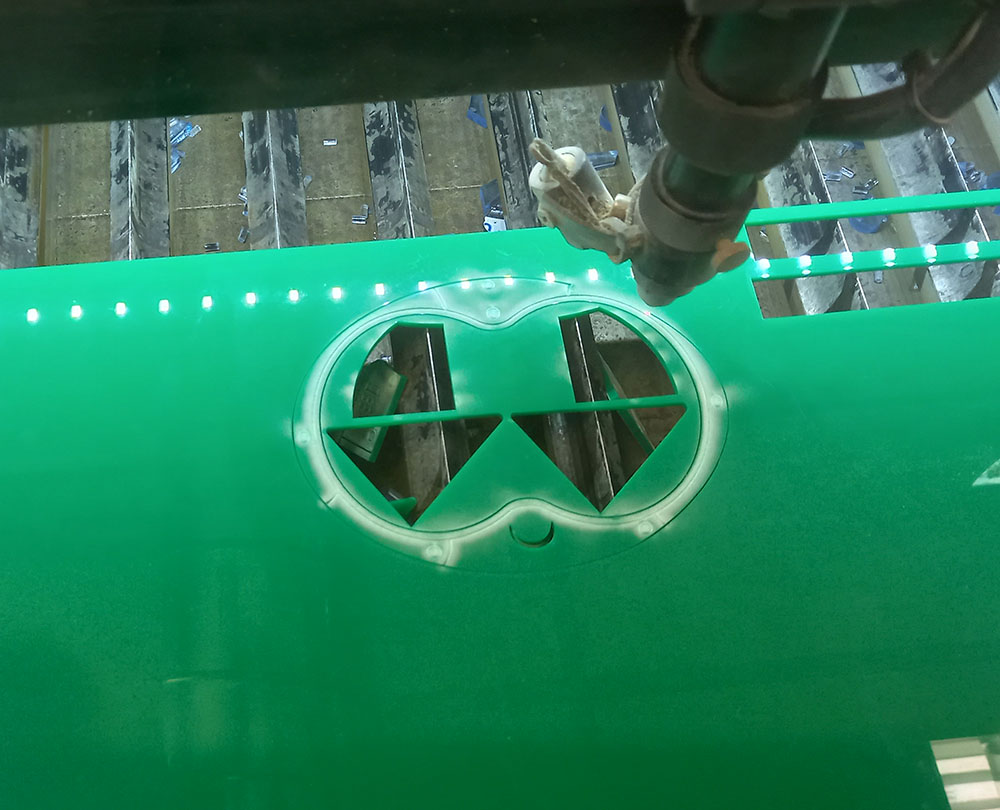
STEP 2 – Body of Green:
Once you’ve downloaded the DXF files cut out the acrylic on your laser cutter as shown. Black for the base colour, green for the body elements (and don’t forget the two stands!).
STEP 3 – Robot, Assemble:
Glue the green body elements to the black body base.

Push clip the panel mount clips into the eye holes on the black acrylic. Once in, gentle push the LEDs into the back of the clips.
Attach 2x AA batteries to the battery cage and get that robot winking!
Advanced Option:
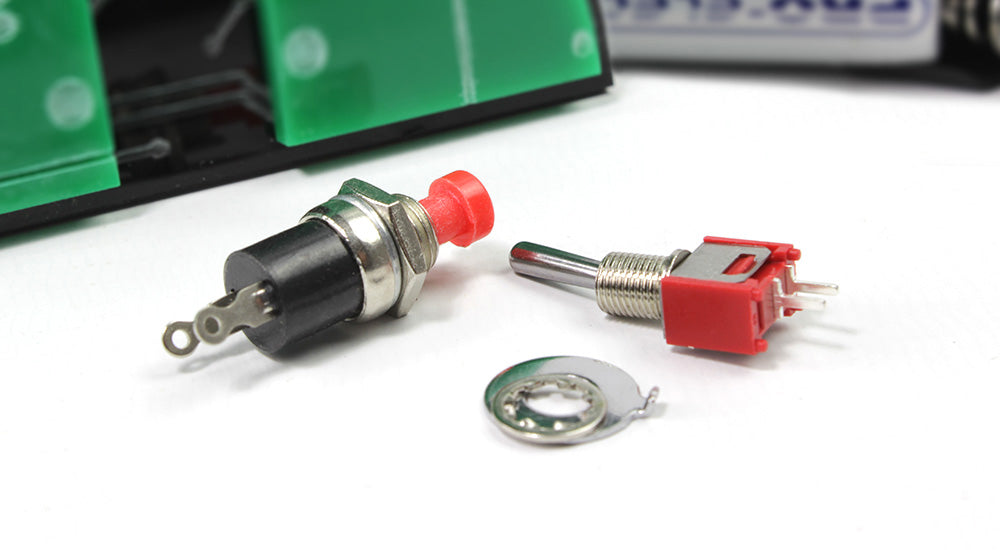
To add a little more difficulty to the Red Eyed Robot make, how about attaching an on/off switch.
Cut the battery lead and solder one of our switches Miniature Push to Make Switch, or a Sub-Miniature Toggle Switch SPST.