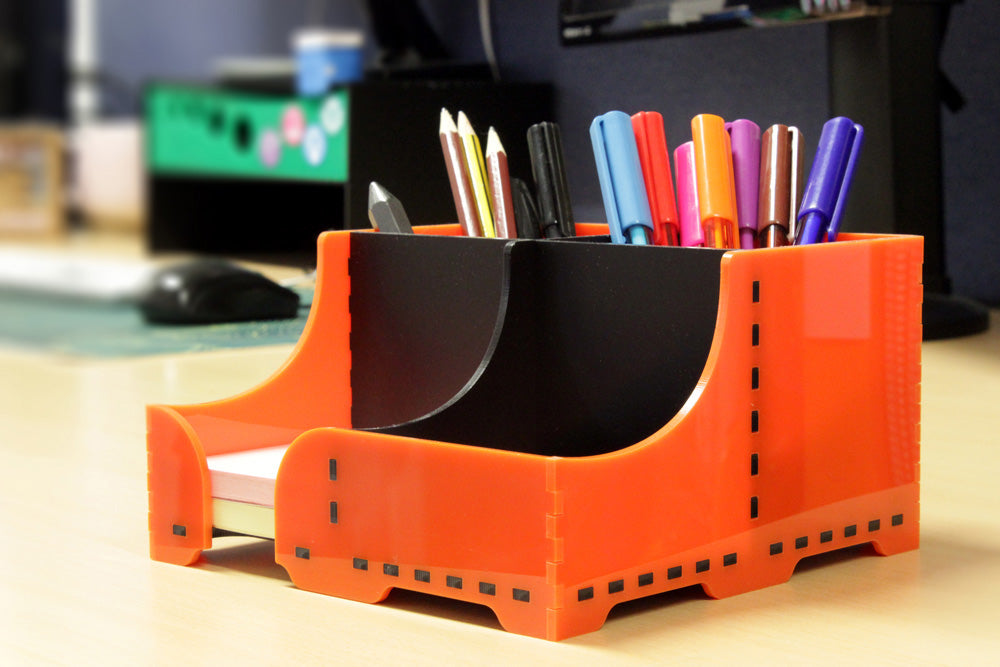
Emma brings you a makes that will brighten a desk space and keep things orderly. Follow along below with three extremely simple laser cut makes, using our awesomely budget-friendly Cheap Acrylic sheets!
This make translates to the classroom extremely well. There are relatively few steps and assembly is super easy and just requires a few small dabs of glue. The design can easily be personalised with some laser engraving/cutting to ensure that all designs are unique.

We have used:
- 1 x 3mm Value Frosted Black Acrylic Sheet
- 1 x 3mm Orange Value Acrylic Sheet
- Superglue
- Laser Cutter
- This DXF.

Step 1- Choosing the materials:
First, open up the DXF provided at the top of this guide. The image on the left shows how it will look when you open it and the shaded version demonstrates which panels are cut from which materials. Black indicates Frosted Black Value Acrylic, and orange indicates Orange Value Acrylic.

Step 2 – Cut and assemble the panels:
Laser-cut the panels, and assemble them! Using a little superglue sparingly will join the finger joints sufficiently.
The middle dividers slot together to form an x (shown on the right side of the image labelled 1) and they then slot into the base. Once the middle is in place, attach the side panels one at a time.
Please note: The pen pot has a compartment at the front made for sticky notes. The front sections, incidentally, are shallower. Please assemble in the alignment shown.


