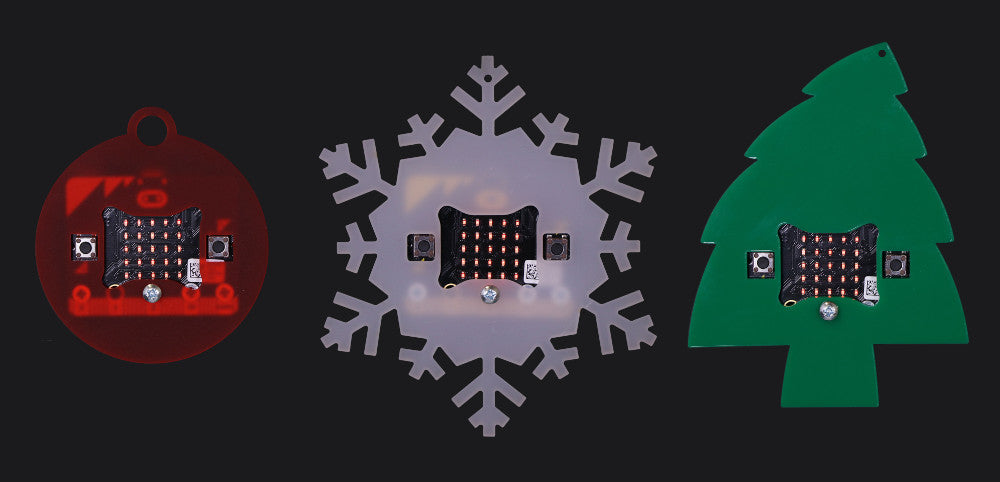
For day ten of our 12 Makes of Christmas we made MI:power microbit Christmas Baubles. Follow our step by step guide and build your own out of laser cut parts.

As always we’ve included our DXF files as a download which you can either use as they are or as a basis for your own designs. You can also cut out the pieces by hand if you don’t have access to a laser cutter. Let’s get making!
You Will Need:
- 1 x BBC micro:bit.
- 1 xMI:power board or a suitable alternative.
- Perspex Sheet or similar material.
- Our DXF cutting files, download here.
MI:power microbit Christmas Baubles:
Step 1:

Use the dxf files provided to cut out your bauble, or use the file as a template to create your own design.
Step 2:

Place the Perspex piece on top of the micro:bit and insert an M3x16mm screw through the hole in the middle.
Step 3:

Fit an M3 nut on the rear side and tighten fully.
Step 4:

Tie some thread or ribbon around the hole at the top of the bauble and hang it up on your tree!
Create some code to show patterns on the 5×5 LED screen, like the fireflies code included that you find under ‘Projects’ on the MakeCode editor.
This concludes the tenth of our 12 Makes of Christmas, we’ll be back tomorrow with another festive making activity. You can check out the other Makes of Christmas, here.