Learn how to get up and running with Scratch for microbit. Scratch is probably the most well known and widely used platform for learning to code. Since version 3, it’s appeal has widened further as it now has support for the micro:bit! More than just a coding environment, Scratch is more like a beginners software development toolkit (SDK) or Integrated Development Environment (IDE). It allows users to create games and animations without having to venture outside of Scratch. The microbit can now be integrated into this environment, use it to start a process, as a controller for a game, and more!

Scratch is designed especially for ages 8 to 16 but is used by people of all ages. The ability to code computer programs is an important part of literacy in today’s society. Scratch is used in more than 150 different countries and is also available in more than 40 languages. Students are learning with Scratch at all levels (from primary school to college) and across disciplines (such as maths, computer science, language arts, social studies). Additionally, it is also used solely for fun by countless people worldwide.
You Will Need:
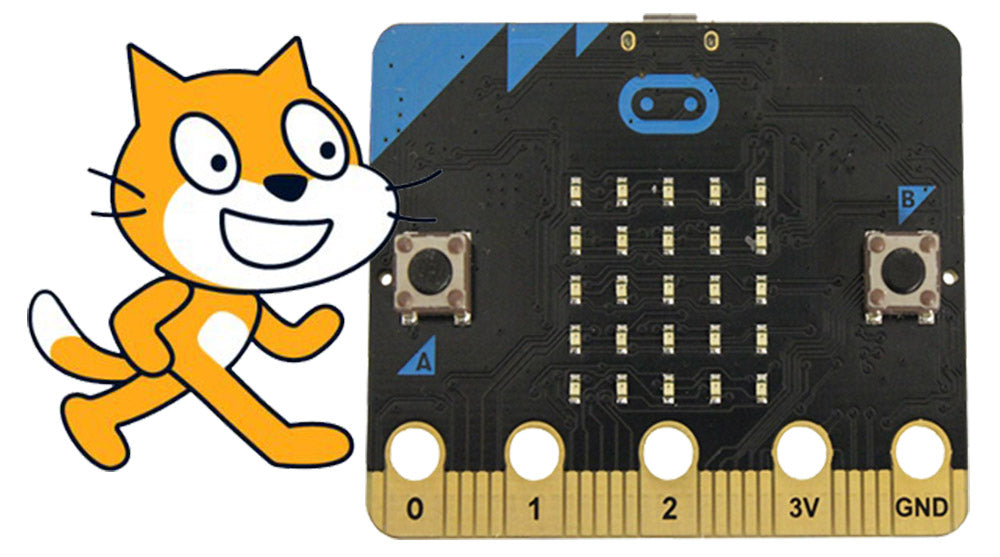
- BBC micro:bit.
- A microbit powering method such as a USB Cable.
- A computer with an internet connection and Bluetooth enabled.
- A modern browser such as Chrome/Safari.
You Will Learn How To:
- Create a user account for Scratch.
- Prepare your computer to allow Scratch and the microbit to communicate.
- Prepare the micro:bit for use with Scratch.
- Add microbit support to the Scratch editor.
- Navigate and use the Scratch ‘Create’ environment.
- Write a program and transfer the program to a microbit.
- Save and share your work, and also how to learn from other peoples work.
Getting Started With Scratch For microbit:
Detailed below is a step by step guide for getting started with Scratch for the microbit. Firstly, we cover everything you need to know to get set up and how to create programs that utilise the microbit. We then cover how users can share their own work and learn from the work of others, which is a big part of the Scratch experience.
Things To Note Before We Start:
- This will allow you to integrate the micro:bit into Scratch. Dedicated coding editors such as MakeCode and Python editors remain the best way to make use of the full microbit capabilities.
- Only the blocks you use from the microbit extension will be flashed to the microbit. All other blocks will be executed within Scratch.
Step One – Join Scratch:

Setting up an account opens up all of the features that Scratch has to offer. If you want to save your work online and be able to share it with others, then an account is essential. Just click on the Join button on the homepage and the dialogue box shown above will open. The information required is;
- Username and password.
- Age, gender, and country.
- Email address.
Once you’ve put in the above information, your account is fully set up and ready to use. Before you get into the other steps below, take a little time to look around and get a feel for where things are and how they work. It wouldn’t hurt to open one of the Featured Projects and have a look at how it has been constructed.
Step Two – Install Scratch Link:

The Scratch microbit page contains information and links to help you get set up. The steps detailed on their page are outlined below.
- In order to enable communication between Scratch and the microbit, you will need to install their Scratch Link App on your computer. There is a Windows and macOS version of this App. Download the correct version for your machine and install.
- Download the Scratch microbit hex file.
- Plug your microbit into your computer via USB. The microbit should now show up as a removable drive in Windows. Drop the file you downloaded onto the microbit removable drive.
The HEX file that you place on your microbit makes it possible for the Scratch editor to automatically flash your code to the microbit as you work.
Step Three – Adding microbit Support To The Editor:

With that all taken care of, we can now add microbit support to the scratch editor. Find the link called ‘Create’ on the top bar menu, this will take us to the main work area of Scratch and start a new blank project. In the bottom left of the editor, is the add extension button. Click on this button and select the micro:bit tile. It will now check that Scratch Link is running and that Bluetooth is switched on. It will then list the micro:bit, click on the microbit and you will be taken back to the editor that now has the microbit blocks added.
Note:
- If you don’t have a microbit connected and Scratch Link running, the dialogue box will tell you. If you close the dialogue, you will still be able to write code using the newly added microbit support.
- In order to flash a program over to the microbit Bluetooth on your computer needs to be active and the Scratch Link software needs to be running. I have Scratch Link added to my Windows taskbar to make it easy to start up when I need it.
Step Four – The Workspace:

When you open a new blank project it will look like the above image, minus the coloured boxes. If this is the first time you have used Scratch this window may look a little confusing, but it’s quite easy to get to grips with. We’ve put a coloured box around each of the key areas.
- The Red Box – Like in the MakeCode editor, the blocks are grouped together in a logical manner. These coloured circles are shortcuts to the various grouped blocks.
- The Green Box – All of the blocks that are available in Scratch are here, and you can scroll through them all from top to bottom. If you use one of the shortcuts in the red box you will jump to the blocks associated with that menu shortcut. When you add support for something like microbit, the blocks will be added to the bottom of the list and a shortcut icon will be added to the bottom of the menus in the Red box.
- The Blue Box – This is the main workspace for the editor and where you build your programs. Select what blocks you need in the red box, grab a block from the green box and drop it into the blue box to build your code.
- The Black Box – This allows you to test your program as you work. If you click on the green flag, the code you have written up to that point will be executed, this includes any animations you have made.
- The Purple Box – This box is for your sprites/graphics/backgrounds. There are two round buttons at the bottom right of this box, one is backgrounds and the other is for sprites. Sprites and backgrounds can be chosen from a library, made in the integrated paint application, or uploaded from your computer.
Step Five – Let’s Create Some Code.

Let’s have a go at making a program that demonstrates how Scratch and the microbit can work together to deliver a Scratch style ‘Hello World’ outcome! In the above screenshot, you can see that we created a very basic animation. To start the animation, we press the A button on the microbit. The sprite we chose from the library then appears in a random location on the screen and says “Hello World”. Three seconds later, the sprite disappears and won’t reappear until the A button on the microbit is pressed.
Create the code shown below and search for a sprite from the library that fits your preference. You can delete any existing sprites by clicking on the little x on the sprite. Then click on the round icon at the bottom of the Sprites window to add another. You can also jump straight to our project page here.

What Is Going On:
- When the A button on the microbit is pressed the code below is executed in sequential order.
- A specific costume is chosen for our sprite.
- The sprite is moved to a random location on the screen.
- If the sprite goes over the boundary of the edge of the screen, it is bounced back so it is fully on screen.
- The Sprite is made visible.
- Our Hello World message is displayed in a speech bubble. (usually from the mouth, unless after a bounce in which case all bets are off)
- The message is displayed for 3 seconds.
- The sprite is hidden from view.
- Pressing the A button on the microbit will start the process again.
Sprites:
- Most of the sprites in the Scratch Library have multiple costumes to aid in animation. Some sprites will have costumes that break up walking, or dancing, or waving, and other activities. You can see from the above code that we selected a specific costume in which the dinosaur’s mouth was wide open.
- Each sprite can have its own lines of code. If you have multiple sprites or backgrounds, you can click on one and the work area will be blank. Write your code in the normal way and then click on the next sprite that you wish to add code to.
Transferring Code To The microbit:
- Any code that you write for the microbit is automatically flashed over Bluetooth to the microbit.
- Any changes and tweaks you make will also be automatically flashed.
- You can test this for yourself. As soon as you’ve produced the code press the A button on your microbit and you will see it played out in the test area.
Step Six – Saving, Sharing & Learning:

Saving: As soon as you create a new project, it is automatically saved to the cloud. It is also continually saved everytime you make a change to anything within your project. You can force a save by clicking on File on the blue menu bar and choosing Save Now. The File menu also has the option of saving a copy to your computer.
Sharing: At the top of the page, you will find a blue menu bar with a button that says ‘See Project Page’. If you click this button you will then be transported to a page that looks the one above. Here, you can enter details about your project and also make it sharable, as we did in the above example. Anyone can now see this project and either learn from it or also remix it to create something new from the code you’ve shared. You can return to your project at any time by clicking on the See Inside button.
Other Options: You can also disable and enable user comments from this page and also run your program in full screen.
Remixing: There are absolutely thousands upon thousands of programs that people have shared with the community. Not only are you free to browse and run these programs, but you can also dive right into the inner workings. If you find something you like and wish that it had more functionality, just hit the green remix button on the Project Page. You can then make your changes and re-share your version with the rest of the community. This is a great way to learn!