
These keyrings are a great cost-effective and time-light project that will make for a great classroom activity. We won’t be presenting you a step-by-step as usual, since these are fairly self-explanatory. Based around the iterative design process, we have provided explanations, free resources, and tips and tricks which could inform a good few lessons at least, if not an entire few weeks of work depending on the length of time allowed on each stage. The supporting files and documents can be downloaded individually in each section or all at once in this zip file.
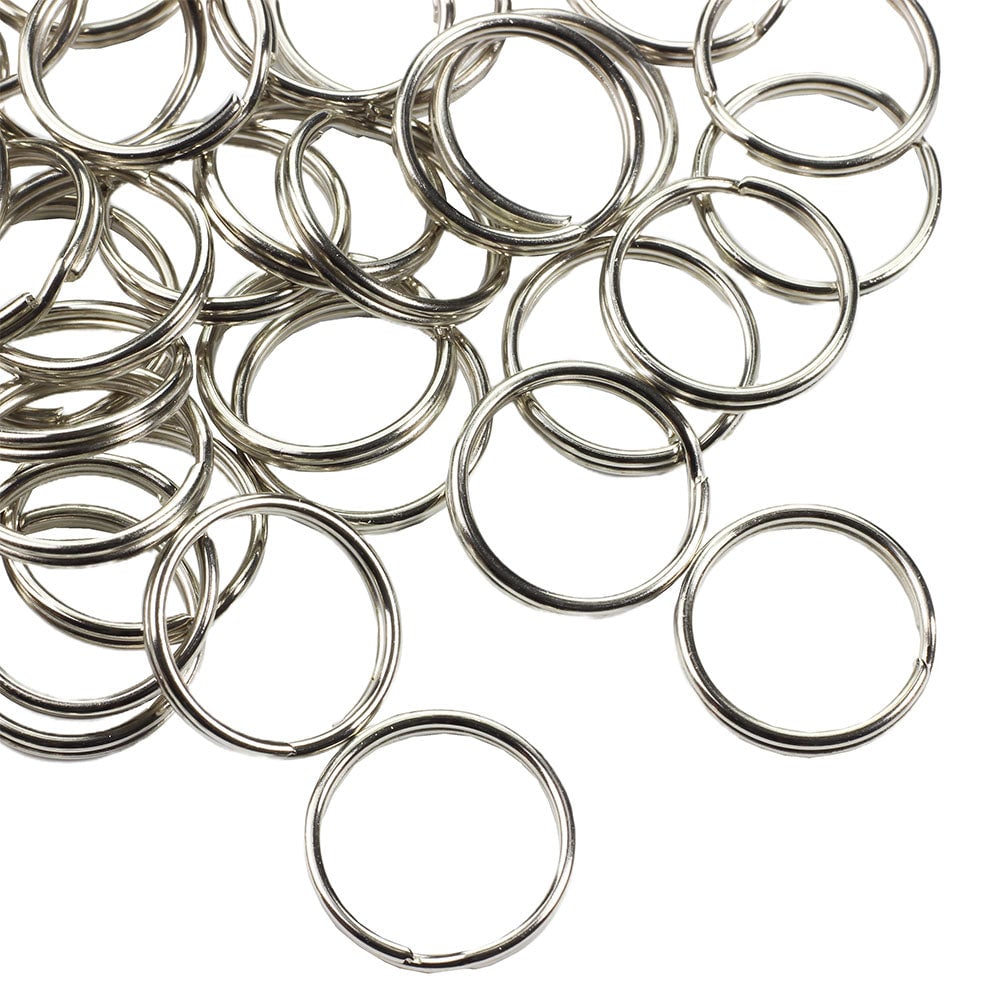
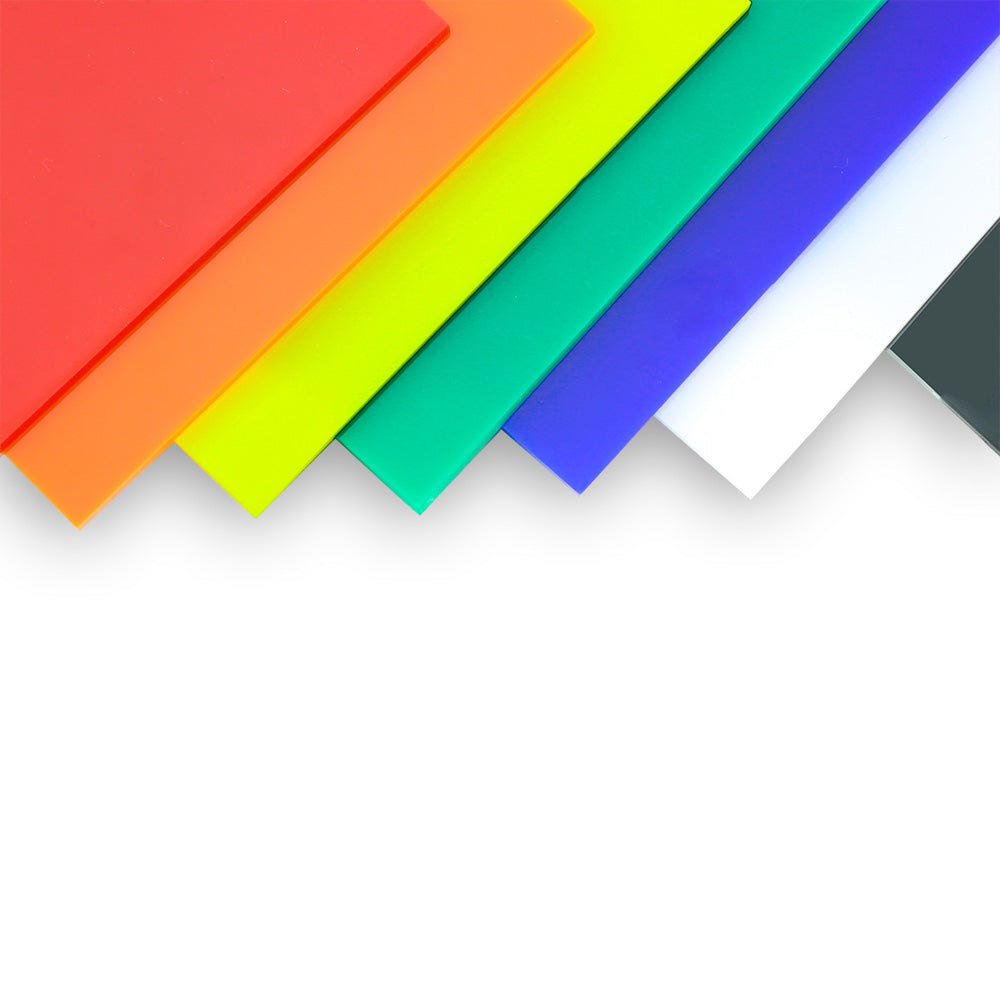
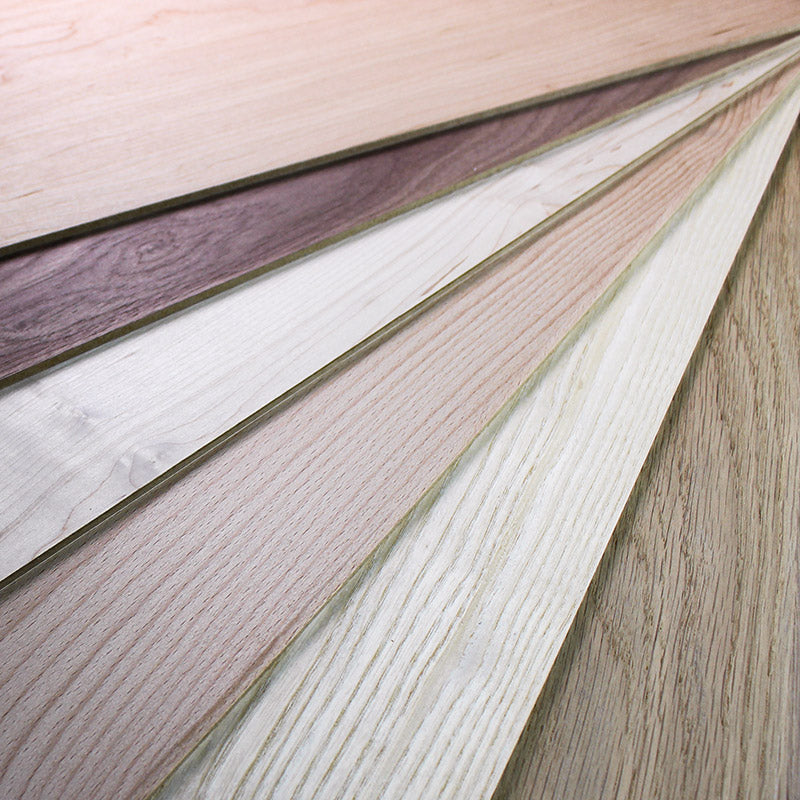
Recommended materials:
The Iterative Design Process:
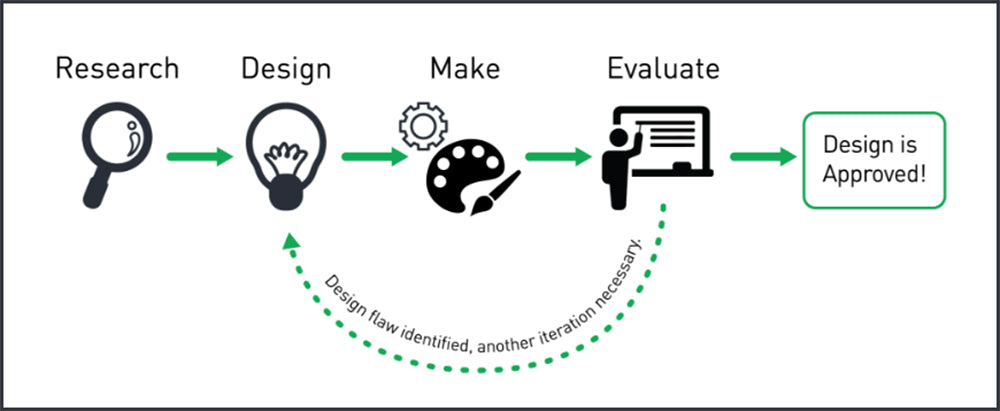
Read on to explore each step, and find out how we suggest you use the steps of The iterative design process to make an effective set of lessons!
Research
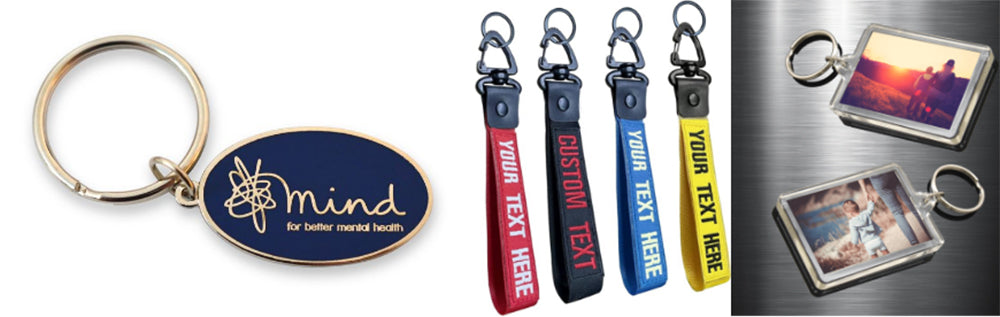
Examples of this include the images above. Image A is metal with a blue enamel inlay, image B is embroidered fabric strips, looped and clasped in a keyring mount, And image C is a common plastic picture frame style keyring.
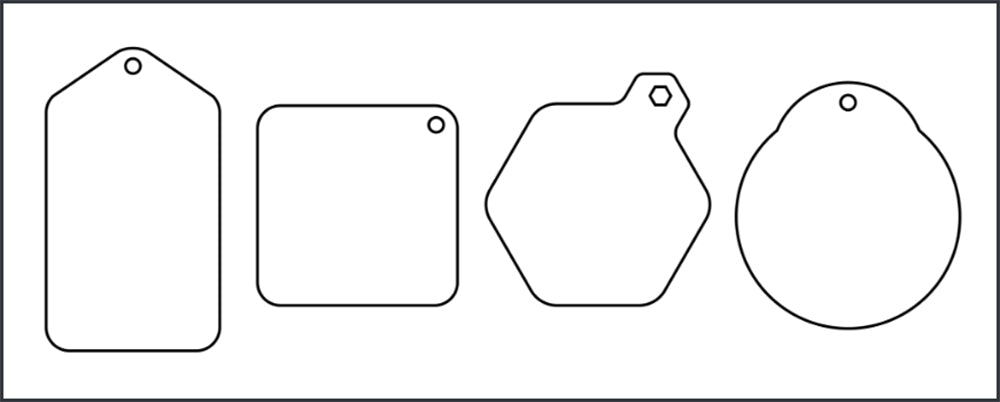
Design
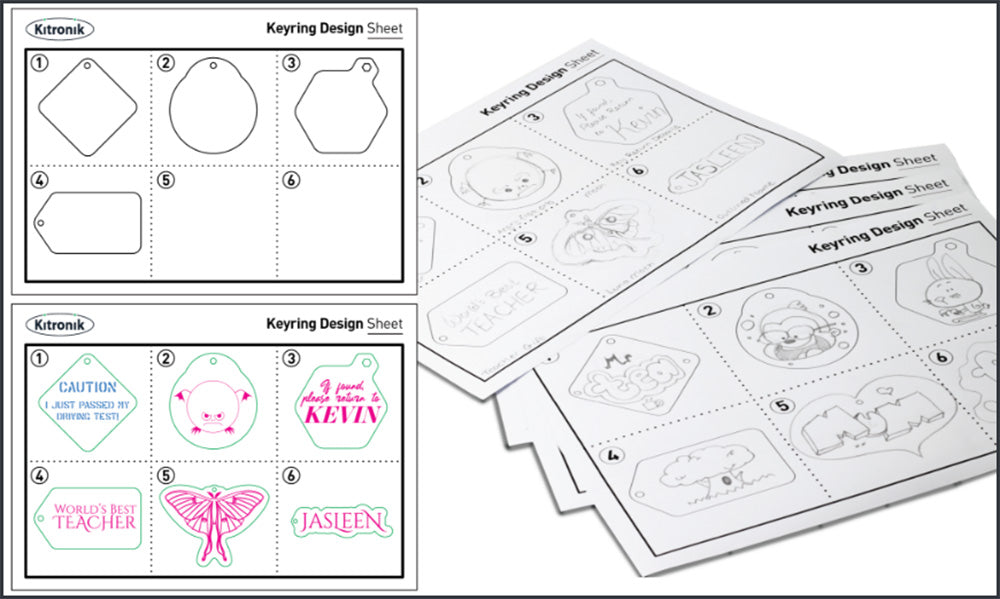
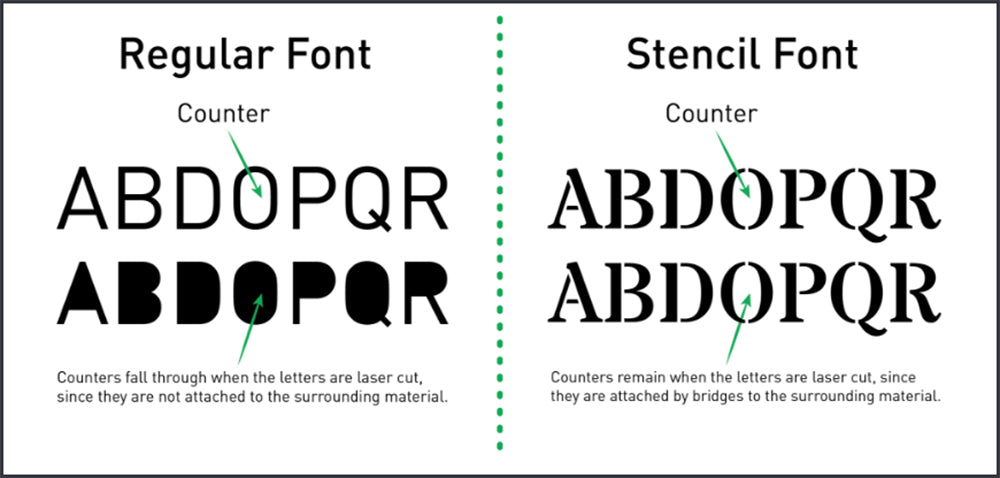
Bonus Design Tip: Stencil Fonts!
If you’re going to fully cut through text in a design, it needs to be a font specifically made to connect the centres of letters (called “counters”). The below image is a good representation of the benefits of these sorts of fonts.
The website 1001fonts is an excellent place to source free fonts. To find this style of font, using the keyword “Stencil” is a good place to start!
Make
Book of Projects Make
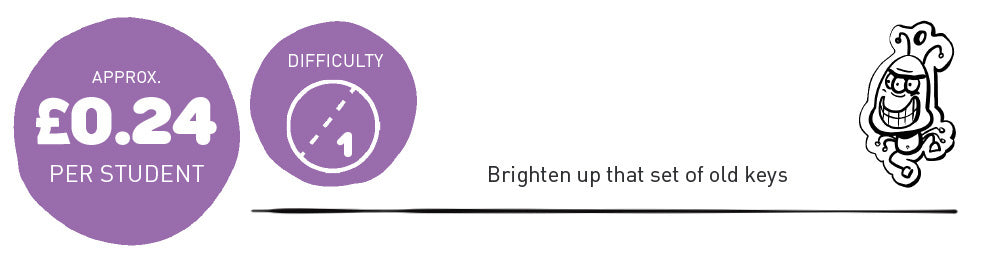
Using the butterfly DXF file, a sheet of Black Painted MDF and a split key ring attachment, we calculated the cost per student per make approximately, this is based on a 30 student class, different class sizes will alter the cost per student slightly. The magic number? £0.24 per student!
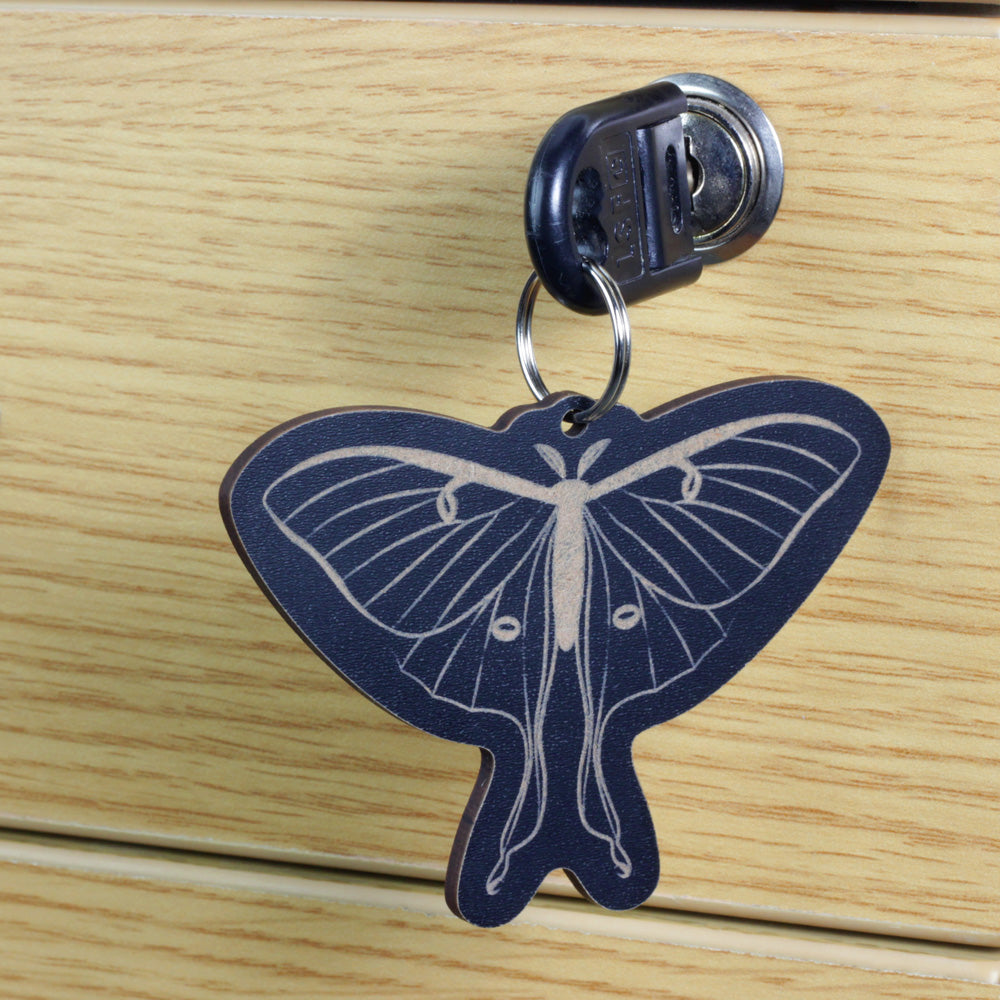
This is a great introduction to using a laser cutter and provides students something they can take home and keep – or try their own designs and experiment with what they can produce at a low low cost. Give it a go!
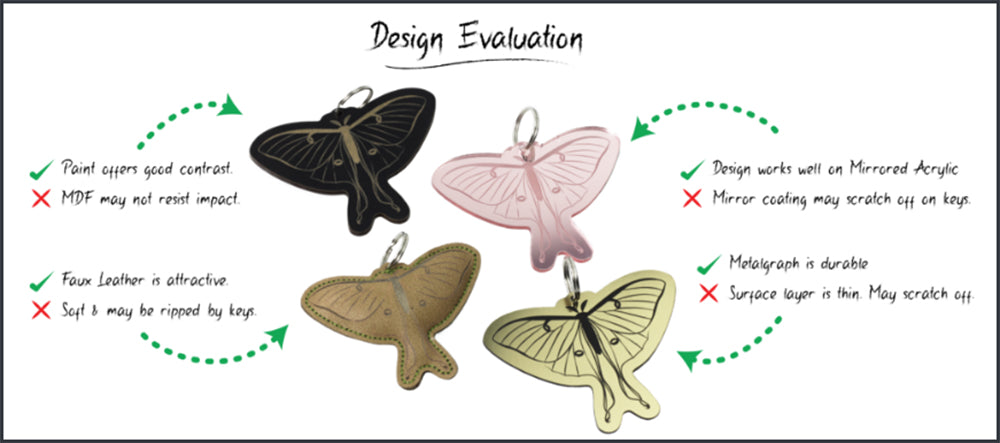
Evaluate
This is a crucial stage, where product testing could be the core of your lesson. How does the keyring perform when subjected to the normal stresses of use? does the material hold up when dropped, grazed on a wall, jangled against keys on a keychain, etc? Is it visually appealing as a keyring design? Is the contrast high enough for the design to be readable?
Needless to say, there is a lot that could be explored!
Approve Design or Make Another!
Get in the information fast lane and sign up for our newsletter here!