Full micro:bit edge connector support has now been added to the MakeCode Arcade editor. To highlight this, Jake from our Dev team has put together a code example to demonstrate the functionality of the micro:bit IO under Makecode Arcade.
The demonstration involves a modification of the “jumpy platformer” example.
We Used
- BBC micro:bit.
- Kitronik ARCADE for micro:bit and MakeCode Arcade
- Clippable 180 degree servo.
- Phototransistor.
- 10kΩ Resistor.
- 3 x AA Batteries.
- Crocodile leads.
- A USB Type-A to Micro-B USB Noodle Cable.
- Microsoft MakeCode Arcade Editor.
The Hardware:
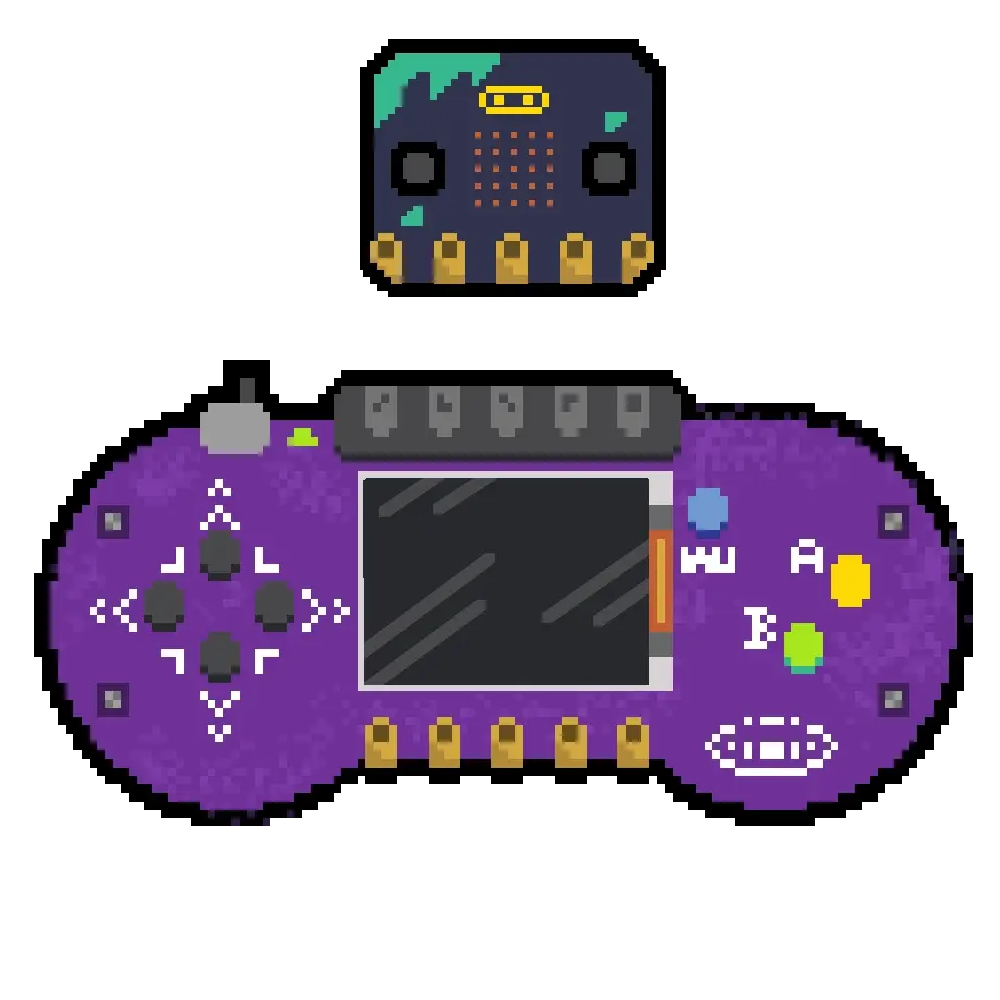
The Kitronik ARCADE for BBC micro:bit is a handheld gaming platform designed specifically for use with the BBC micro:bit and the MakeCode Arcade editor. The board breaks out the 0, 1, 2, 3V, GND pins of the micro:bit, these pins can be connected to with crocodile clips. It is these pins that the example code below utilises.
Adding the edge connector and servo extensions:

The edge connector functionality can be added to the MakeCode editor as an extension. Start a new project, then then click on the cog icon in the top right of the editor and select Extensions. Type and enter edge-connector into the search bar. Once you’ve clicked the tile, a “pins” tab will now be available under the “advanced” tab.
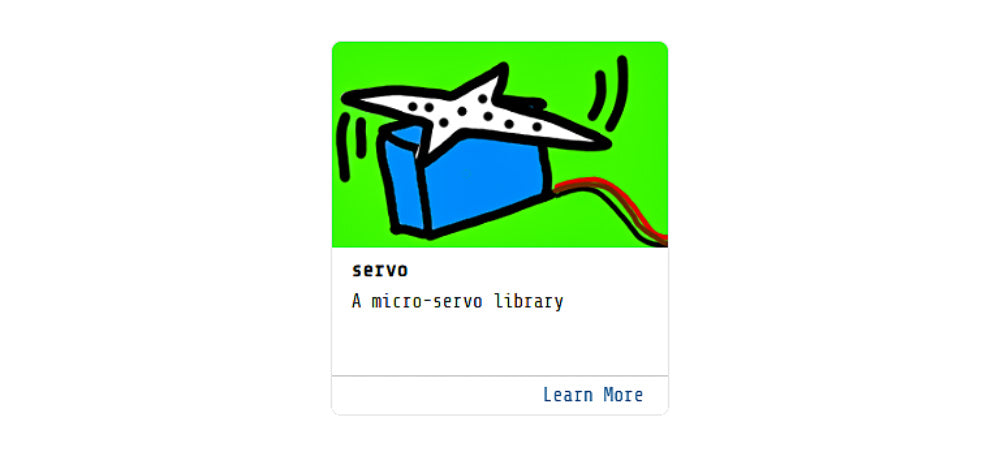
The servo functionality can be added in the same way, typing and entering servo into the search bar instead. Once you’ve selected the tile, servo will be added to the menu on the left.
Servo demonstration – raising a flag at the end of the level:
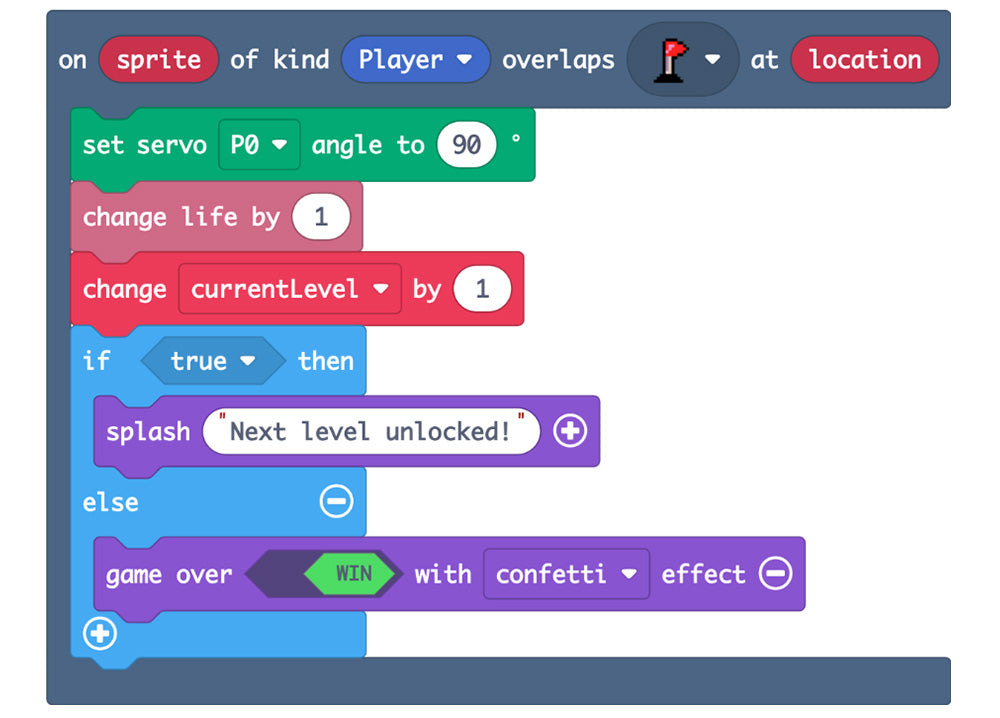
To demonstrate the output functionality of the edge connectors, I’ve reused the original servo example. In this, a flag (attached to a clippable servo) will be raised when the player reaches the end of the level. The flag will then be lowered when the player starts the next level. To achieve this, two servo blocks are used in the code – the first to raise the flag, and the second to lower it.
Our servo is attached to P0 on the edge connector, and we want to raise the flag at a 90° angle. We place the servo block from the servo tab at the start of the function related to when the player overlaps the flag, meaning the end of the level has been won. As we want to reset the position of the flag at the start of the next level, the flag is reset to a 0° angle right at the end of the function – meaning the next level has been started.
This results in our flag raising when the end of the level has been reached, and is lowered at the end of the level: As demonstrated in this video.
Analog input – light sensor:
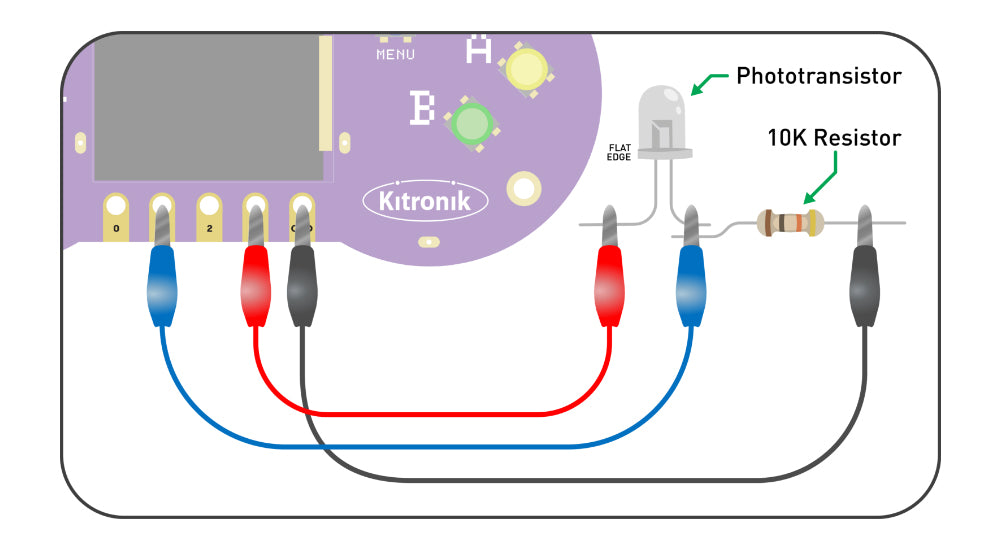
To show that the edge connectors can also be used as an input to interact with the game, two very simple functions have been added to the game to interact with additional hardware. The additional hardware is an phototransistor and a 10K resistor, forming a potential divider. As the light on the phototransistor decreases, the resistance of the phototransistor increases. The result is that the voltage on pin P1 will begin to fall.
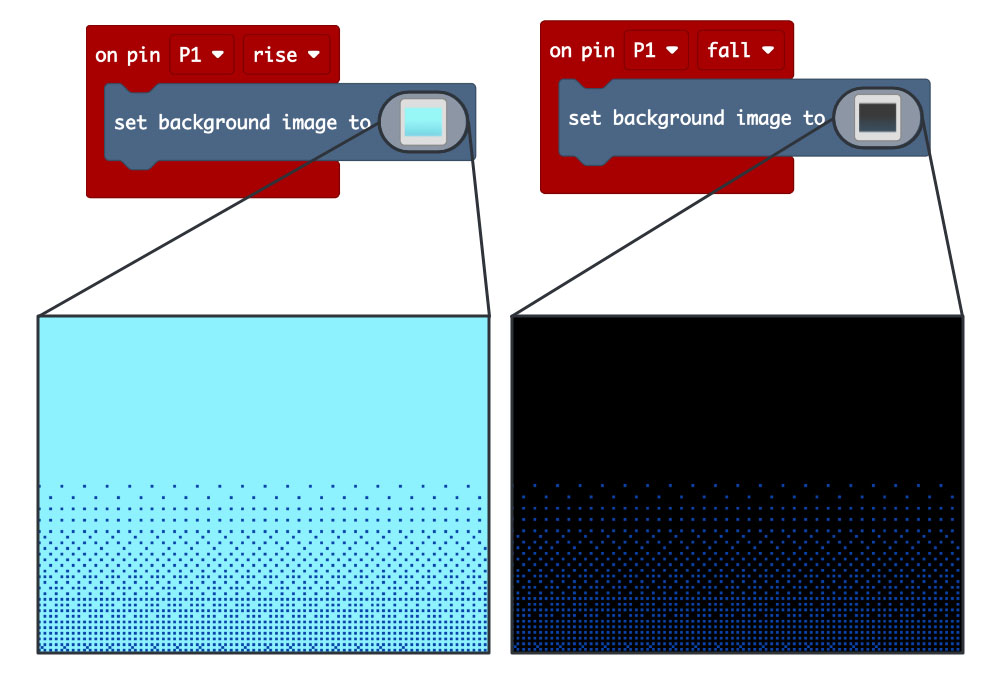
To interact with the game, we can use the existing block “on pin” to select P1 from the first drop down list, and to also select “fall” from the second. This will enable an action to take place in the game when the phototransistor is covered. In this case, we have set the background to change from a Light Blue background, to a Black background to simulate night.
When the phototransistor is uncovered, and the voltage on pin P1 begins to rise, a similar function is needed to change the background back from black to light blue.