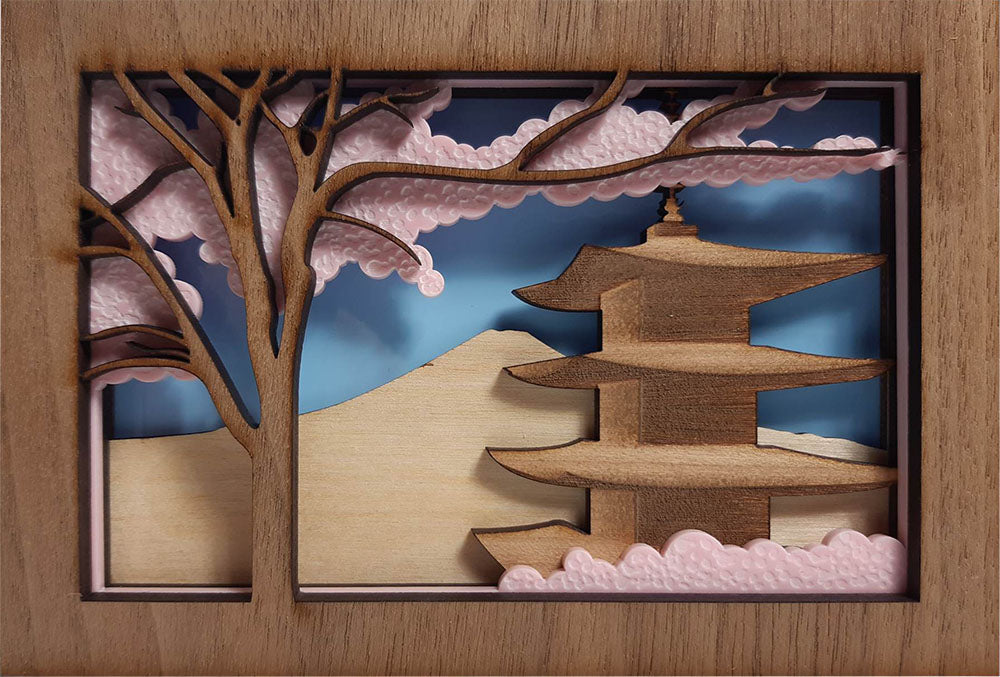

Create a layered Japanese landscape piece of art using a selection of our latest veneered MDFs and plywood as well as Perspex® sheets. Follow along with the instructions to see how Kev Brett, in house illustrator/Video creator, made his.
For this piece of artwork we’ve used:
- Our DXF design.
- Veneered Walnut 4mm MDF
- Veneered Cherry 4mm MDF
- Birch Faced 3mm Plywood
- Perspex® Candy Floss Blue
- Perspex® Baby Pink

Download our layered DXF file with each separate layer.


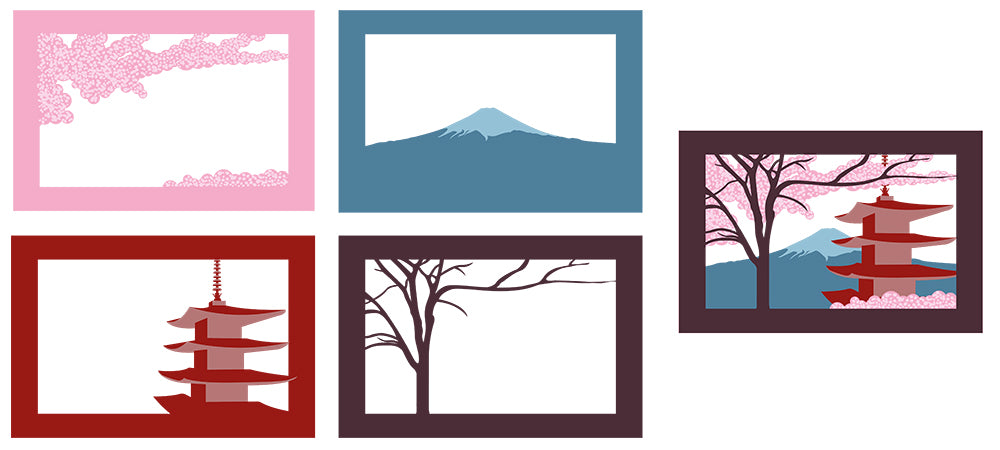
I. Cut and engrave each layered image as per the DXF file.
II. Cut the top layer (trees), into the darkest wood, in this case the Veneered Walnut MDF.
III. The second layer (the blossom) is cut into Perspex® Baby Pink Acrylic.
IV. The Japanese temple is cut from the second darkest wood, Veneered Cheery MDF.
V. Repeat again with the lightest wood, the Birch Faced Plywood, for the furthest background element, Mount Fuji.
VI. Just to finish it off, we used a rectangular piece of Perspex® Candy Floss Blue from our Sweet Pastels range for the background sky.

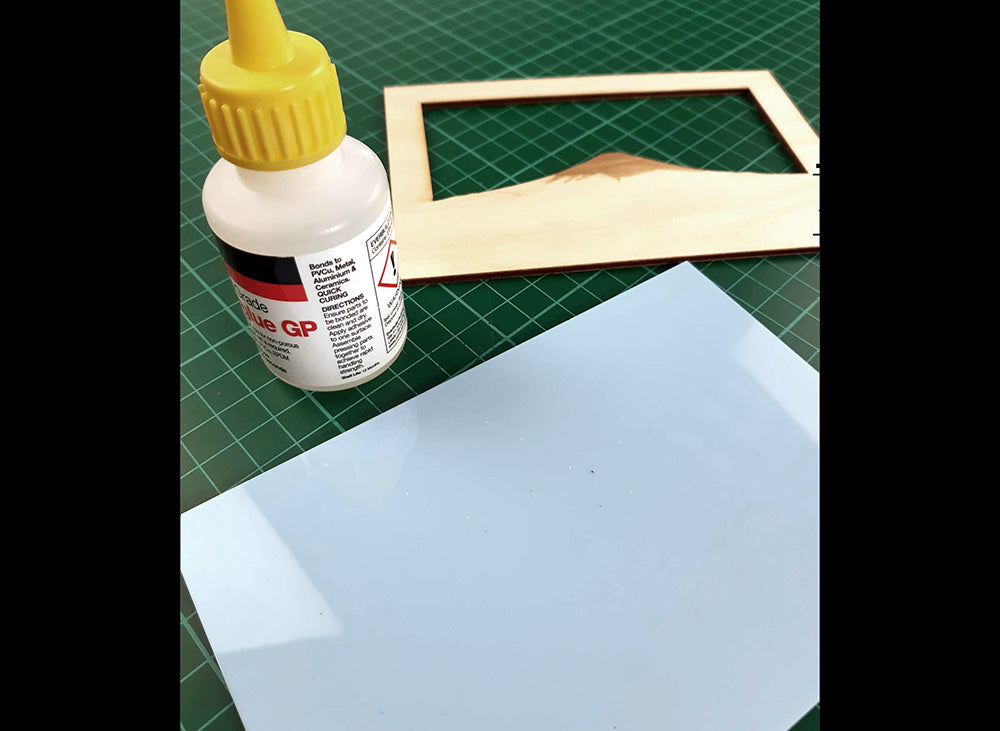
We used basic superglue to stick the layers together (WARNING: don’t glue fingers to any part of the artwork!).
And there you have it, your very own layered Japanese Landscape!