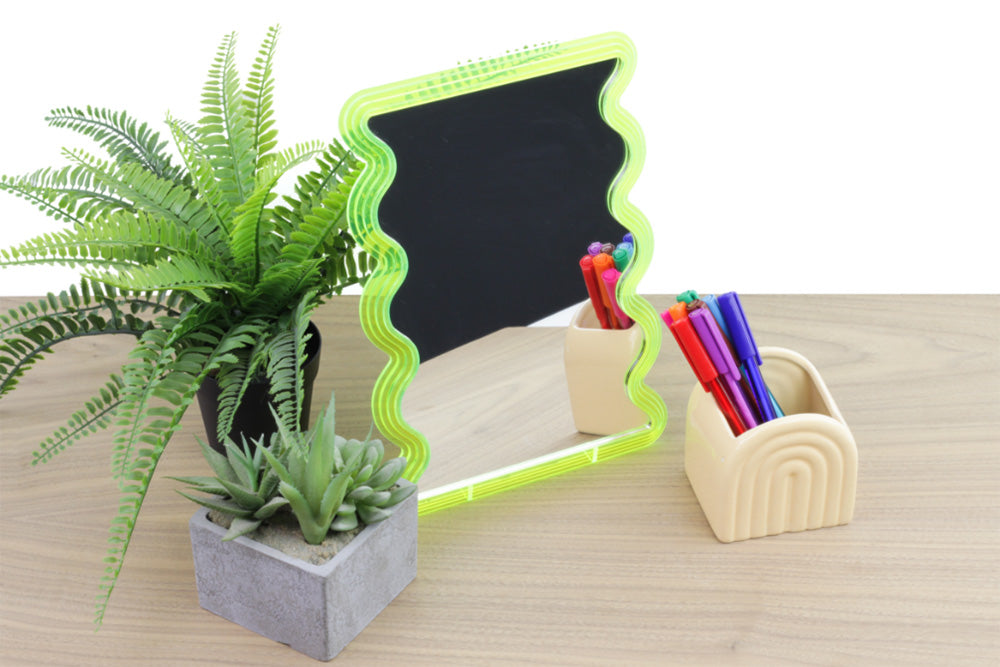
Wiggly mirrors rose in popularity as a statement piece on TikTok in the last few years, and a good number of DIY projects have been documented around making these distinctive decorations.
Emma is bringing you a simple laser-cut version, using only our Value Acrylics, making this the perfect low-cost project to give your own twist to with customisation. Do you want to change the colour or material? Easy. Want to add LEDs? Our Noodle LEDs
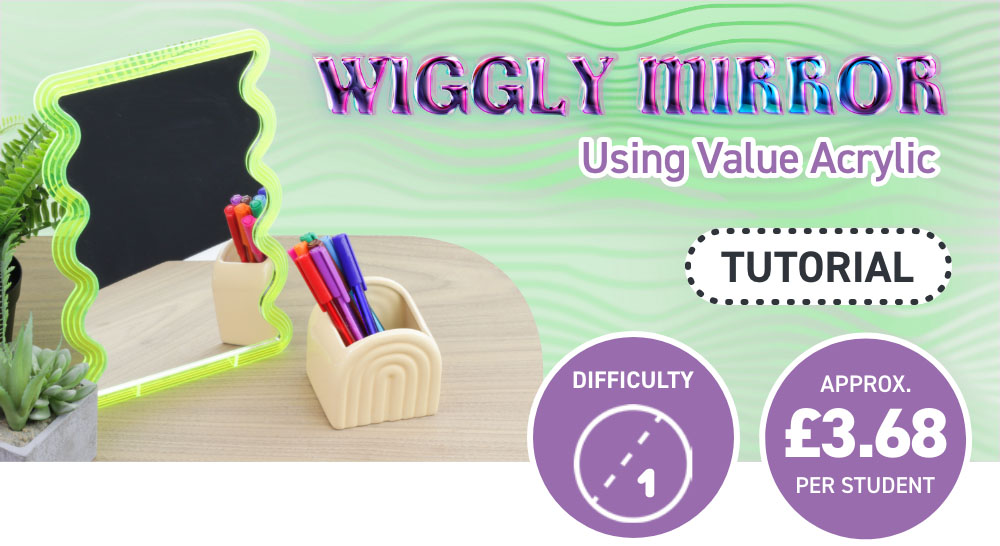
This Make Covers:
We Have Used:
- Silver Mirrored Value Acrylic Sheet (43339)
- Green Value Fluorescent Acrylic Sheet (43317)
- A Plastic Adhesive of your choice.
- This DXF.
Design your Mirror!
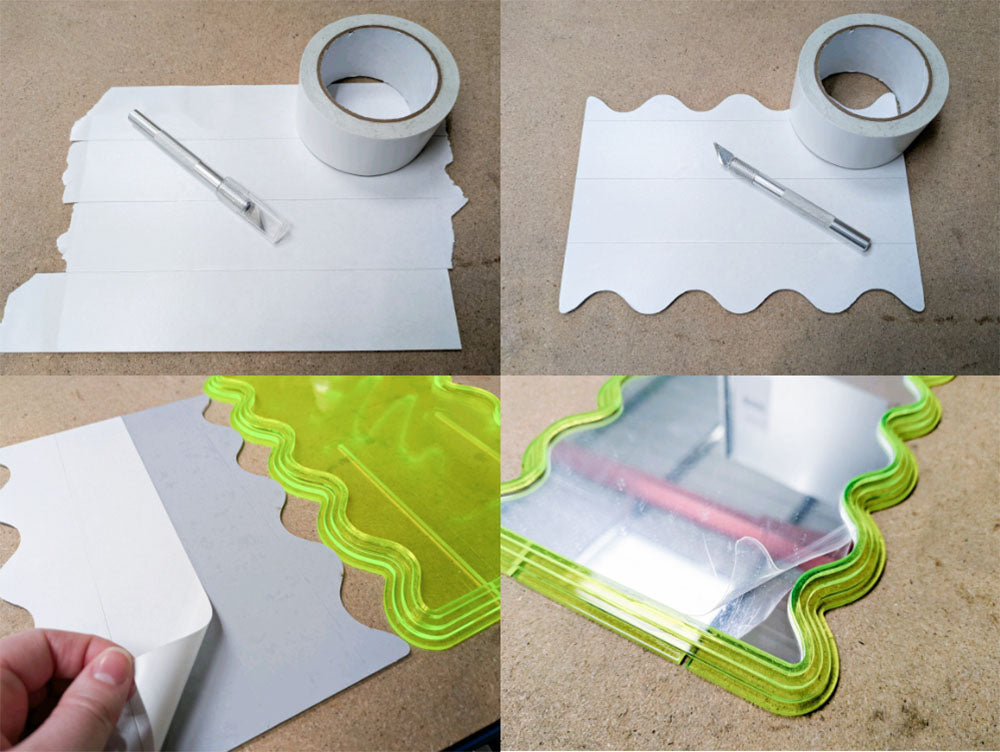
Before producing the laser file, drawing out your design can help you work out what your design needs to look like as a laser file.
We’ve provided the DXF file for the mirror made in this tutorial, and you’re welcome to use it as is, as inspiration, or as a base for further customisation. Click the link below to download the dxf.
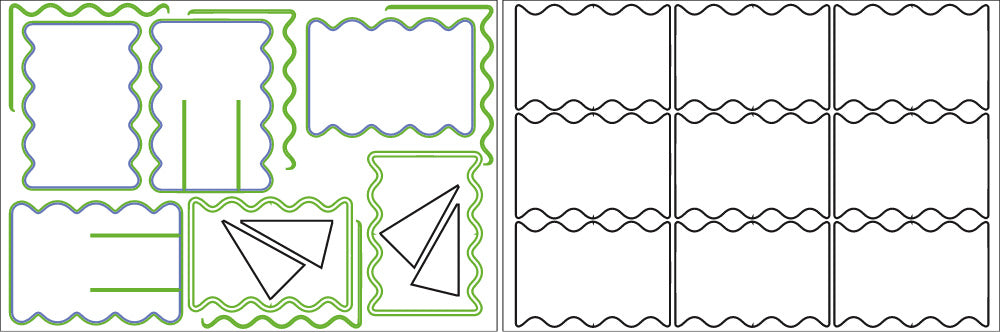
Below is an image of the file you will be downloading With two 600mm by 400mm borders to demonstrate how We anticipate it being used. The left contains two mirrors’ fluorescent frames on one acrylic sheet, and the right is four of the mirror itself on a single sheet of mirrored acrylic to show how multiple projects can be tessellated onto a single sheet to minimise waste.
Laser Cut the Mirror Pieces!
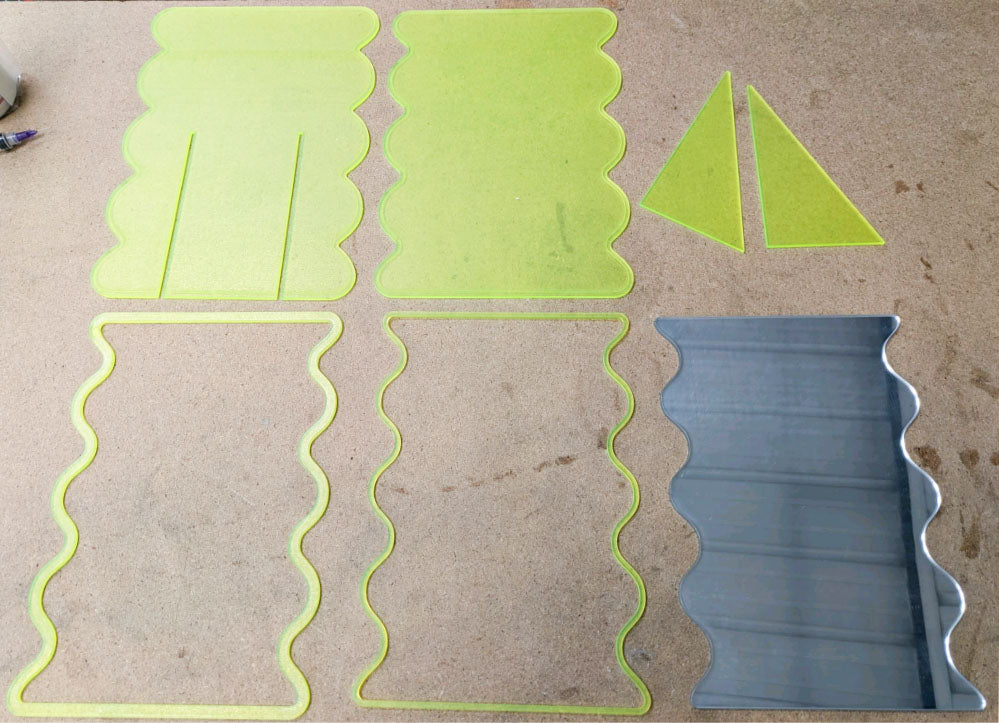
As shown here, the two back-most fluorescent layers are solid pieces with the outline of the next layer up kiss-cut on top so that the pieces can be aligned properly when assembling them
Below is a diagram of the DXF file you can download at the link above. This is only the fluorescent side, and the lines Are coloured to demonstrate what cut should be done.
Cut the fins first (black outline), then kiss-cut (not all the way through) the blue lines to help with orienting the Layers when assembling. The green lines should be cut All the way through.

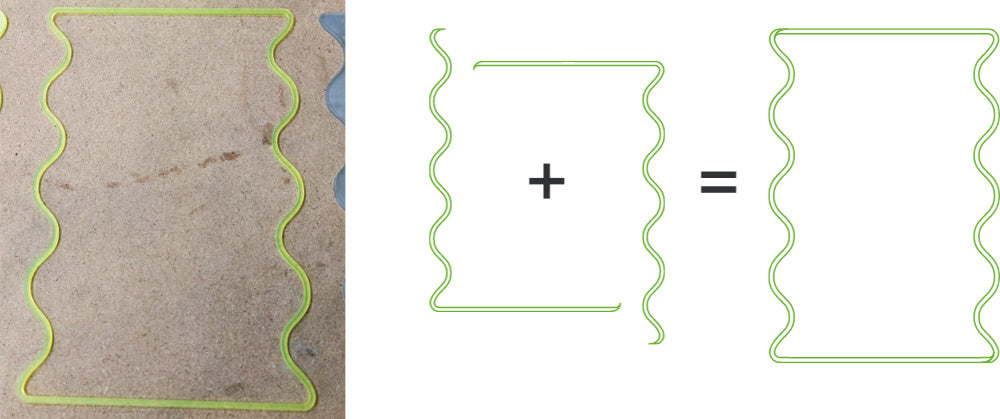
PLEASE NOTE: Originally we cut the top-most layer in a single piece, but on the arranged DXF we split it in two, and it can be assembled as per the image below.
Assemble the Fluorescent Frame
You are welcome to use another adhesive of your choice, however, we have used a plastic welding adhesive in order to minimise the amount of frosting in the clear acrylics. Superglue would compromise the fluorescent acrylic in this way, for instance.
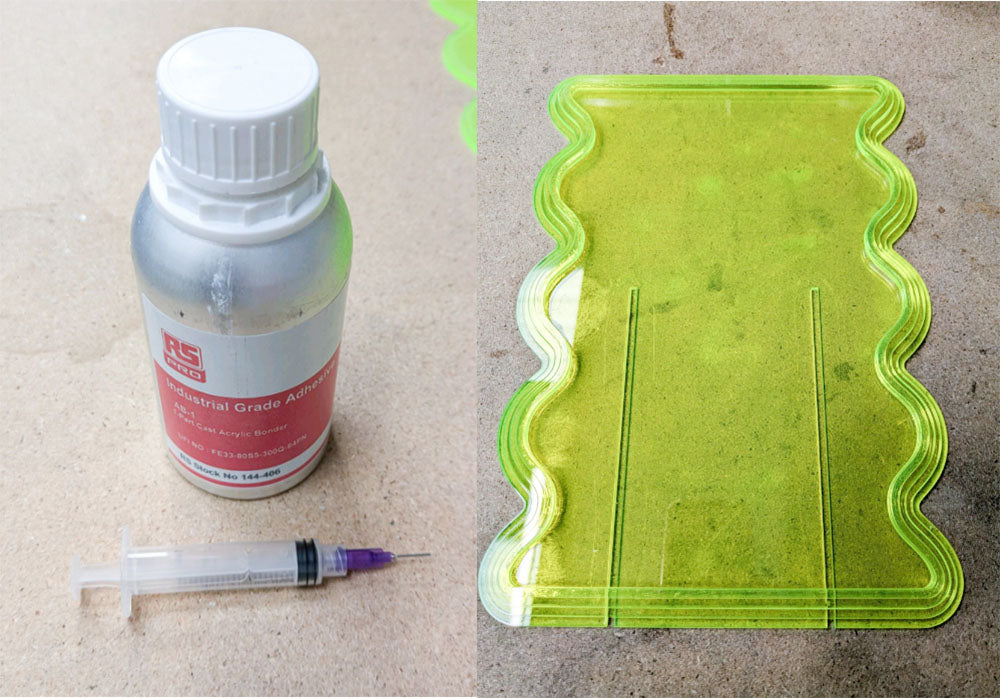
Use the kiss-cut layer outlines on the bottom two layers to properly orientate the layers on top. The last two layers which are hollow in the middle can be aligned using that internal perimeter since both are the same.
Add the Mirror Surface
Adhesive use here should be considered also. We have Opted for double-sided sticky tape since the hold that is needed is not structural or under stress, and any strong glues, like superglue or a plastic weld, could damage the mirror coating on the back of the mirror acrylic sheet. It can also be helpful to leave the film on until after this step in order to protect the front surface.
Design your Amplifier Enclosure!
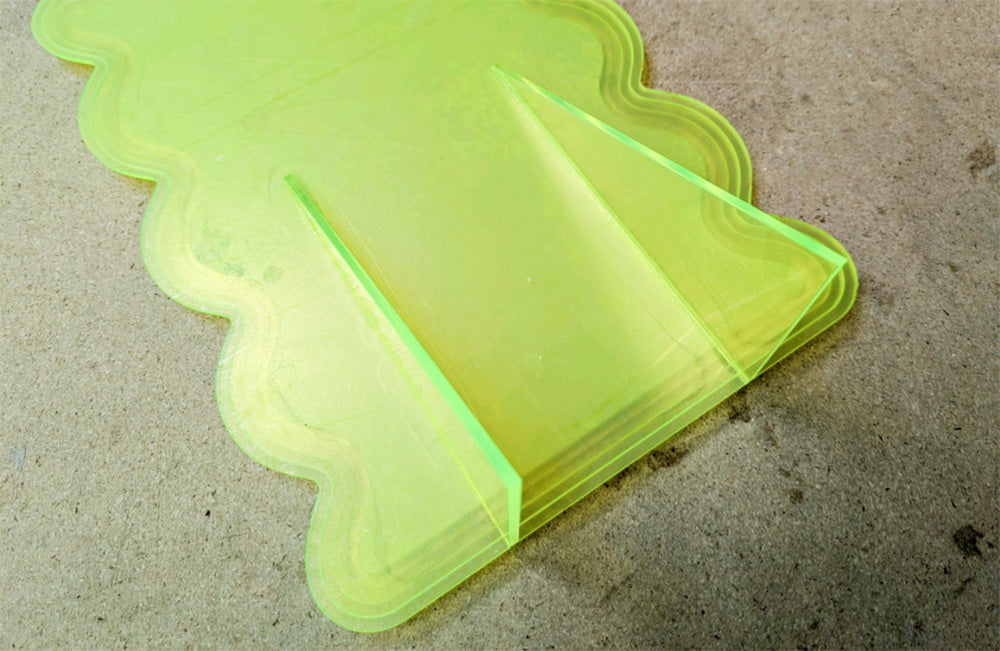
You can add whatever fixings you want to the back of The mirror, such as a wall mount, however, we opted to Make this a free-standing desk mirror and designed two Fins that fit into slots in the back as shown below. We Used the same plastic welding adhesive to secure them!
Now you’re finished!
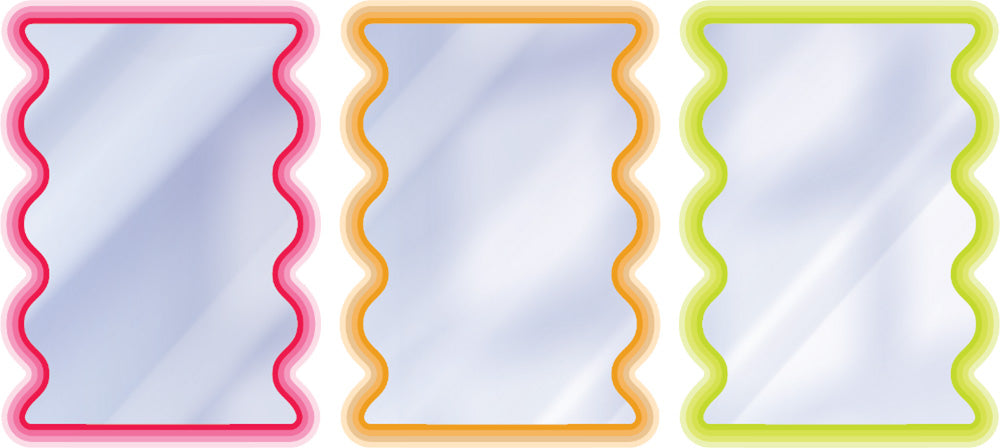
As we said above, this is a highly customisable project. Keep the same design, add LEDs, or completely switch up the shape and colour – it’s up to you!