Put some music in your hands with this pocket sized 3D printed mono amp case. This fun build keeps each step simple but offers loads of customisation options. We can’t wait to see what you can do with it!

The design is entirely clip-together and features a window to show the workings of the amp. You often can’t see the workings of modern devices, but why not show off your soldering skills to the world!

You will need:
- Mono amp kit
- SPST toggle switch
- 3D printer
- Translucent Polypropylene
- Wire strippers/cutters
- Soldering iron
- Our 3D print files
3D Printed Pocket Sized Mono Amp Case:

Start with the 15KΩ resistor (Brown, Green, Orange, Gold) and insert into the R1 position. Now do the same for the 100KΩ resistor (Brown, Black, Yellow, Gold) into R2. These are not polarity sensitive, meaning they can go in either way around. The ceramic disc capacitor marked “104” goes into position C2 and is also not polarity sensitive.
Finally, there are the two 1uF capacitors that go into positions C1 and C3. These are polarity sensitive so make sure the short negative leg goes to the negative hole.

Cut a 10cm length of the audio jack cable, then use wire strippers to strip both ends. Take the cable and solder to the speaker’s terminals at one end and PCB speaker output on the other, being careful to connect positive to positive.
Do not solder the input cable yet. You will need to push this through the small hole in the side of the case first. If you have soldered it, you can simply cut the wire further along and re-solder it after running it through the case.

Next is a helpful addition of an on/off switch. Take the red positive wire from the battery cage and cut it half way along. Strip the ends of these wires and solder them to the terminals of the SPST switch. Then you can solder the red and black wires into the power holes of the PCB.
Customisation And 3D Printing:

Before starting your 3D prints, you might want to add some bonus features to make the amp your own! Cut logos and text by extruding a sketch into the front face. Or get really adventurous adding cable winders, speaker grilles, and clips! We used Fusion 360 to produce this case but any modern 3D modelling software is suitable.
If you are making these cases with a class we recommend giving them the front cover to modify and learn some CAD skills.

When setting up the print, you want the largest flat surface on the print bed. In this case the front face of the front cover, and the back face of the body. The print time will vary depending on your printer setup. Ours took 3 hours for the body and 1 and a half hours for the front face.

To make the window, you’ll need some translucent polypropylene. This material can be cut with a craft knife, scissors or a laser cutter. Additionally, an advantage of a laser cutter is you can add an extra level of customisation with engraving!
You will need a 29 x 39mm rectangle of polypropylene. Start with a 30 x 40mm piece and trim it down until it fits snugly into place.
Mono Amp Case Final Assembly:

Now it’s time to assemble the speaker! This design uses no glue or screws, so the assembly is relatively straightforward. First insert two AA batteries into the holder, then push this into the bottom right slot. Next, remove the securing nut on the switch, push it through the large hole in the case side, and screw the nut back on to secure it in place.
Tuck the wires behind the PCB, then push the PCB down onto the four plastic pins. Finally, push the speaker magnet into its circular holder. Any remaining wires should be tucked into the space behind the speaker.

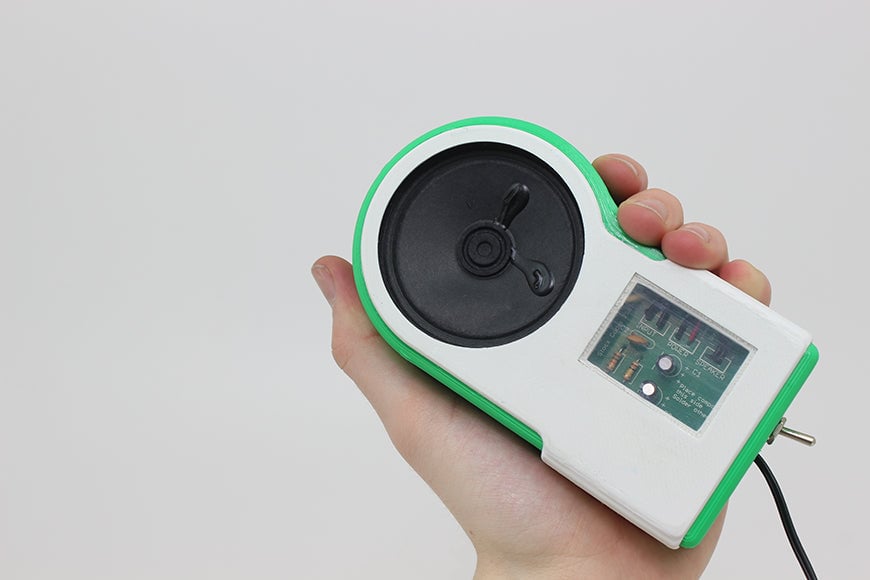
Your speaker should now work! Clip on the front cover of the mono amp case to finish the build.
Finally, plug the jack cable into your device and flip the speaker’s switch to the on position. Listen carefully for any pops or buzzing that might mean a loose connection. With some luck, you will now have a working pocket-sized speaker that shows off your soldering skills for the world to see!