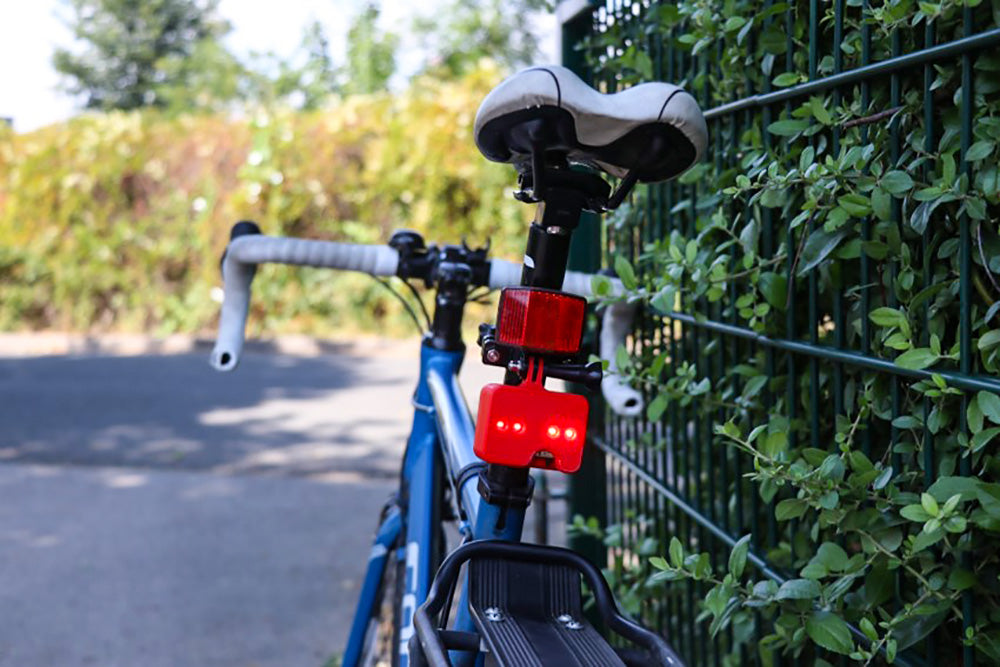
These free 3D printed deluxe rear bike light cases have been designed to fit our new Rear Bike Light Kit. Now the nights are drawing in, it’s time to get your bikes ready for the low light conditions ahead. There is no better way to do that to use something you’ve made yourself! You can either use our free designs as is or use them as inspiration for your own designs.

We’ve produced two designs to allow for more flexible mounting solutions. The first version uses a built-in clamp design which will fit any standard 27.2mm seat post (NOTE: you will need 4 x M3x12mm screws). The second can fit onto any GoPro mount, so you can fit it anywhere on your bicycle. There are both vertical and horizontal mount versions for each.
Free 3D Printed Deluxe Rear Bike Light Cases:
The main aims of these designs were that they fit the chosen kit and also that the cases be easy to put together and fit. The list of required things below highlights how little you will need to get this Make done. The only chore is the wait for the printer to finish, everything else is quick and simple. Let’s get making!
You will need:
- Kitronik Deluxe Bike Light Kit.
- A 3D printer and preferred filament.
- 4 x M3 12mm screws & Screwdriver.
- A bike to mount your new case on.
- Our free 3D Printing Files.
Step 1 – Choose Your Case Option For 3D Printing:


Choose which version of the bike light case resource you want to make, and print in your preferred colour. Print the hinge pin at 100% filament. Everything else can be printed around 25% filament and will need supports. We recommend using a brim to help the parts stick to the print bed too.
Step 2 – Clean Up The 3D Printed Parts:

Firstly, remove the parts from the 3D printer and tear away the supports and brim. Then, use a small knife or cutting tool to neaten up the print. You may also want to file/sand the print too depending on the level of finish you want.
Step 3 – Fitting The Rear Bike Light Kit Into The Case:

Wire up the 3xAAA battery cage to the built up bike light board. You do not need a long length of wire for this: 30-40mm should do. Carefully fold the capacitor down so it is flat against the board.

Insert the board into the main front body of the case—to position the switch you will need to slide the board in at an angle.

Step 4 – Fitting The Assembled Rear Bike Light To Your Bike:
Fix the rear body using the hinge pin and then snap the assembly closed.

If using the clamped version, fit to your seat post and use 4 M3x12mm screws to fix the clamp pieces on. Tighten evenly on each side for the best grip. Also, do not over tighten as you may be able to break the print.

If using the GoPro mounted version, simply attach the preferred mount to your bike light and then fix it wherever you want on your bike.
Step 5 – Using The Newly Installed Rear Bike Light:

Your bike light is now ready for use. Lastly, choose flashing or solid light using the easily accessible switch.
Additionally, to change the batteries, gently pull the case open and then switch out the dead batteries. Snap the door closed when done and off you go.


