Some cell holders have switches on them but on those that don’t, the only way to switch off the cell holder is to remove the cell.
There are a range of different switches that can be integrated into a circuit to enable you switch the LED on and off. Sewable Slide Switch – this has a small switch that slides across to switch the circuit on and off.  Sewable Push Switch – this has a small push button on the switch which, when pressed and held, switches the circuit on (and off once you remove pressure).
 Sewable Tilt Switch – when the fabric is moved, this activates the tilt switch.
 Sewable Magnet Switch and Magnet – a magnet is sewn into another part of the product and when the two come into contact, the circuit turns on.
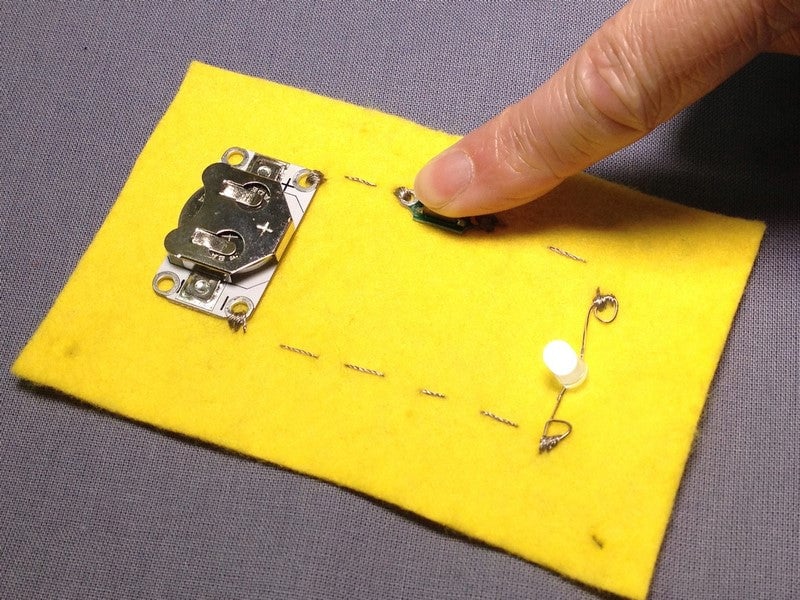
 All switches are integrated into the positive side of the circuit. The negative side of the circuit is stitched as normal with the negative side of the LED being stitched onto the fabric and then joined to the negative side of the cell holder. The switch is sewn into the postive side of the circuit. There is no negative or positive side on the switches so it doesn’t matter which way round it goes. The key thing to remember is that a new piece of thread must be used when joining the cell holder to the switch and when joining the switch to the LED. For help on choosing needles, threading, stitches and how to create a basic circuit, take a look at the other tutorials on these areas.