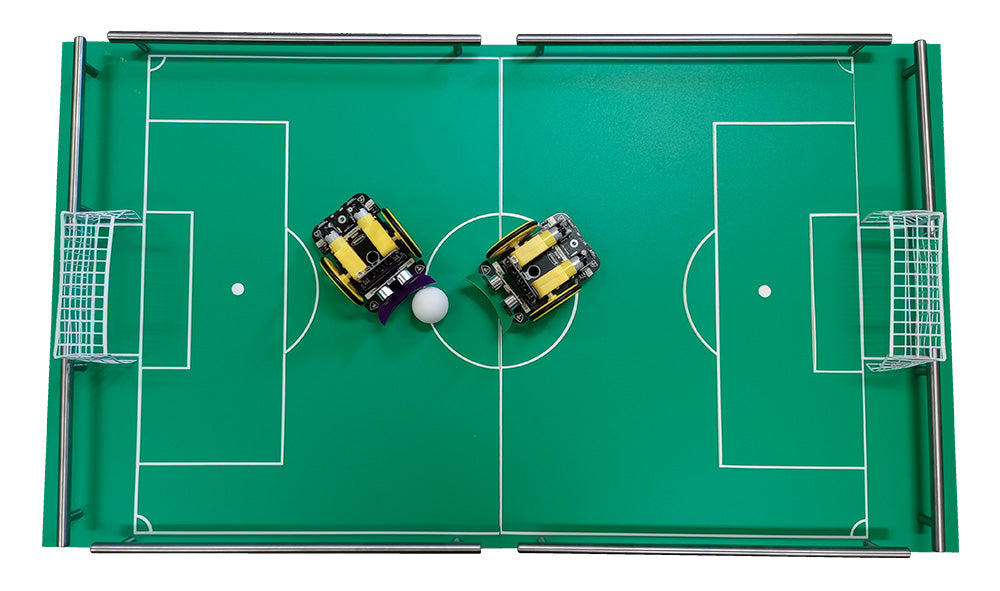
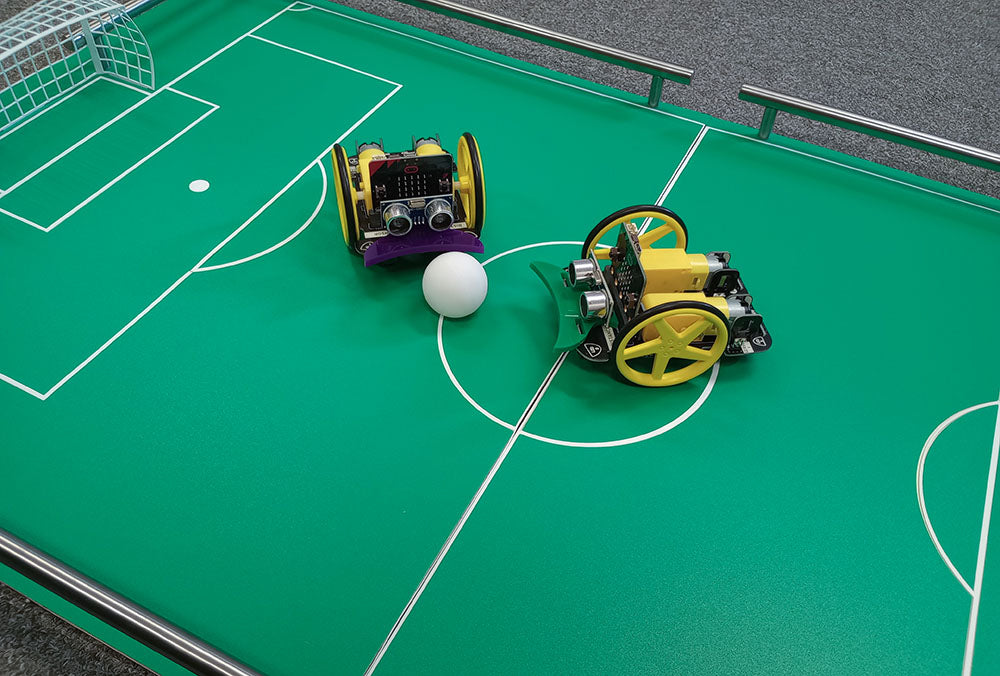
Some of you may have seen a version of this football pitch at the Rome Maker Faire 2023, or this exact pitch at SETT 2023. Today, Emma shows you how it’s made so that you can make your own! Perfect for a tiny game of robot football with our :MOVE Motors!
We have used:
- Files:
- Materials:
- 0.8mm Green Polypropylene Sheet.
- 0.8mm White Polypropylene Sheet.
- 2 x 4mm Panguaneta Poplar Plywood 800 x 600 Sheets.
- 5mm Green Perspex®.
- 5mm Purple Perspex®.
- The Tech:
- 2 x :MOVE Motor.
- 2 x :GAME Controller.
- 4 x micro:bit.
- Additional Items:
- 4 x 405mm IKEA KALLRÖR Handles.
- 4 x 213mm IKEA KALLRÖR Handles.
- Adhesive foam pads (or another adhesive of your choice).
- Double-sided Tape.
- A Laser Cutter.
Step 1 – To the laser cutter!:
Open up the DXF and load it onto your laser cutter! The image on the left below is how the DXF will look by itself, and the image on the right is a diagrammatical breakdown of what the different parts of the DXF are.
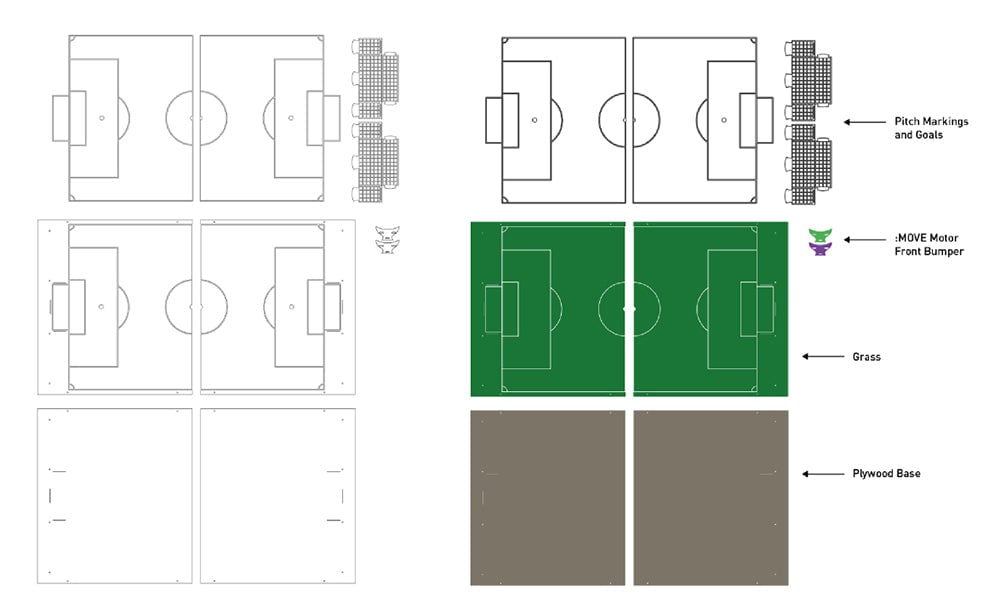
The green area should be cut from 0.8mm Green Polypropylene, the area outlined in black should be cut from 0.8mm White Polypropylene, and the brown area should be cut from 4mm Panguaneta Poplar Plywood. The small green and purple fins are the bumpers for the front of the :MOVE Motors, and should be cut from green and purple 5mm acrylic respectively.
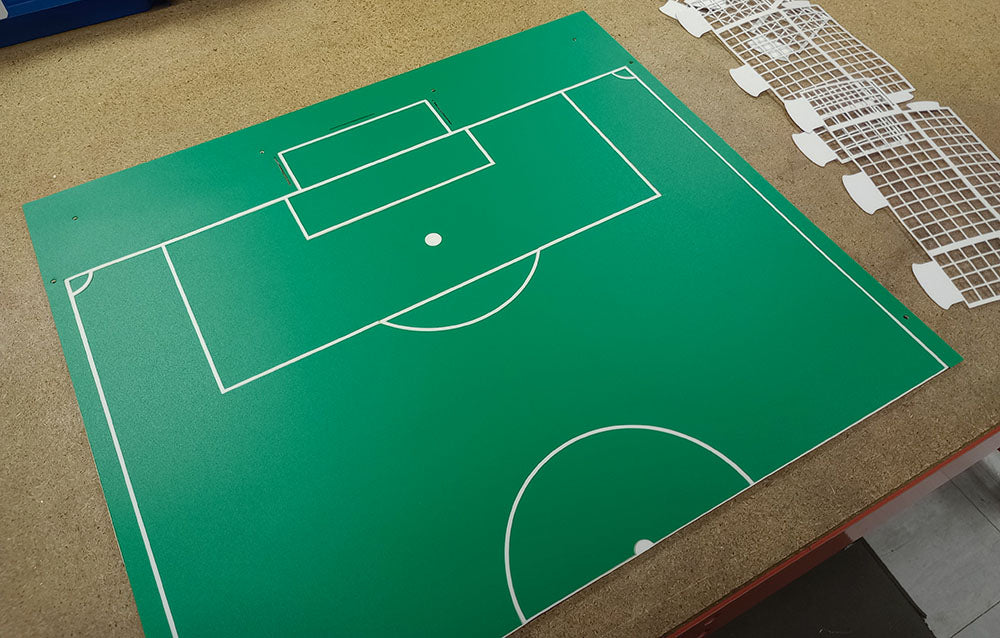
Step 2 – Cut it out:
As it cut out, it is easiest to keep track of individual pieces by organising the pieces into place.
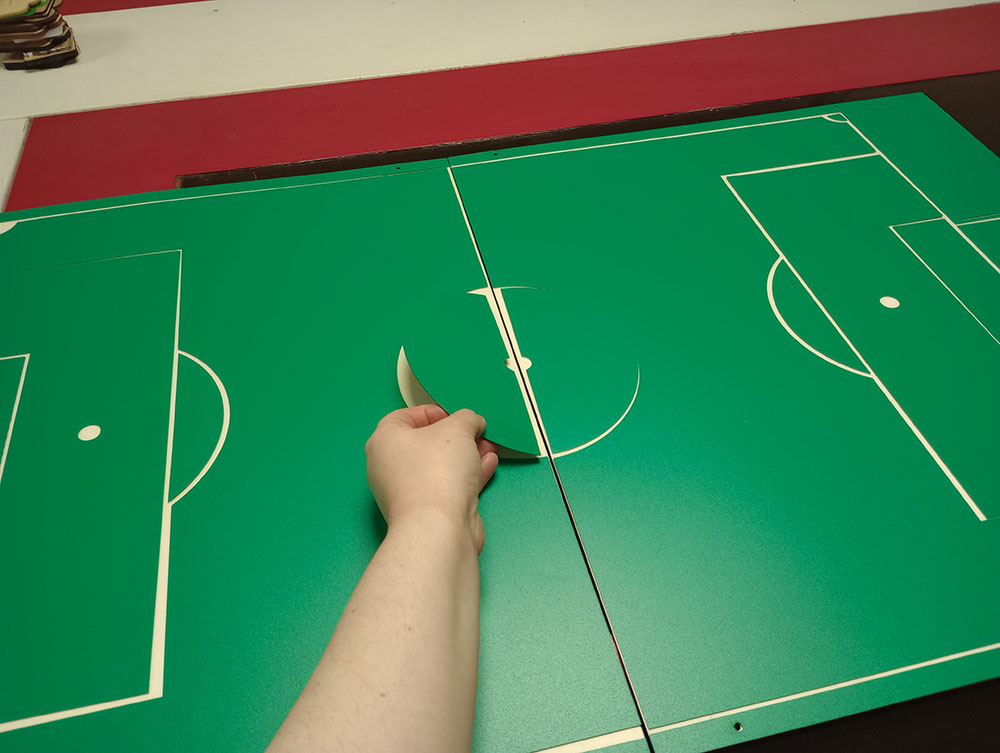
Step 3 – Tape it:
Using double-sided tape, attach the polypropylene pieces to the wooden base. Make sure the screw holes and the goal post slots are lined up.
Step 4 – Get a handle on it:
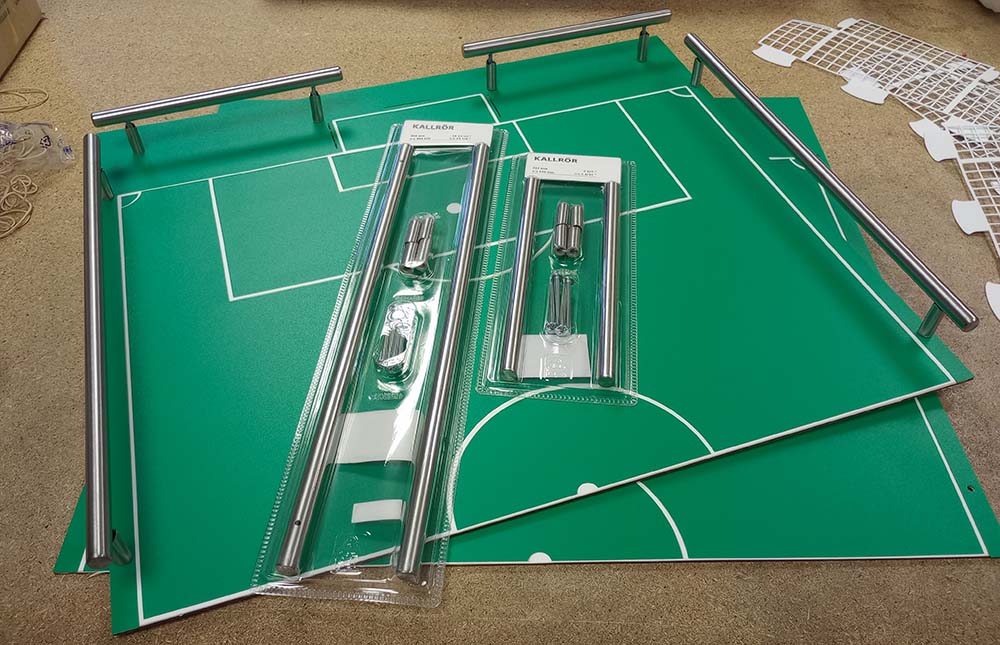
This is the best hack for making small fences we have found: cabinet handles! We used this to keep our buggies on the table at BETT and it’s such a clean look that we keep using it! Using IKEA KALLRÖR handles in 405mm and 213mm we have simply screwed in the handles through the pre-cut holes. If you want to use different handles you will need to customise hole width and placement yourself to suit your chosen handles.
Step 5 – Modifying the fixings:
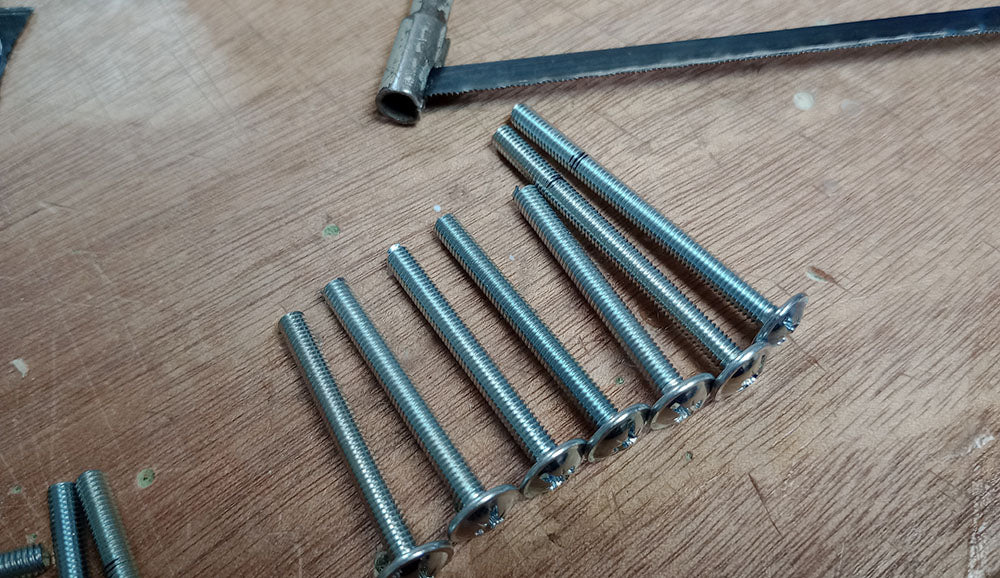
In the previous image it is possible to see that the included screws were a little too long since they are made to go through thick cabinets, rather than 4mm Poplar Plywood. To fix this, we sawed down the length to make the fit of the handles flush.
Step 6 – Your goals:
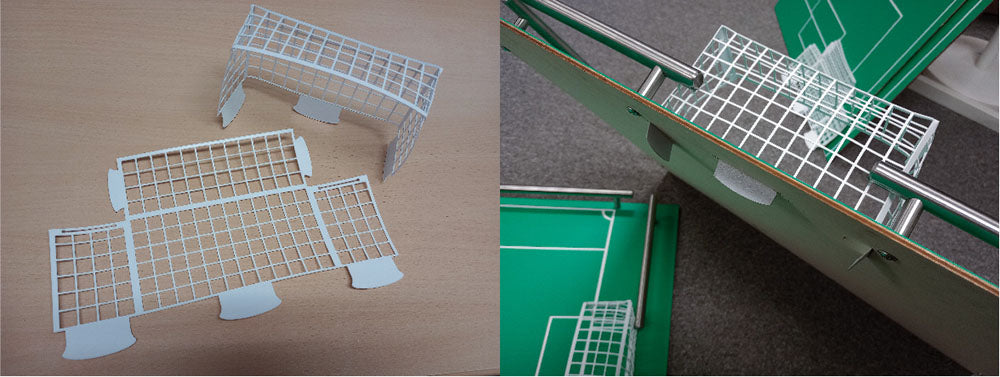
Now, your goal posts! The DXF does feature a flared tab at the bottom, however when it came down to it we cut off the flares since they wouldn’t properly fit through the plywood. Folding your goals into shape, insert the tabs at the top on each side to secure it in place. Then push the bottom tabs through the slots in the pitch, fold the tabs over on the back, and tape in place.
Step 7 – Preparing :MOVE Motor:
Finally, you need to prepare your :MOVE Motors. First of all, assemble them out of their boxes and pop on the bumpers. You will do this by popping a sticky foam tab or similar adhesive on the back of the bumper, then slotting it into place over the ultrasonic connector.
Then, you will want to code the buggies and their controllers! We have used the :GAME Controllers. Download the code below onto the relevant micro:bit by checking first the colour of the bumper, then installing the “receiver” code to the micro:bit on the correct coloured buggy and the “controller” code to the micro:bit in the :GAME controller.
Then you’re done!