This is a basic laser cutting guide detailing how to make a simple Perspex Box. It is the first in a series of resources designed as an introduction to using a laser cutter.

Sometimes, the best way to house a project is a simple box. There are some great online tools to help you design your box, but for the sake of doing it all in one place, we chose to use a free program to design ours.
Basic Laser Cutting Guide – Make A Perspex Box:
This step by step guide shows you how you might design and make a simple perspex box. We have used free design tools for this guide but you could also use an online box designer and convert the resulting PDF to a DXF file using a program such as Adobe Illustrator.
Once you’ve gone through the pain of the software setup below, creating the boxes is quick and simple. This method gives you a lot more options than using an online box creator. It also contains far fewer steps, once installing the software is not a factor.
We’ve split the steps into the four categories shown below.
- Downloading and installing the software.
- Designing the box.
- Exporting as a DXF File.
- Importing the DXF into the Laser Cutter software and making the perspex box.
You Will Need:
- A computer with internet connection.
- A 3mm Perspex Sheet to cut the box from.
- Access to a Laser Cutter.
Downloading And Installing The software:

For this resource, we are going to use Inkscape. This is a free and open source vector graphics program that will allow us to export our box design as a DXF file. In order to create our box, we will need to install an Inkscape plugin. This plugin will do the CAD for us, we just need to input the dimensions of our box and the plugin will do the rest. The plugin requires that you have python installed, as detailed below.
Step 1 – Installing Inkscape: Go to the Inkscape website and download and install the program.
Step 2 – Installing Python: The plugin in step three requires Python to be installed on your machine. If you already have Python installed, you can skip this step. Also, if you are unsure if you have Python installed or not, you can open up a Windows Command Prompt and type python and press enter. If you have Python installed and in your PATH, you should get something resembling the image below.

Download Python and follow the installation instructions that can be found here.
Step 3 – Installing the Plugin: The plugin that we will use to create our box is called TabbedBoxMaker. The plugin is open source and can be downloaded from the Github.

- Visit the Github page.
- Click on the green button labelled ‘Clone or download’ and select ‘Download ZIP’.
- Unzip the folder and transfer the three files (boxmaker.inx, boxmaker.py and schroffmaker.inx) to the Inscape extensions folder.
The path on this PC is: C:Program FilesInkscapeshareextensions
Now we’ve got everything installed, let’s design our box.
Designing The Box:

Step 4 – Open Inkscape and the Plugin: Open Inkscape. In the ‘Extensions’ menu, you will find a submenu called ‘Laser Tools’. Select ‘Tabbed Box Maker’ and the plugin will open.
Step 5 – Entering the box dimensions: For the purposes of this resource, we are going to create a simple box with no lid and no internal compartments. You can see the values we chose in the image below. This gave us a 3mm x 100mm x 50mm x 50mm box, with no dividers and no finger joints around the top. Before moving to the next step, I dragged a square over the jointless lid and deleted it.

Step 6 – Adjusting the page orientation to enclose our box design: Once you’ve selected your box dimensions and clicked apply, you might find that your box doesn’t fit in the work area properly. Fortunately, this is easy to fix.
- Click and drag the mouse cursor over the entire box to select it.
- Click the File menu and select ‘Document Properties’.
- Then select ‘Resize page to content…’.
- Click the button labelled; ‘Resize page to drawing or selection’.

Our box design is now complete. We now need to save the design in a format that can be read by our Laser Cutters software.
Exporting As A DXF File:
Step 7 – Exporting to DXF: Inkscape can export to a number of different formats. As we use Lasercut 5.3 software with our lasers, we need to export our design as a DXF file.
- In the File menu select ‘Save As’.
- Select ‘Desktop Cutting Plotter (AutoCAD DXF R14)(.dxf)’ from the list.
- Name your file and select a memorable location to save your file to.
You are now ready to either take your file to your local Hackspace or import it directly into laser cutter software.
Importing The DXF Into The Laser Cutter Software And Making The Box:

Step 8 – Importing the DXF file, selecting the speed, and selecting power settings: After importing (File, Import) the file into our laser cutter software, we need to adjust some settings.
- Place your sheet of perspex into your laser cutter.
- Ensure that your laser is the correct height above the material. (Refer to your lasers documentation and/or our guide to using a laser cutter).
- To the top right of the above image are our speed and power settings. We chose a speed of 10 and power of 70. These settings are appropriate for this laser cutter, your settings may vary.
- Once you are happy with your settings, download the job to your laser cutter.
Step 9 – Laser cutting the box:
- Align the laser to a suitable starting position on your material. On our setup, this is the top right of the material.
- If there is a ‘Test’ button on your laser, use it to ensure that the laser won’t overrun the perspex.
- When you are happy that everything is as it should be, close the lid and hit the start control.
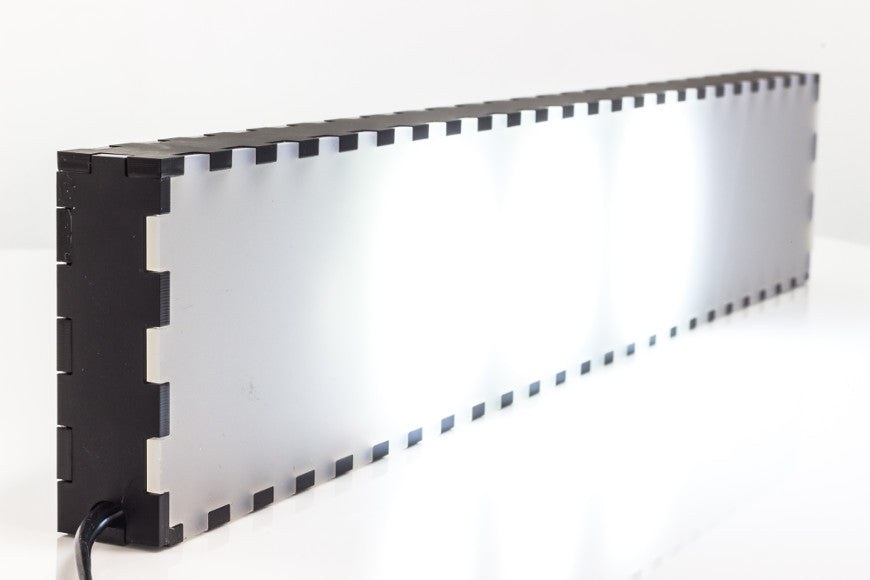
When the laser cutter is finished, you should have a finger jointed perspex box that fits together perfectly. All that is left to do is to glue your box together.