Looking to do more with your BBC micro:bit? Unlock its potential with this ‘pre-built’ version of our Edge Connector Breakout Board! This breakout board has been designed to offer an easy way to connect additional circuits and hardware to the pins on the edge of the BBC micro:bit. It provides access to all of the BBC micro:bit processor pins allowing a lot of extra functionality to be added. The datasheet (below) includes a helpful diagram explaining the function of every pin on the BBC micro:bit.
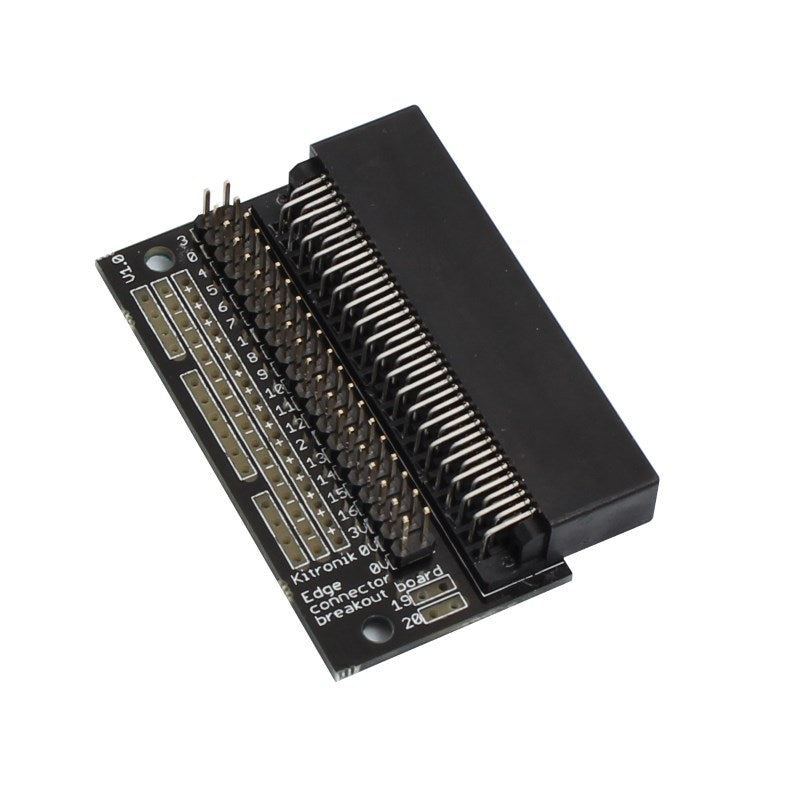
This Edge Connector Breakout Board for the BBC micro:bit gives access to all of the important pins on the bottom edge of the BBC micro:bit. 21 pins are broken out in total; providing additional I/O lines, direct access to buttons A and B, the LED matrix outputs and the I2C bus. Please refer to the datasheet below for more details.
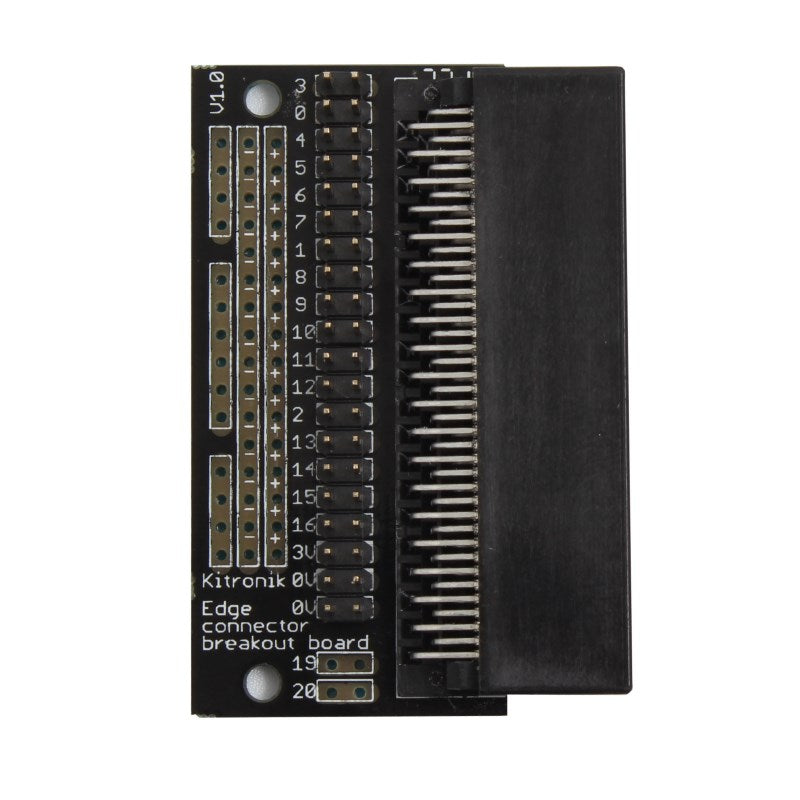
The BBC micro:bit pins are broken out to a row of pin headers. These provide an easy way of connecting circuits using jumper wires. The SCL and SDA pins are separated at the edge of the board (solder pads) providing easy identification. The PCB includes a prototyping area with 3V, 0V and unconnected rows that can be soldered to. This allows the easy connection of switches, sensors and any pull-up or pull-down resistors etc. as required.
If you are looking for inspiration, look no further than these examples using the Edge Connector for the BBC micro:bit:
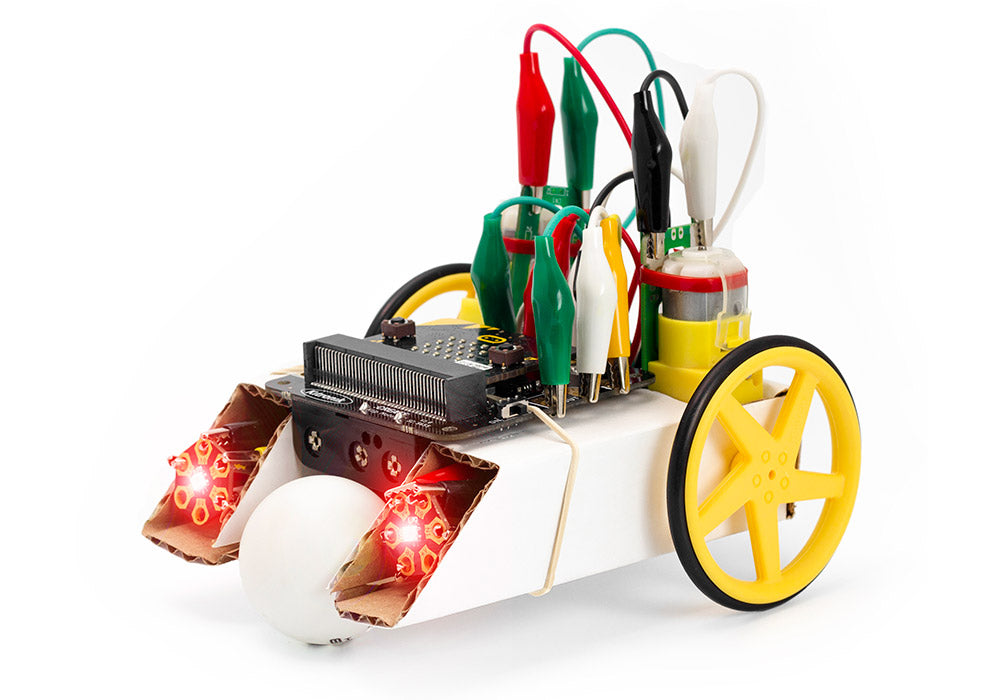
- The breakout board is used in our Collision Detection Buggy that makes use of the extra I/O available.
- We’ve also used this Edge Connector for the BBC micro:bit in our Inventor’s Kit for the BBC micro:bit to make connecting up these experiments a breeze.
To use the breakout board the BBC micro:bit should be inserted firmly into the connector as shown below:

Note:
- This product is supplied with Straight Double Row PCB Pin Headers already soldered to the breakout board.
- This product is also available as a kit.
Features:
- Features a dedicated pin strip for quick and easy prototyping.
- Breaks out 21 pins from the edge of the BBC micro:bit.
- Dedicated prototyping area with 3V and 0V rows.
- Labelled pins and clear straightforward documentation.
Contents:
- 1 x Edge Connector Breakout Board for the BBC micro:bit, Pre-built.
Possible applications include:
- Accessing additional pins and functionality on the BBC micro:bit.
- Trying out one of the experiments detailed in the Inventors kit for BBC micro:bit.
Dimensions:
- Length: 60mm.
- Width: 40mm.
- Height: 11.8mm.
Video:
Requires:
- 1 x BBC micro:bit.
Accessories:
Resources:
-
Datasheet.

- Third-Party Resources;
-
Mr Bit – 10 x Maker Projects.

Reviews
There are no reviews yet.