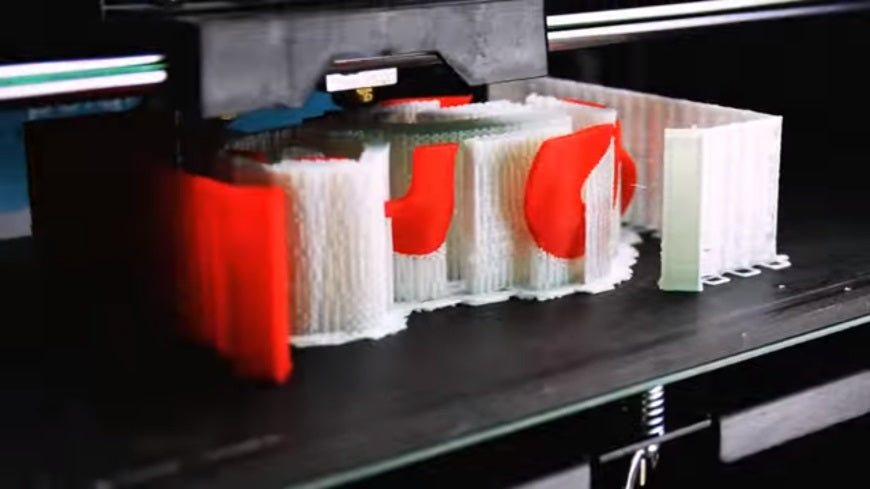
Rhodri shows you how quick and easy it is to change the print head on the Robox RBX-01 3D Printer.
Video transcript
Hello, I’m Rhodri from Kitronik. Here is the print head for the Robox 3D printer, and I’m going to show you how to attach and detach it from your printer. So when you first receive your Robox printer it will look like this. There is no head attached, there’s just the head mount inside. To mount the head onto the printer you need to open up the lid. You need to get your print head you’ve got the fan on the top and two attachments on the back. You have the chip and the two nozzles where the filament will come through. You need to line those up onto the head and then at the back of the mount there is a wheel with a screw attached. Rotate that and it will tighten up, and there you have it the head’s attached and the printer is ready to print. Now turn the wheel anti clockwise to remove the head. So now you know how to attach and detach the head on your Robox printer, it really is that simple.

