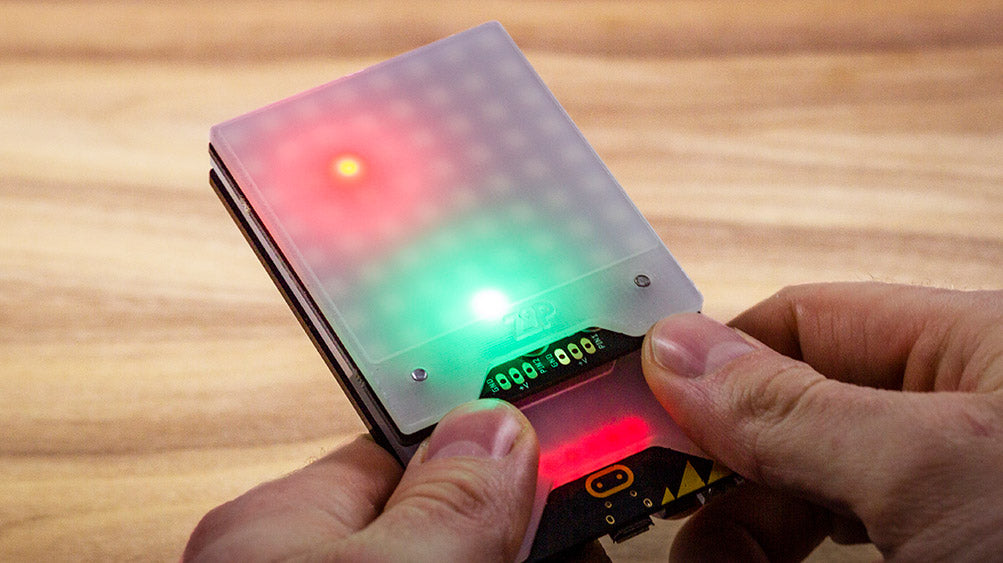
In this resource, we show you how we turned a Kitronik ZIP Tile, and a BBC micro:bit into a portable retro gamer. The ZIP tile is perfect for some old school gaming: think Snake, Pong & also Space Invaders.
The Kitronik ZIP Tile is an 8 x 8 display panel for the BBC microbit. It can scroll text, show all the colours of the rainbow and with a bit of code, we can also play games with it.
Materials used:
- BBC micro:bit.
- Kitronik ZIP Tile for BBC micro:bit.
- Polymer Lithium-Ion Battery (3.7V, 1Ah).
- Polar White Perspex Sheet (Frosted).
- Midnight Black Perspex Sheet (Frosted).
- 3 x M3 x 12mm Countersunk Machine Screw.
- 2 x M3 Washer.
- 2 x M3 x 10mm Countersunk Machine Screw.
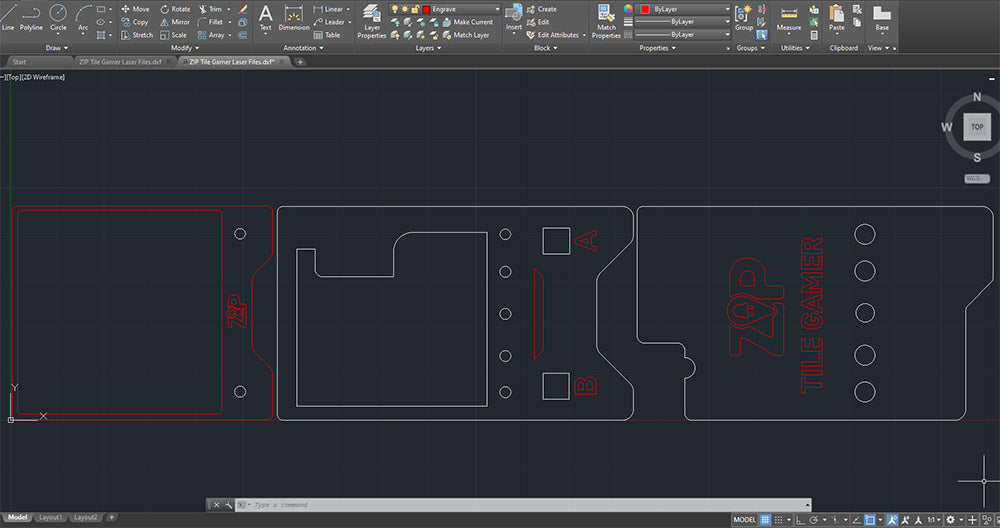
- Laser Cutter DXF File.
Tools Used:
- Laser Cutter.
- Phillips Head Screwdriver.
How To Make a ZIP Tile Gamer – Step By Step:
style=”text-align: left”>
- Step 1: Download the DXF here and then unzip.
- Step 2: Then, Laser Cut your pieces using the Polar White and Midnight Black Perspex Sheet. Choose settings that are appropriate for your machine.
Step Three – Assemble The Diffuser:

- Take two of the M3 x 12mm Machine Screws and then insert them as shown above.
- BBC micro:bits GND Pin > M3 washer > ZIP Tiles GND Captive Nut > Perspex Screen Diffuser.
- micro:bits Pin 0 > M3 washer > ZIP Tiles PIN 0 Captive Nut > Perspex Screen Diffuser.
NOTE: These screws should be a tight fit into the Perspex Screen Diffuser.
Step Four – Finish The microbit connections:

Screw the two M3 x 10mm Countersunk Machine Screws, through the 3V and then Pin 1 as shown above.
Step Five:

Slot the Polymer Lithium-Ion Battery (3.7V, 1Ah) into the back, connect the JST connector into the ZIP Tile and then tuck the cable into the slot.
Step Six:

Add the rear panel with the ZIP TILE GAMER logo, then, add the remaining M3 x 12mm screw.
Coding – Your First Game:
We didn’t want to just create the resource and then hand it over. We also created a fun ZIP Tile racing Racing game to get you started.
Step One – Grab The Code:
You can download the code directly from here or you can also open it in MakeCode and tweak it first.
Step Two – Load The Code Onto the microbit:

Then, connect your BBC micro:bit to the computer & transfer the HEX file from your default downloads folder to the microbit. Once plugged in, microbit will show up as a removable drive in File Explorer (Windows) that you can then drag and drop your program onto.
Step Three – Happy Gaming!:
Why not create your own game and then share it with us via social media? It might also get featured on our blog for the world to see! Make sure you also sign up for our newsletter so you don’t miss out on new products and information, Click here to sign up.

