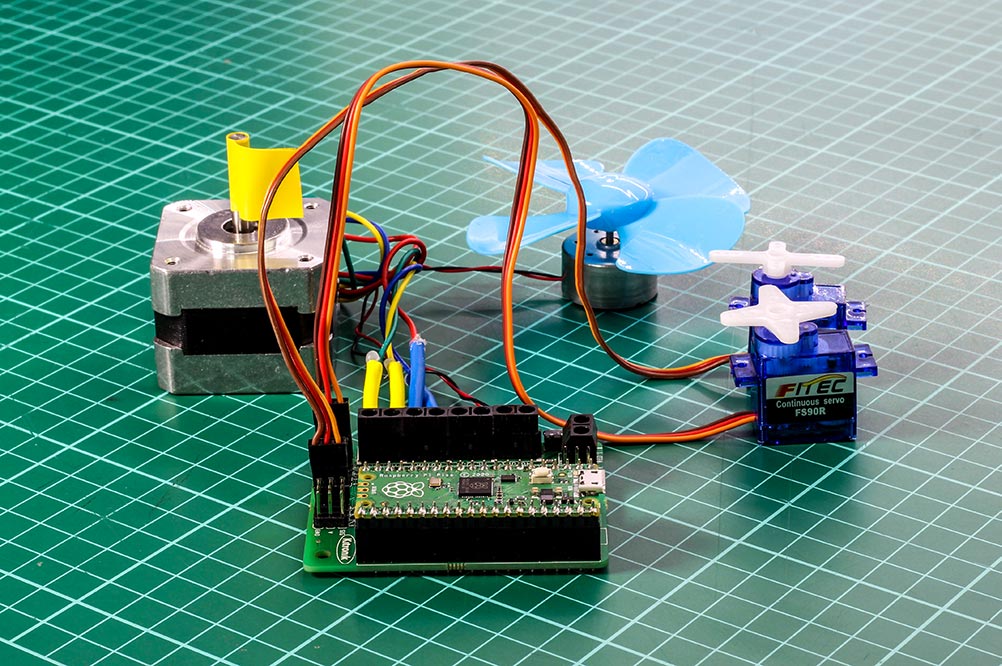
Make the Raspberry Pi Pico the heart of your next robotics/buggy build with the new Kitronik Robotics Board for Raspberry Pi Pico. When combined with a Pico with pin headers installed, it really is a case of plug ‘n’ play. Slot the Pico into the board and you are good to code!
Let’s take a close look at the features of the Robotics Board and also a couple of resources that will help you get going straight away. But first, lets take a quick look at the Pico and see why it’s becoming the microcontroller of choice.
What Is the Raspberry Pi Pico?
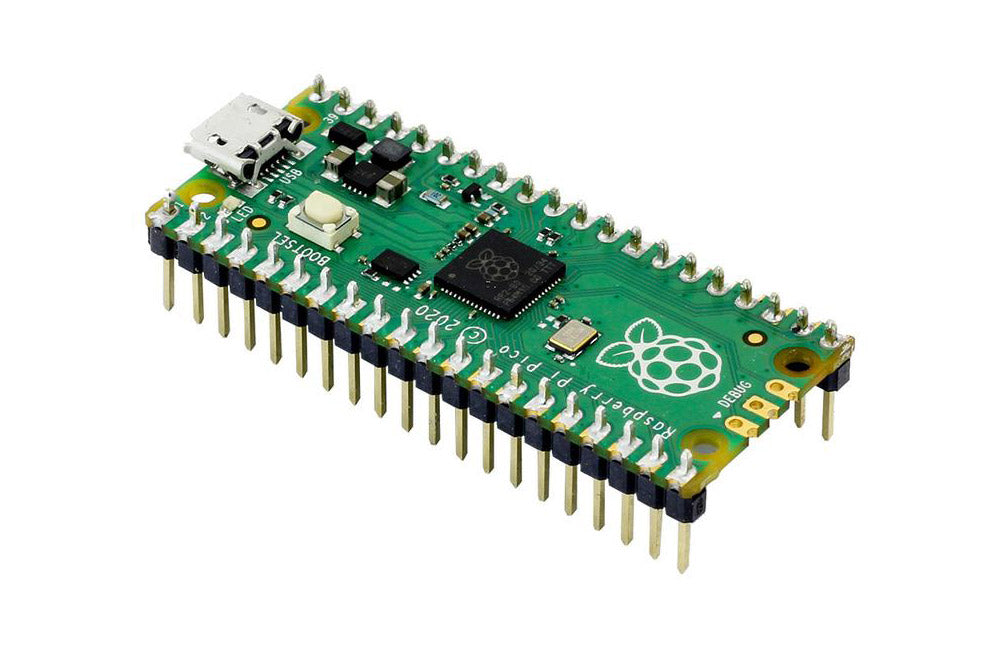
The same team that brought you the Raspberry Pi microcomputer now brings you their very first microcontroller, the Raspberry Pi Pico. This compact board is a microcontroller-class product that is built around the RP2040 chip. The RP2040 is a chip developed by the team at Raspberry Pi. Whether you’re looking for an embedded development platform, a companion board to your Raspberry Pi or if you’re just getting started with microcontrollers, this is the board for you.
The board features a powerful new, Raspberry Pi designed ARM-based dual-core chip– the RP2040. The pico also features 64KB of internal RAM and support for up to 16MB of off-chip Flash. A wide range of flexible I/O options includes I2C, SPI, and Programmable I/O (PIO). These support endless possible applications for this small and affordable board.
Introducing The Kitronik Robotics Board For Raspberry Pi Pico:
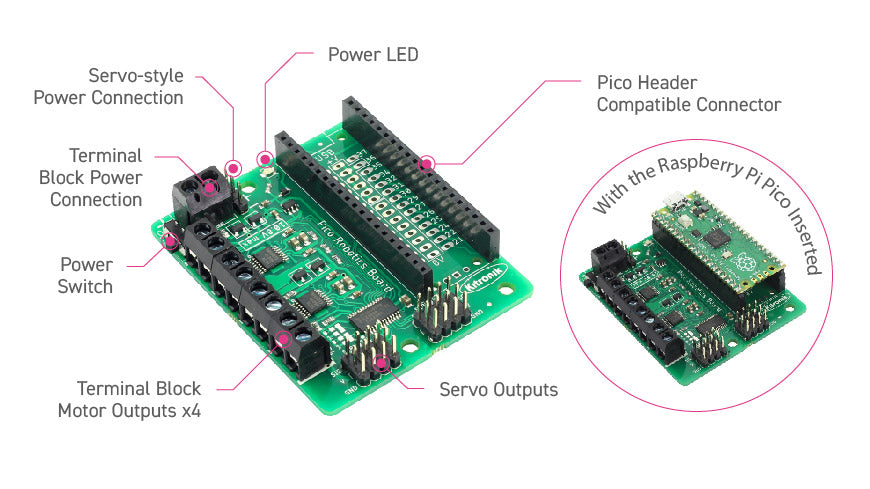
This robotics board has a compact design and enables the Pico (connected via pin header) to drive 4 motors (or 2 stepper motors) and 8 servos. The board features 2 Dual H-Bridge Motor Driver ICs, capable of driving 2 standard motors or 1 stepper motor each, with full forward, reverse, and stop control. It also has 8 servo outputs, that can drive standard and continuous rotation servos. They can all be controlled by the Pico using the I2C protocol, via a 16 channel driver IC.
The IO break out provides connections to all the unused pins on the Pico. The 27 available I/O pins allow other devices, such as sensors or ZIP LEDs, to be added to the board. The 3V and GND pins are also broken out on the header, which means external devices can also be powered.
Features At A Glance:
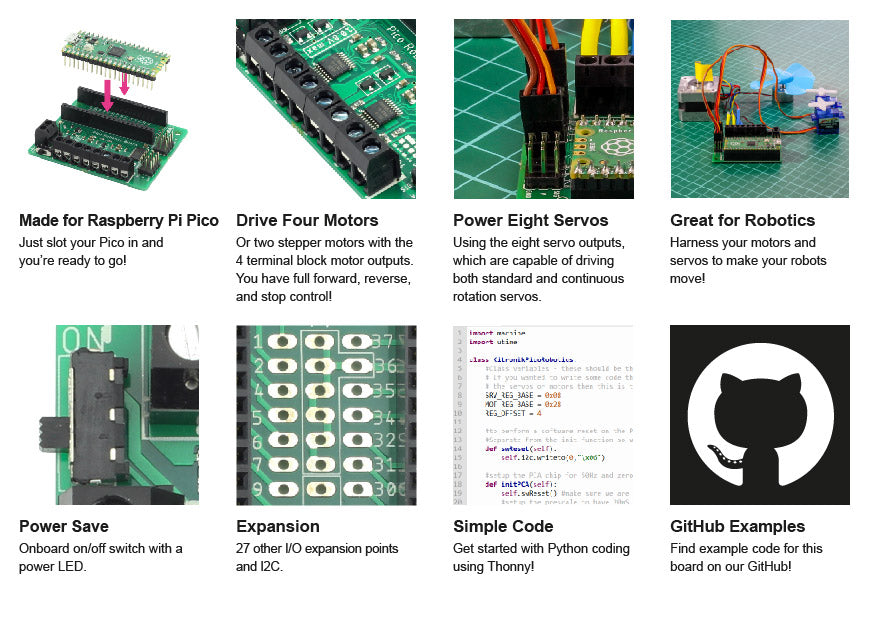
- A compact yet feature-packed board designed to sit at the heart of your Raspberry Pi Pico robotics projects.
- The board can drive 4 motors (or 2 stepper motors) and 8 servos, with full forward, reverse, and stop control.
- It also features 27 other I/O expansion points and Power and Ground connections.
- The I2C communication lines are also broken out allowing other I2C compatible devices to be controlled.
- This board also features an on/off switch and power status LED.
- Power the board via either a terminal block or servo style connector.
- The 3V and GND pins are also broken out on the Link header, allowing external devices to be powered.
- Code it with MicroPython or via an editor such as the Thonny editor.
Getting Started Resources:

At time of launch we have two sources of information, both designed to give you the information you’ll need to get going without any fuss. Firstly, there is the datasheet and secondly a GitHub repository containing coding examples.
Before we get into those, we’ll take a moment to mention Thonny. Thonny is a beginner friendly Python IDE. It installs with only the basic features visible which means if you are new to Python (and dedicated editors) you won’t be overwhelmed by the interface. You don’t have to use this editor, editors such as MU also offer a similarly beginner friendly user experience.
The Datasheet:
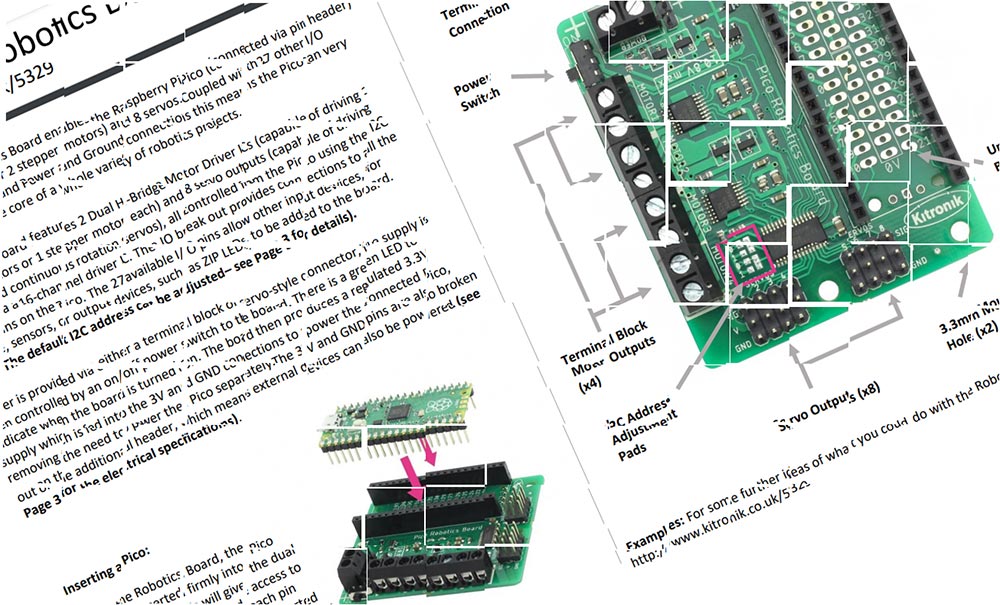
Piece it all together with the datasheet, it contains a wealth of useful information. As well as general information about the board and how it works, there are several areas of specific detailed information. They include; Electrical Specs, board layout and dimensions, and instructions on how to change the default I2C address of the board. All essential information for the budding roboteer!
The GitHub Repository:
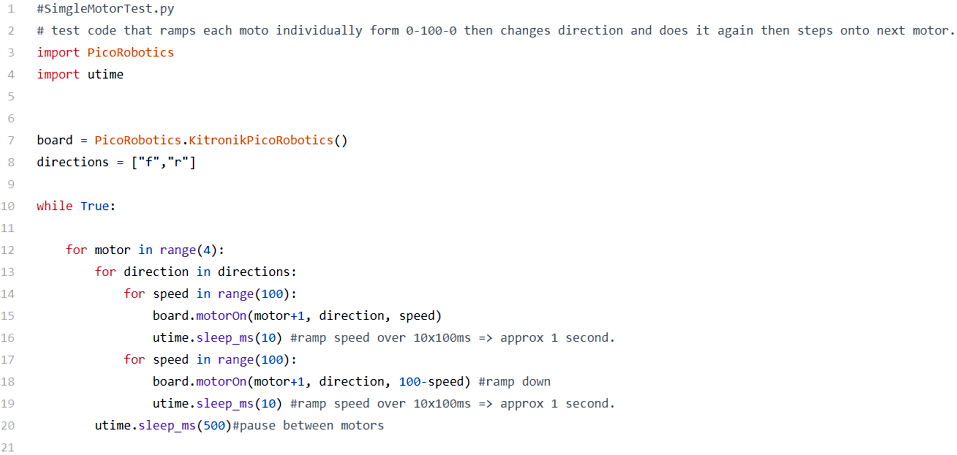
If you’ve never coded with Python/MicroPython before then the prospect may be a little daunting. Fear not! Kitronik have produced some MicroPython code examples to show the basics of how to write code for, motors, servos, and stepper motors. Follow the links below for more information;

