Quickly turn your ZIP Tile for microbit into a stylish digital Halloween Pumpkin with this simple laser cut design. Use our designs to make one straight away or use them as a starting point for your own design!  Our design features Glittered Acrylic which has recently been added to our range, but you can use any 3mm Perspex/Acrylic. As always, we’ve also provided the design file as a download and included some example code.
We Used:
- BBC micro:bit.
- ZIP Tile.
- LiPo Battery x 1.
- Elastic Band.
- A Phillips style screwdriver.
- 16mm M2 Pan Head Machine Screws x 4.
- M2 Hex Nut x 4.
- 1 x M3 x 16mm Screw.
- Orange Acrylic Sheet (Glitter) 3mm x 600mm x 400mm sheet. (Or acrylic of your own choosing)
- Polar White Perspex Sheet (Frosted) 3mm x 600mm x 400mm.
- Our Design Files.
Laser Cut Glittered Acrylic ZIP Tile Halloween Pumpkin:
There are three files included in the download; 2 x DXF files and also one STEP file. See below for a brief description and also some screenshots of the included files.
 Our design was modelled in Fusion 360 which allows us to see exactly what the finished product will look like and also how it will go together. Once complete we then export it as DXFs, ready for the laser cutter. The image above shows the completed model.
  The image above shows the DXF file for the pieces that we cut from the Polar White Perspex Sheet. The main piece acts as a diffuser which obscures the individual ZIP LEDs, creating the shifting lighting effect. The 12 spacers/standoffs ensure that everything works well together and then the final piece acts as a stand.
  The main pumpkin piece was cut from the Glittered Acrylic, which sparkles nicely when the light shines from behind it.
Assembly:
 Once you’ve cut out all of the pieces and also gathered together all of the other parts, you should have everything shown in the above image.
  The above image shows how the assembled pumpkin fits together. The standoffs sit between the micro:bit and the ZIP Tile and also between the ZIP Tile and the two front pieces. Then add the elastic band to keep the LiPo in place. Also, the stand is fixed directly to the micro:bit.
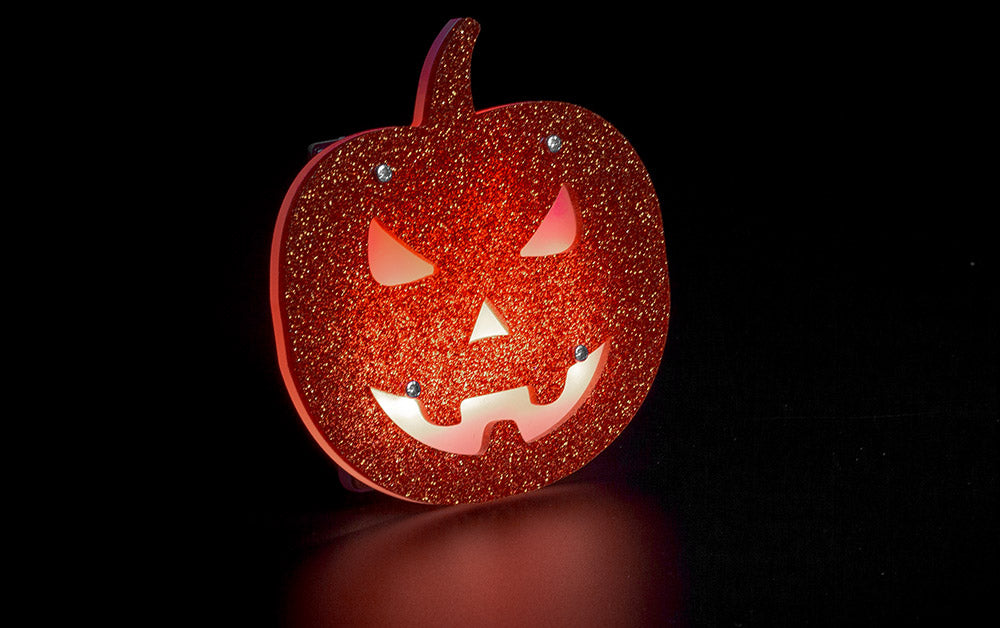
  In the above image, you can see that the screws that join the acrylic to the ZIP tile go through the front and also how the diffuser piece accents the pumpkin’s features. All we need is some code and we are good to go.
The Code:
Finally, program the Pumpkin in the Microsoft MakeCode Editor. An example program is shown in the project above, but this can be changed to suit, in lots of different colour options by utilising the Kitronik ZIP Tile extension. To add the extension to a new program, open MakeCode, go to “Advanced”, then “Extensions” and then search “Kitronik” – the ZIP Tile Extension will then be listed.
The Finished ZIP Tile Pumpkin:
 For more fun guides and micro:bit coding tutorials, visit the Kitronik University. To keep up to date and always be first in the loop, sign up to our newsletter here.