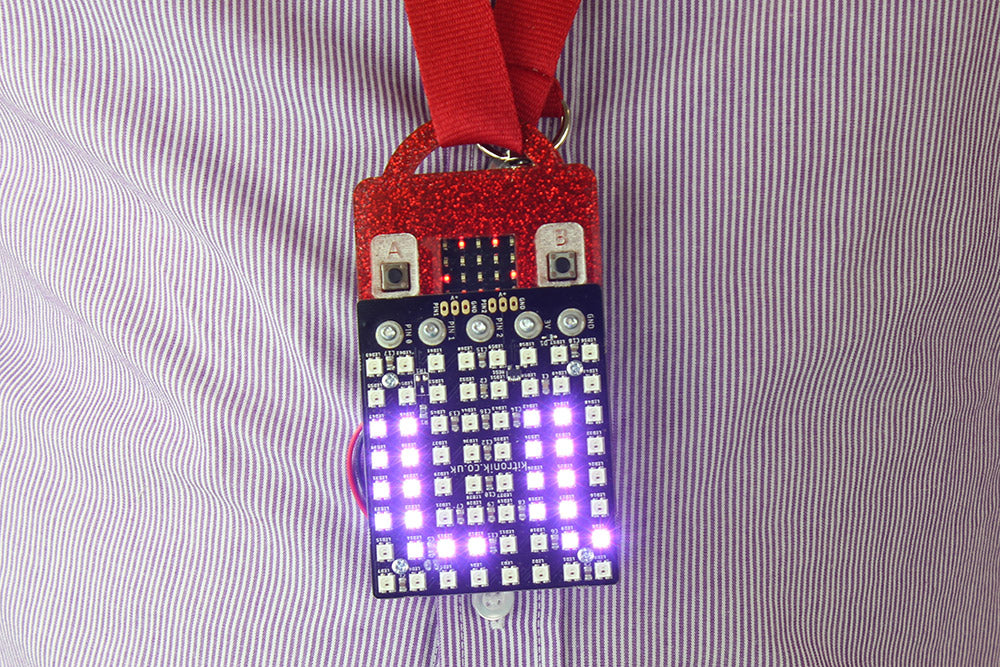
Quickly turn your ZIP Tile for microbit into a stylish digital name badge with this simple laser cut design. Follow the step by step guide and find out how you can make one too!
 Our design features Glittered Acrylic which has recently been added to our range of acrylics, but you can use any 3mm Acrylic. As always, we’ve also provided the design file as a download and included some example code.
We Used:
- BBC micro:bit.
- ZIP Tile.
- 12mm M3 countersunk screws x 5 (supplied with ZIP Tile).
- 6mm spacers x 5 (supplied with ZIP Tile).
- 3mm Perspex/Acrylic (in colour of choice, red glitter acrylic used in example).
- 16mm M2 Pan Head Machine Screws x 4.
- M2 Hex Nut x 4.
- LiPo Battery x 1.
- DXF Design File Download.
Laser Cut ZIP Tile Glittered Acrylic Name Badge:
Step 1:
Download the DXF file into your laser cutter software, then cut out using 3mm Perspex in the colour of your choice. We went for red glitter acrylic as it’s new and it also looks great.
The green “engrave” layer should be engraved first, then the red “inner_cut” layer should be cut. Finally, the black/white outer layer. Settings will be laser cutter specific.
Step 2:
Using the 12mm M3 countersunk screws supplied with the ZIP Tile, attach the BBC micro:bit to the ZIP Tile, with the larger name badge plate between them.
Then, make sure that the correct pins are connected (the text written on the ZIP Tile board should be upside down when the BBC micro:bit is the right way up).
Step 3:
Using 4 x 16mm M2 Machine Screws and M2 hex nuts, attach the smaller name badge plate to the back of the badge. Use 4 of the 6mm plastic spacers provided with the ZIP Tile to separate the two name badge plates – this will leave enough room to fit in the LiPo battery. Make sure the square hole in the smaller name badge plate lines up with the JST battery connector on the ZIP Tile.
Step 4:
Plug the LiPo battery into the JST connector on the Tile. Then, with the wires coming out of the battery on the top left, slot the battery between the name badge plates from the right-hand side.
Step 5:
Attach the name badge to a lanyard/necklace/string.
Step 6:
Finally, program the badge in the Microsoft MakeCode Editor.
An example program is shown in the project above, but this can be changed to display any message, in lots of different colour and formatting options by utilising the Kitronik ZIP Tile extension. To add the extension to a new program, open MakeCode, go to “Advanced”, then “Extensions” and then search “Kitronik” – the ZIP Tile Extension will then be listed.
For more fun guides and micro:bit coding tutorials, visit the Kitronik University.
To keep up to date and always be first in the loop, sign up to our newsletter here.


