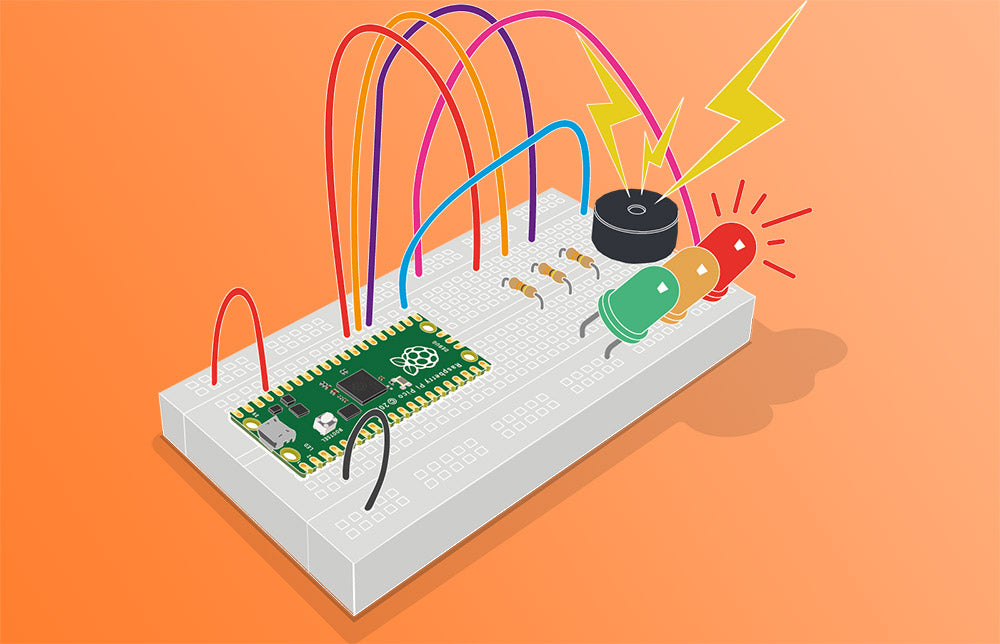
Introducing an exciting new Discovery Kit, the Kitronik Discovery Kit for Raspberry Pi Pico. What better way to get acquainted with the new Pico micro-controller than via a Kitronik Discovery Kit! Complete the 7 included experiments and learn as you go. Learn about the board, MicroPython coding, controlling additional devices, and also physical computing all in one kit.
What Is the Raspberry Pi Pico?

The same team that brought you the Raspberry Pi microcomputer now brings you their very first microcontroller, the Raspberry Pi Pico. This compact board is a microcontroller-class product that is built around the RP2040 chip. The RP2040 is a chip developed by the team at Raspberry Pi. Whether you’re looking for an embedded development platform, a companion board to your Raspberry Pi or if you’re just getting started with microcontrollers, this is the board for you.
Introducing The Kitronik Discovery Kit For Raspberry Pi Pico:
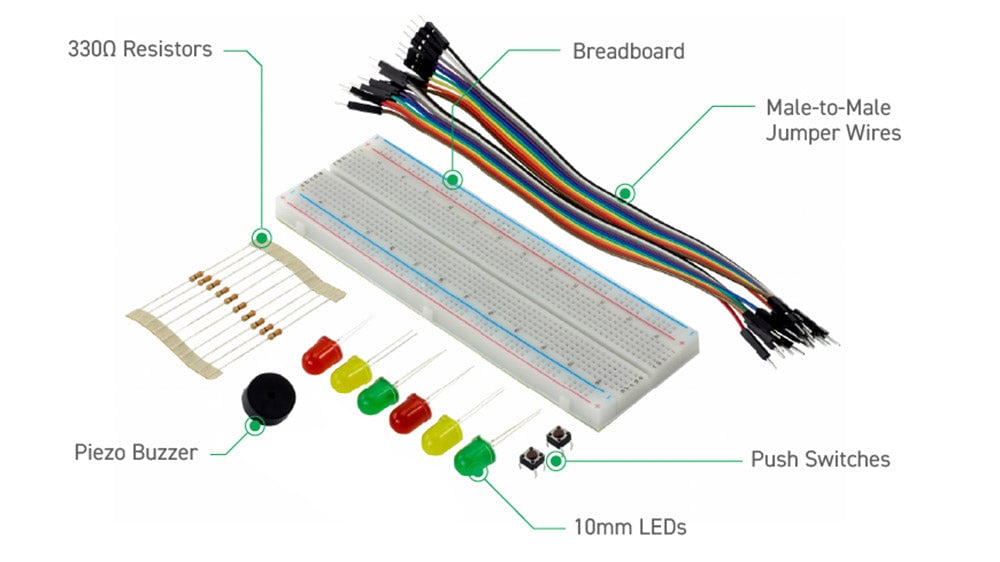
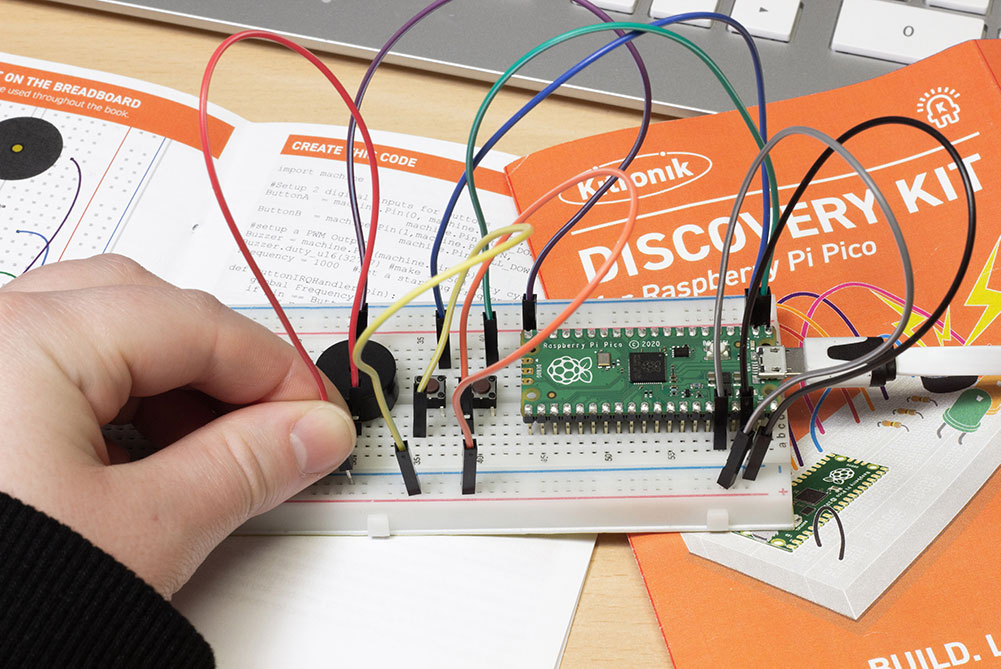
The kit is supplied with all of the components needed to complete the 7 included experiments, including a large-format breadboard. The kit is packaged in sturdy reusable packaging that can be used to store the kit. The kit also ships with a booklet.
The booklet takes you through getting the pico setup for use and then walks you through creating the seven experiments. The experiments have been designed to introduce you to key concepts/skills and they increase in complexity as you progress through them. Let’s take a look at each of the 7 experiments.
Exp. 1 – Show Me The Light:
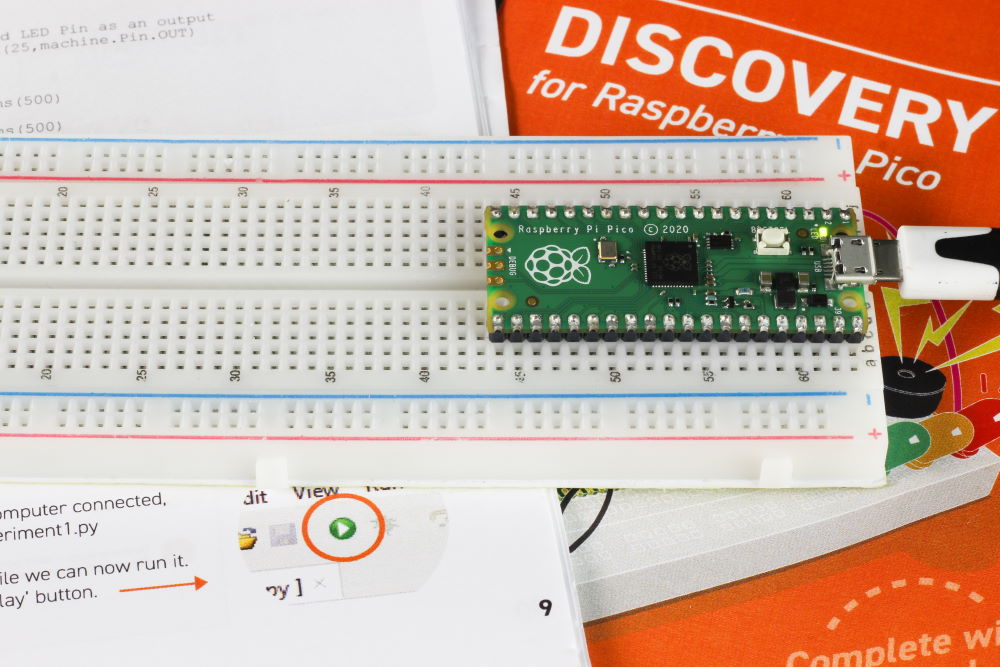
The Pico has an onboard LED. This experiment will use that with some simple code to ensure that everything is set up correctly. The aims of this experiment are;
- Learn how to program the Pico.
- Learn how to drive a digital output.
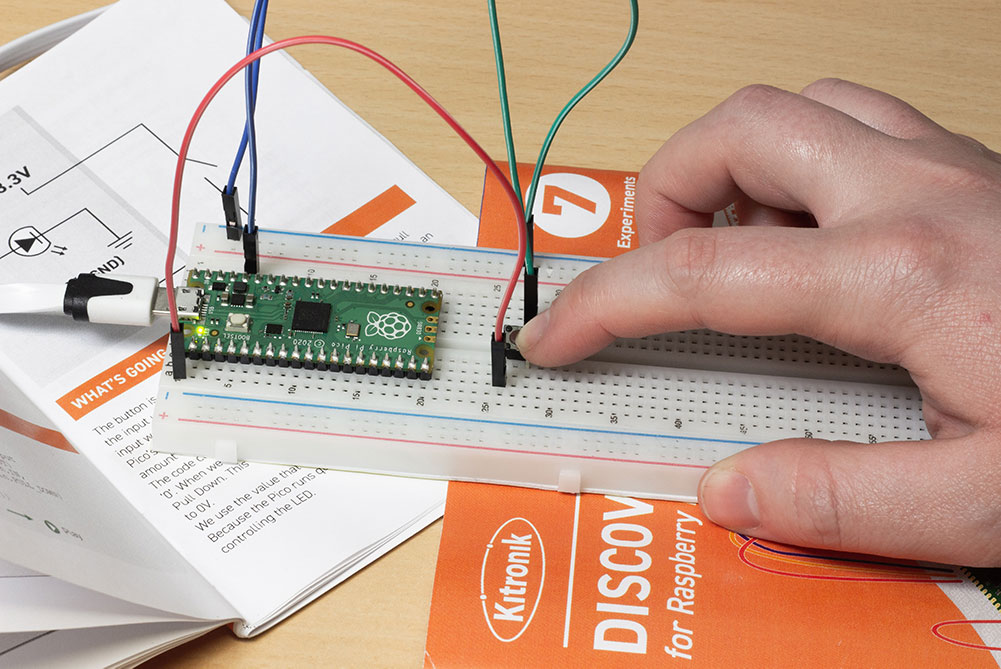
Exp. 2 – Control an Input:

Microcontrollers are often used to control something in response to a physical input. In this experiment we will add a single button and use that to turn on and off the Onboard LED. The aims of this experiment are;
- Learn how to wire a switch input to the Pico.
- Learn how to process the input to control an output.
Exp. 3 – Interrupt Me:
Instead of looping fast to read the value of the button microcontrollers can also be notified of a change. We can do this with an interrupt, also known as an IRQ (Interrupt ReQuest).
An IRQ lets the processor be interrupted from its main loop to do a thing – such as deal with a button press, before then returning to the code it was doing before. The aims of this experiment are;
- Learn what an interrupt is.
- Learn how to create an interrupt handler.
- Learn how to connect an interrupt handler to a physical IO Pin.
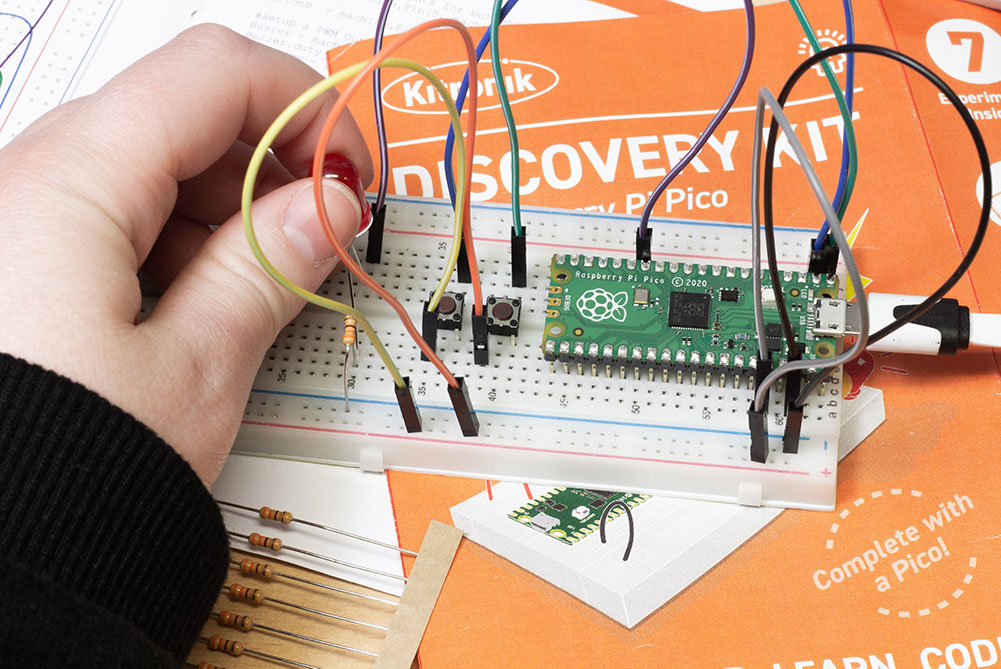
Exp. 4 – Making a Noise:
In this experiment, we will use 2 buttons to control the IRQ, and then create an ‘Analog’ output to drive a piezo buzzer. The aims of this experiment are;
- Learn how to connect multiple interrupt sources
to one handler.
- Learn how to distinguish interrupt sources.
- Learn how computers simulate analogue outputs.
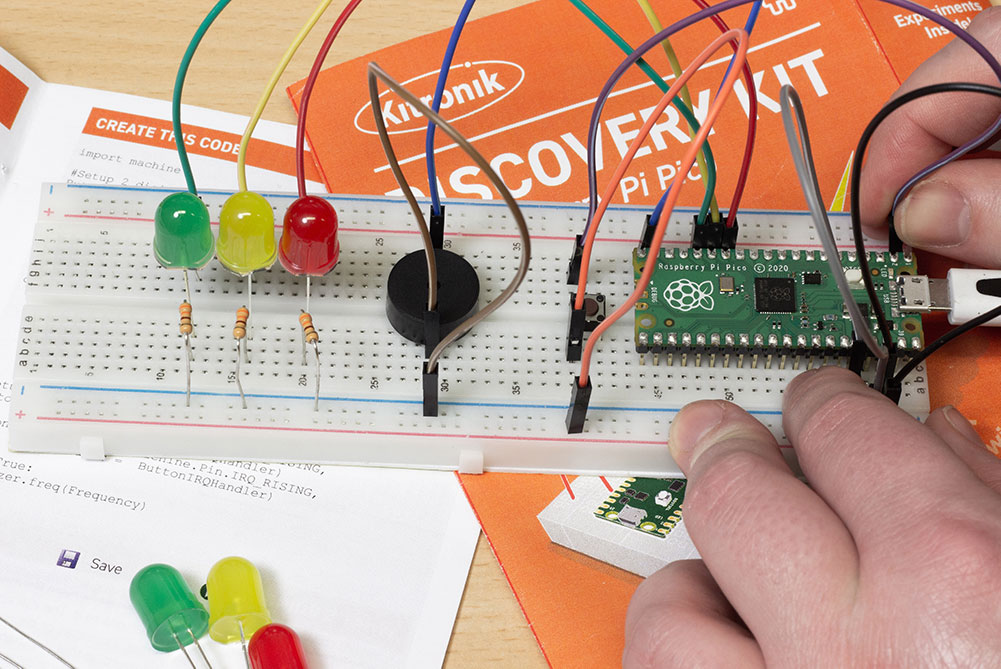
Exp. 5 – So Many Interruptions:
In this experiment, we will use 2 buttons to independently control 2 LEDs, one on the breadboard and the onboard LED on the Pico. The external LED needs a current limiting resistor so that we do not risk damaging the Pico’s output pin. The aims of this experiment are;
- To learn about LEDs and current limit resistors.
- How to make independent interrupts and use them to
control independent outputs.
Exp. 6 – Rub Head and Pat Tummy – Threads:
The Pico has a dual-core processor, so it can run 2 things at once. One of those is the main while True: loop. We can also run a second piece of code on the other core at the same time. The execution of code is often called a thread of execution. The aims of this experiment are;
- To learn about ‘threads of execution’.
- To learn that the Pico can do 2 things at the same time.
- To learn how to create and stop a thread.
Exp. 7 – Building a System from the Blocks we have Learnt:
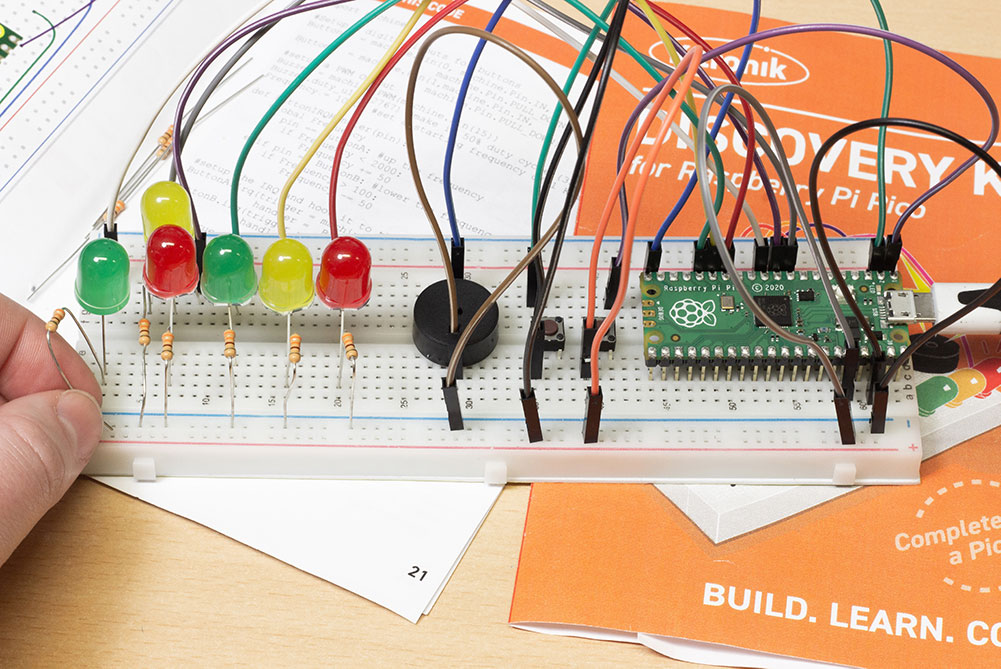
Now we have all the parts to build a traffic light system, with LEDS, buzzer and pedestrian crossing interaction. The aims of this experiment are;
- To create and simulate a Traffic Light system.
- To use Interrupts and Threads.
- To use digital and analogue outputs and digital inputs.
Our Discovery Kits: