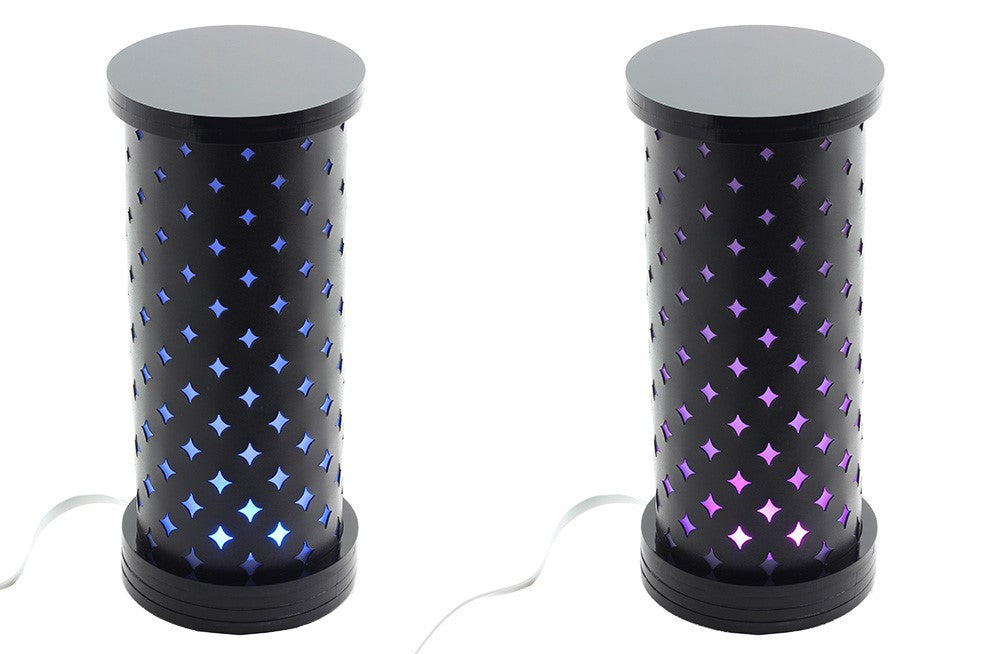
Emma has designed these fantastic starry custom enclosures for our Kitronik Round RGB USB LED Board and Kitronik Round White USB LED Board. All of the files needed are available as a free download, for you to use or customise.
These enclosures will look great anywhere, on a desk, bedside table, or wherever you need some light. You will find a list of the things we used below, but you can substitute the materials for ones you have to hand. A good alternative is our value cheap acrylic sheets range, it’ll get you where you need to go for less.
We Used:
- Kitronik Round RGB USB LED Board OR Kitronik Round White USB LED Board
- 3mm Black Acrylic or Perspex
- 0.5mm Black Polypropylene
- 0.5mm Frosted Polypropylene OR 0.5mm Transparent Polypropylene in a colour of your choice.
- A laser cutter.
- These DXF Files.
Starry Mood Light Enclosure:
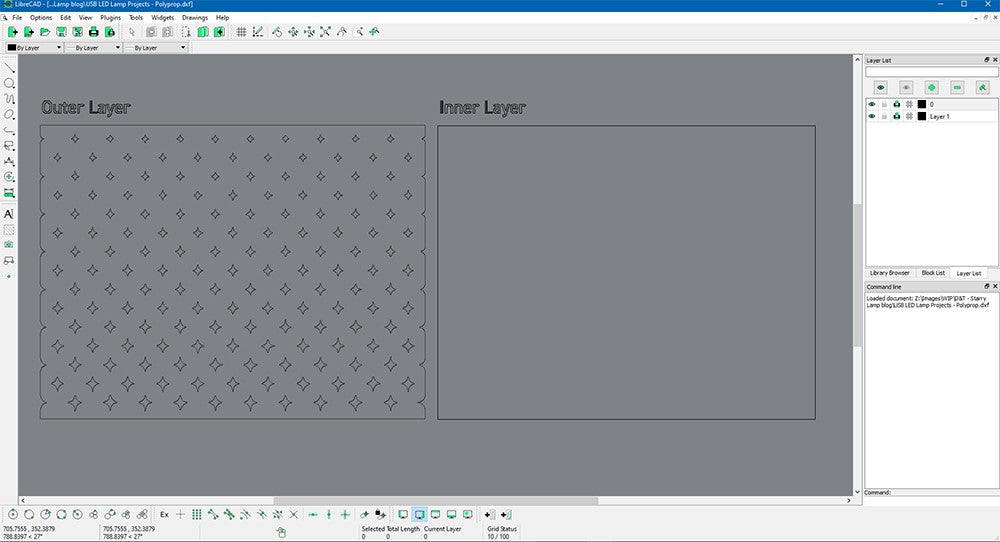
Grab the DXF files and either head straight to the laser cutter or load the files into your favourite CAD program. There are two files; the first contains the parts for the base and lid for both of the board options, and the other contains the designs for the polypropylene surrounds, which fit both lamps.
Step 1 To the laser cutter:
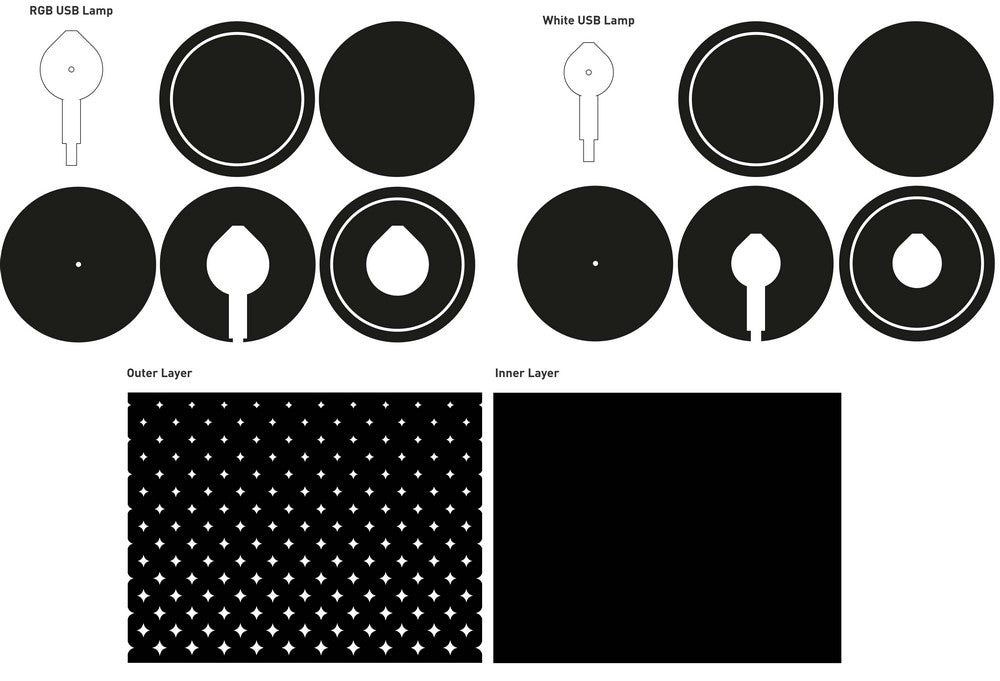
Cut out the DXF as above, either the White or RGB version depending on the board. The solid areas of the above image are the parts you will want to keep. The round parts should be made from Acrylic or Perspex, and the flat sheets from polypropylene. The patterned polypropylene should be opaque (preferably black) and the plain piece can either be white frosted or colour tinted polypropylene, both of 0.5mm. We suggest coloured polypropylene for the white lamp, and the plain frosted for the RGB lamp.
Step 2 Assembling the base and lid:
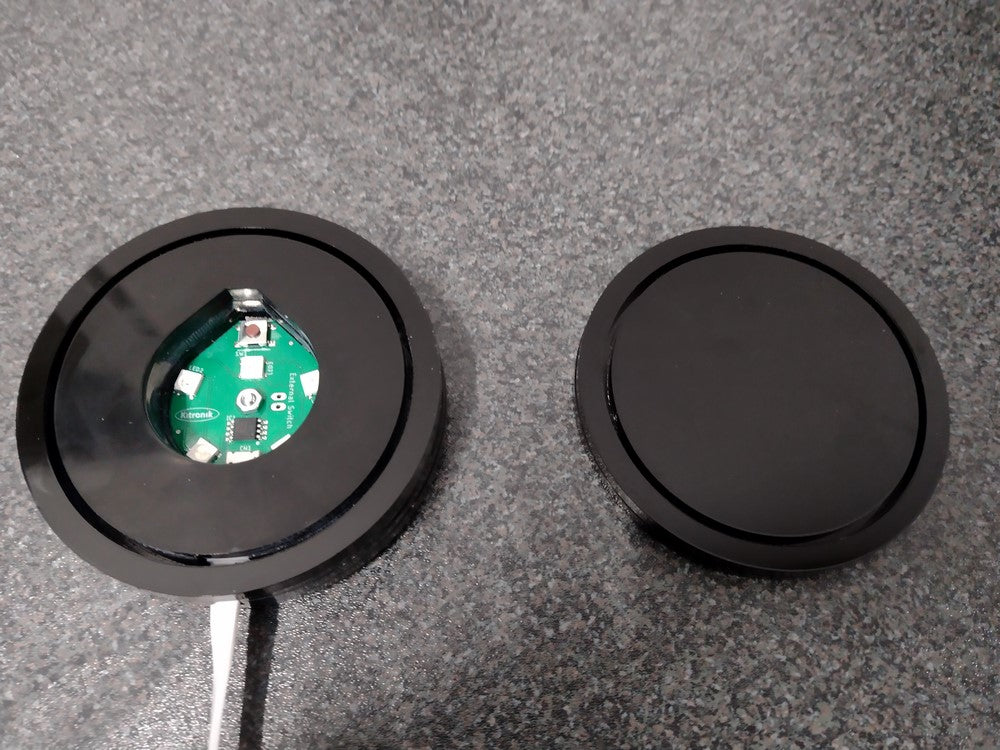
Assemble your base and lid. The base will be glued around the board, with the noodle cable already attached. Make sure the gap between the outer and inner discs is even all the way around.
Step 3 Putting it all together:

Finally pop the polypropylene into the base as shown, then fit the top on! You may need to either secure the polypropylene in shape using a little electrical tape as we have, or form it to shape using a heat gun. We did both, just to be sure!
One of the best sources of new Kitronik information is our Newsletter. To make sure you always know what’s going on, sign up for our newsletter here! The ext one’s a good one, don’t miss it!