BETT is an educational trade show bringing together 850 leading companies, 103 exciting new edtech startups and over 34,700 attendees. For this year’s show, the micro:bit foundation wanted to have a pair of more visible micro:bits for their stand.

Kitronik often works closely with the Foundation, and so when we were asked if we could help with such a fun thing, of course, we said yes. The brief was to make a mega:bit, but even more MEGA sized.
Supersizing The microbit megabit:

The first thing to do was to figure out how big. After some initial sketching on the whiteboard. We settled on 20 times increase as a good size without becoming impossible to make or move.

Once the size was agreed on, artwork for the front and back of the MEGA:Bits was prepared. This was then printed by a signage firm to give a lightweight but stiff and strong panel.

Upping the size meant we had to increase the thickness as well. Which handily gave a nice place to put all the additional electronics.

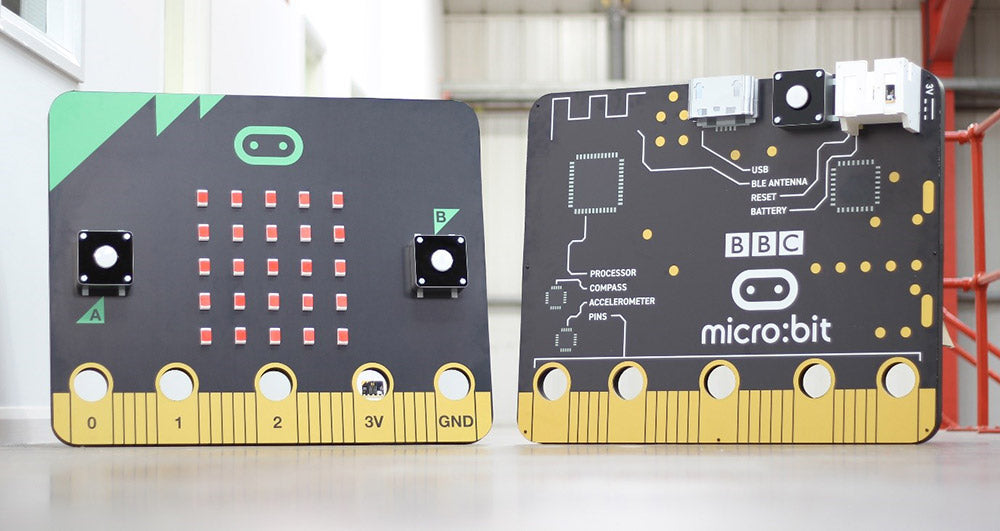
The front of the micro:bit has 25 LEDs, so Sean, our designer, got busy with the CAD and the 3d printers to make 50 (2 micro:bits worth) giant surface mount LEDs. These each have one of our 3 led modules (35137) inside, and a perspex cover.

To make sure the LEDs are suitably bright Phil, one of our electronics engineers, made an intermediate board to drive them from the incoming 5V power supply.
 The micro:bit doesn’t breakout all the pins required to drive a mirror of the LED matrix, so Phil, who is very good at soldering, attached some tiny wires to an existing micro:bit to get hold of the signals we needed. This micro:bit is then mounted inside the supersized JST connector so that the USB for programming is still easily accessible, and the micro:bit is not shielded inside the casing – so the radio and Bluetooth functions still work.

With all the bits designed and mostly made it was then ‘just’ a case of assembling them all.
.

Of course, we had to check that the micro:bit still worked completely. So, a quick game of Shakey Duck was in order.
The end result turned out nicely, and both MEGA:bits went down well with the show attendees.