There has been a disturbance in the micro:bit community, have you felt it? Star Wars day is back and has probably led a lot of you to make something inspired by the galaxy far far away.
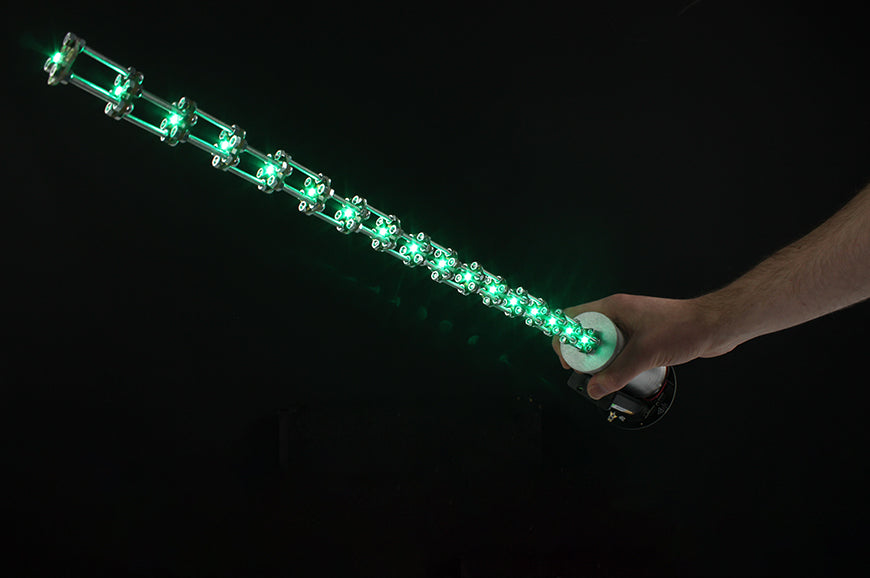
The ZIP Hex is the perfect accessory to recreate the most iconic item of them all, the lightsaber! This board excels at vertical stacking as well as projects where space is at a premium. It’s individually addressable RGB LEDs make for some stunning light effects in the blade.
You will need:
- ZIP Hex Boards (x10, 15, or 20)
- ZIP Halo
- BBC Micro:bit
- M3 30mm screws
- M3 Hex Nuts
- 3xAA battery cage with connector
- Our Design Files and code.
You may also need:
- Laser cutter
- PVA glue or hot glue gun
Good luck, and may the 4th be with you!
ZIP Hex Lightsaber – May the 4th Be With You:
 Start by inserting 30mm M3 screws facing upwards through the “OUT”,“+V”, and “0V” holes. Secure with a hex nut, then place another one on as shown. This should be just far enough to allow another board and hex nut on. These ends of the screws must go through the “IN”,”V+”, and “0V” holes of the next board. Tighten with pliers and repeat for the full length of the blade. Make sure that the “OUT” of one board is always connected into the “IN” of the next. This should make an alternating pattern.
  Using these laser DXF files, cut the two parts that make up the hilt. This piece attaches to the blade and slots down into the handle. Glue the ring to the underside. At the end once the lightsaber is working, you will need to glue this to the top of the handle. At the base of the stack, insert three 30mm screws facing downwards into the remaining holes on the board. These will push down through the top of the hilt and can be screwed in place (we’ve used nylon spacers, however 2 tight hex nuts on each will also work). The tips of these M3 screws make great connections for a set of crocodile clips in order to connect to the micro:bit.
  We used a thick card tube, approximately 3-5mm thick (or squeeze-proof) for the handle which meant a junior hacksaw was needed. If you have a thinner tube you can use a craft knife or scissors. Remember to change the diameter of the ring on the bottom of the hilt if you have a thinner tube. Tip: Lightsaber handles make a great DIY project. Even if you don’t have these parts you can still make your own unique one with whatever you have. Sense the way, then go wild! *
  The ZIP HALO is used here to drive the ZIP LEDs in the blade. In order to attach it to the handle, you will need two spare 30mm screws. Cut two slots into the bottom of the handle, 180 degrees apart. When screwing the micro:bit to the front of the HALO, replace the “P0” and “GND” screws with the 30mm ones. Finally, screw these up into the slots in the handle. *Tip: If you have a MOVE:mini, the servo lite board on the front will also work as a ZIP LED driver!
  Finally, connect and glue the battery cage to the side of the handle. You should now be able to begin coding light effects for the blade! Will you choose a faithful Jedi blue, or enjoy the powers of the dark side red? Tip: It is important to test the electronics before assembling the lightsaber handle. * *
You will need to set the number of LEDs in the chain depending on how many you have used in your lightsaber. Remember to include the 24 on the halo! In this code, we have used a variable to make the blade slowly extend out from the hilt. It repeats a cycle 17 times, turning on an LED then moving the variable onto the next. The length of the delay between each cycle will determine how fast the blade extends.
Sign up to our Newsletter
Like our content? Why not sign up to our newsletter so you don’t miss out on the latest information, products and projects. You can sign up here.