Please note: This document is just for reference as we no longer stock the RFID Read and Write Module.
Alasdair Trench shows us how to make an Arduino based RFID lock using an Arduino® Compatible RFID Read and Write Module. RFID stands for Radio Frequency Identification, a technology which uses electromagnetic waves to capture and read transmitted data. It is used across a number of different areas in society, but one area where it is regularly seen is physical security.
An example of this is access control – only allowing authorised individuals (i.e. people with the correct RFID tag) to enter an office building, parking garage or other secure area. Users will have an RFID tag or card which they will need to hold near an RFID reader. If the identification number is correct, access will be granted; if it is incorrect, entry will be refused. This resource provides a simple example of seeing this activity in action.

How To Make An Arduino Based RFID Box Lock:
This resource sets up a lockable box, the access to which is controlled by an RFID reader.
Required Equipment:
- Arduino® Compatible RFID Read and Write Module.
- Arduino (Maker Uno: Simplifying Arduino for Education.
- USB Power Supply (this resource uses a rechargeable USB power pack)
- Mini 180 Degree Resin Gear Servo SG90.
- 10 x Female-to-Female Jumper Wires.
- Box or Tin (can be constructed or pre-existing)
- Material for locking bars (this resource uses 6mm MDF)
- Material for locking bar hinges (this resource uses paper clips)
- Method of attaching power supply (this resource uses cable ties).
Setup:
To get started with the RFID module, follow the instructions found on pages 3 and 4 of the user manual, which can be found on the product page on the Kitronik website. These detail how to begin with the example software, correctly connect the module to the Arduino and how to identify the identification number on the RFID tag and card.
Connect the servo voltage line to 5V on the Arduino, GND to GND and the signal line to pin 3 on the Arduino.
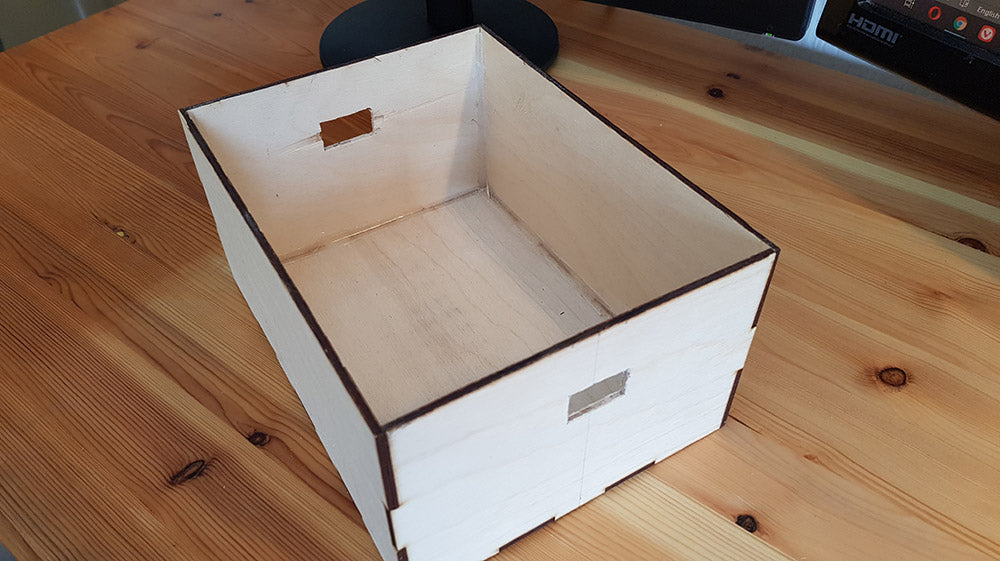
The box needs to have holes for the locking bars to slot into.
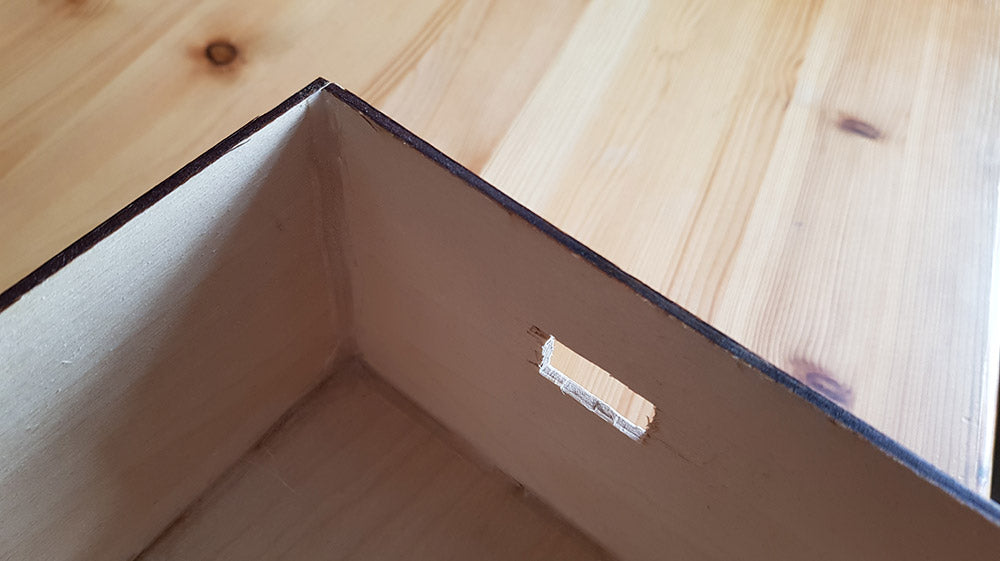
Make sure they are directly opposite each other across the box.
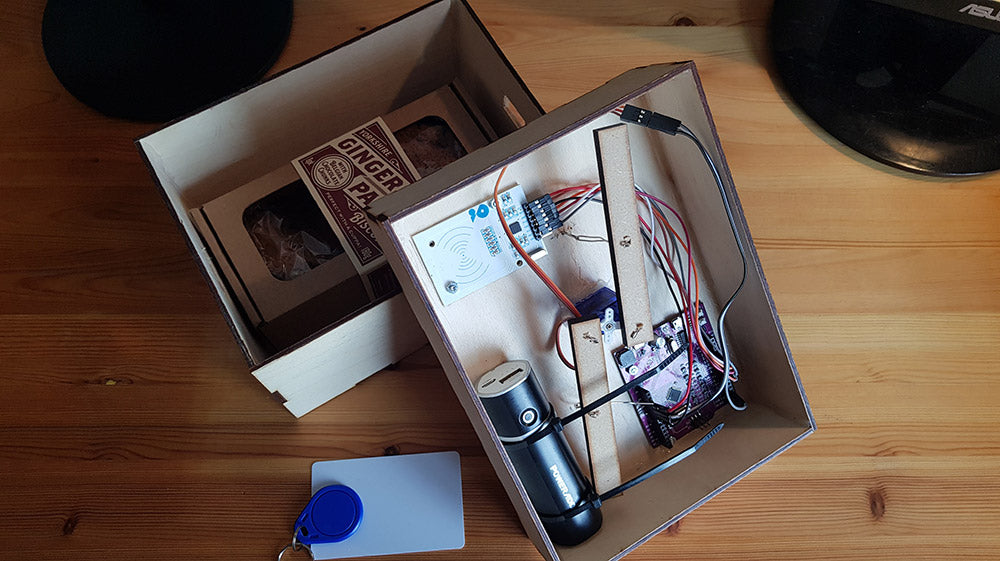
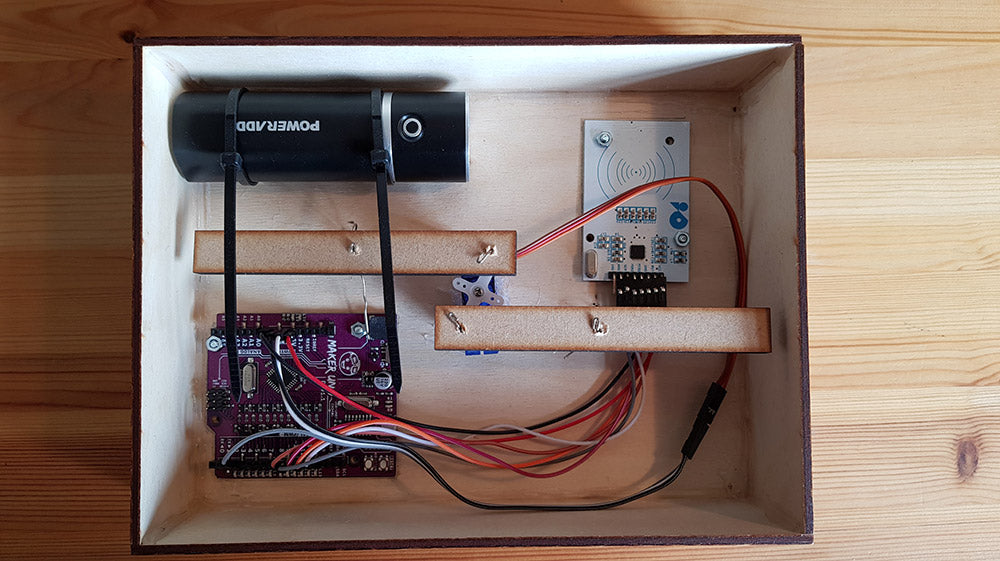
The box lid needs to have attachment points for the Arduino, RFID reader, power pack, servo and locking bar hinges.
The servo needs to be located in the center of the box lid so that the locking bars, which are pulled in and out of the locking holes by the servo, can reach both sides of the box equally.
Construct and attach locking bars, using the paper clips or other material as hinges and fixings for connecting to the servo horn. Make sure that the bars can move backwards and forwards smoothly as the servo rotates, and that they can move the correct distance to slot into the locking holes.
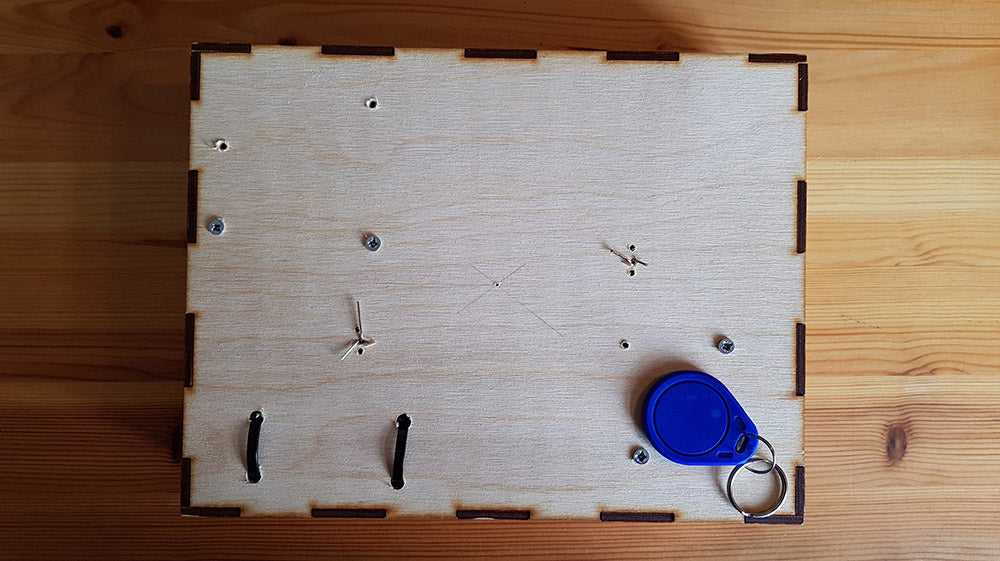
Use nuts and bolts to attach the RFID reader and Arduino to the inside of the lid (the blue RFID tag shows the location of the RFID reader on the inside of the lid).
The outside of the lid can be made neater by covering with veneer, or something similar.

Attach the power pack, using cable ties or other method, and make sure all the connecting wires between the devices are held out of the way of the locking mechanism.
Software:
The software is written in the Arduino IDE. Note: Make sure to set the Device and Port to the correct ones under the “Tools” menu.
// The required libraries for the program
#include
#include
#include
// Setup arduino pin definitions
#define SS_PIN 10
#define RST_PIN 9
#define SERVO_PIN 3
#define BUZZER_PIN 8
// Initialise the RFID reader
RFID rfid(SS_PIN,RST_PIN);
// Initialise an instance of the Servo class called "lock"
Servo lock;
// serNum is used for reading and checking the ID number
int serNum[5];
//This integer should be the code of your RFID card / tag
int cards[][5] = {{182,106,89,165,32}};
bool access = false;
bool boxOpen = true;
int attemptCount = 0;
bool alarmOn = false;
// Function to read the RFID card / tag and determine whether access should be granted
void readCard() {
  if(rfid.readCardSerial()){
      for(int x = 0; x < sizeof(cards); x++){
        for(int i = 0; i < sizeof(rfid.serNum); i++ ){
            if(rfid.serNum[i] != cards[x][i]) {
                access = false;
                break;
            } else {
                access = true;
            }
        }
        if(access) break;
      }
  }
}
void setup() {
  // put your setup code here, to run once:
  Serial.begin(9600);
  SPI.begin();
  rfid.init();
  lock.attach(SERVO_PIN);
  lock.write(5);
}
void loop() {
  // put your main code here, to run repeatedly:
  // The "if" statement only runs if an RFID card / tag is detected
  if(rfid.isCard()){
       /*
        * Check whether the read card serial number matches the saved serial number
        * If the serial number is incorrect, access = false, otherwise access = true
       */
       readCard();
       /*
        * If access is set to true and the box is currently locked, the servo will move to
          unlock the box.
        * If access is set to true and the box is currently unlocked, the servo will move to
          lock the box.
        * If access remains false, a warning buzzer will sound.
        * Each time an attempt is wrong, a count is increased. Once this count reaches 3, an
          alarm will sound.
        * The alarm can only be silenced by using the correct RFID card / tag.
        */
       if(access){
           attemptCount = 0;
           if (!boxOpen) {
              lock.write(5);
              boxOpen = true;
              delay(1000);
           } else {
              lock.write(45);
              boxOpen = false;
              delay(1000);
           }
       } else {
           attemptCount = attemptCount + 1;
           if (attemptCount < 3) {
              tone(BUZZER_PIN, 330, 500);
              delay(250);
              tone(BUZZER_PIN, 311, 500);
              delay(250);
              noTone(BUZZER_PIN);
           } else {
              alarmOn = true;
              while (alarmOn) {
                tone(BUZZER_PIN, 784, 1000);
                delay(250);
                tone(BUZZER_PIN, 659, 1000);
                delay(250);
                noTone(BUZZER_PIN);
                if (rfid.isCard()) {
                  readCard();
                }
                if (access) {
                    attemptCount = 0;
                    alarmOn = false;
                }
              }
           }
       }
  }
  rfid.halt();
}
Once the program has been uploaded to the Arduino, the RFID tag and card that are supplied with the module can be used to test locking and unlocking the box, and making the alarm sound when the wrong one is used.
Arduino® Compatible RFID Read and Write Module Video: