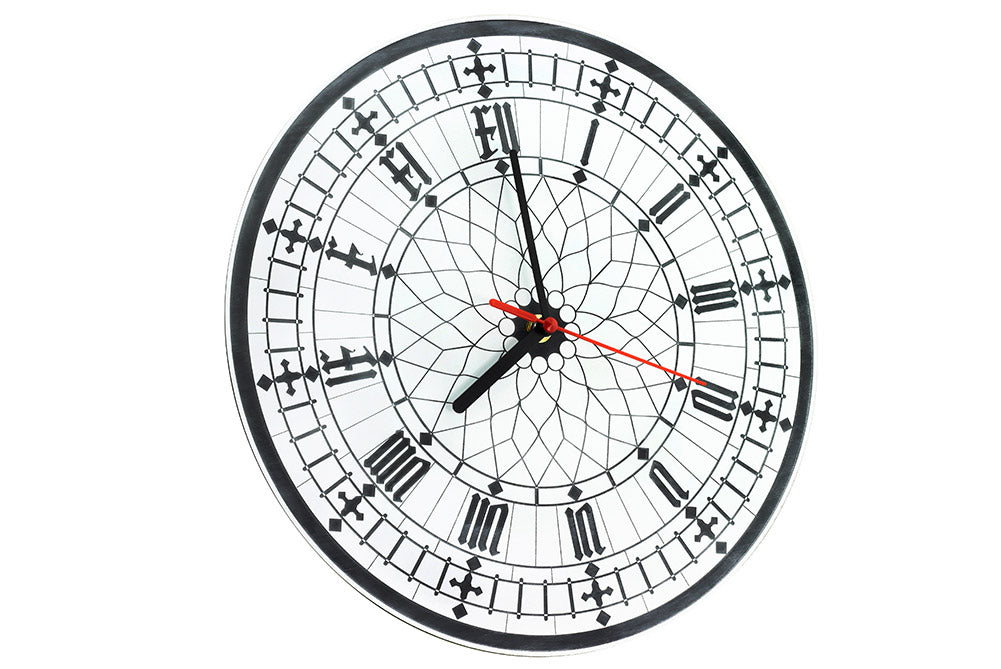
Emma details how to make a custom clock face for our Quartz Clock Mechanisms with laser engraving laminate sheets. Designing and making custom clock faces is always fun and you can end up with some really great outcomes that look great when they are on the wall. We’ve provided our design that you can download for free and we’ve also included a list of the materials we used.
We Used:
- 1 x Quartz Clock Mechanism
- 1 x Laser Engraving Laminate Sheet
- A Laser Cutter.
- This DXF.
Making A Custom Clock Face With Laser Engraving Laminate Sheets:
The good thing about these types of projects is that you can get really imaginative with the design as the laser cutter will recreate it perfectly. The bad thing is, especially when working with two colours, that assembly can be really tricky, and involve a lot of glue. That’s what makes the laser engraving laminate sheets a great choice for a project like this, you get two colours in one sheet and with zero chance of accidentally gluing your hand to your face, bonus! Let’s get making!
Step 1: The Design:
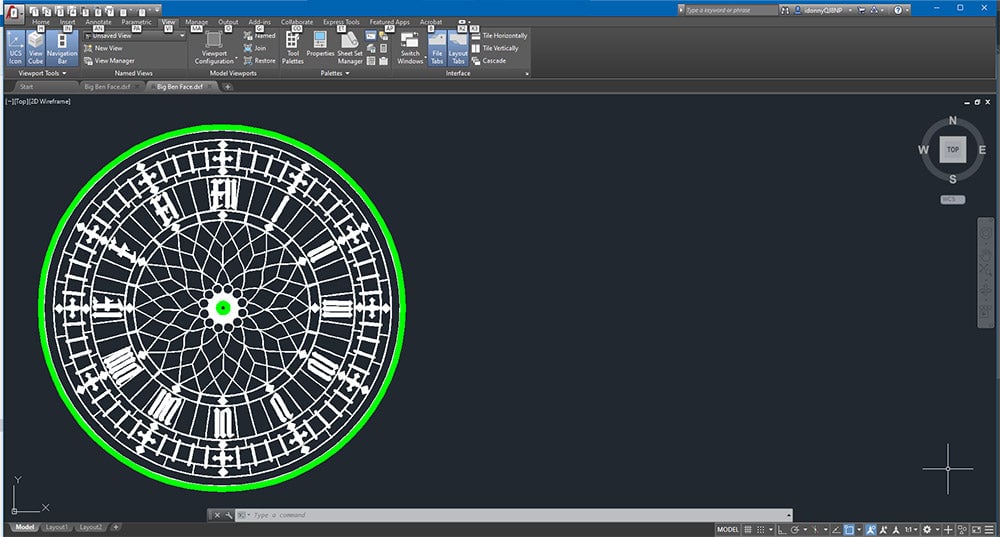
The design we’ve provided is good to use as is and we think that it will look great on just about any wall. If you did want to tweak it or personalise it in some way, just load the DXF into your CAD software and make the design your own.
Step 2: To The Laser Cutter:
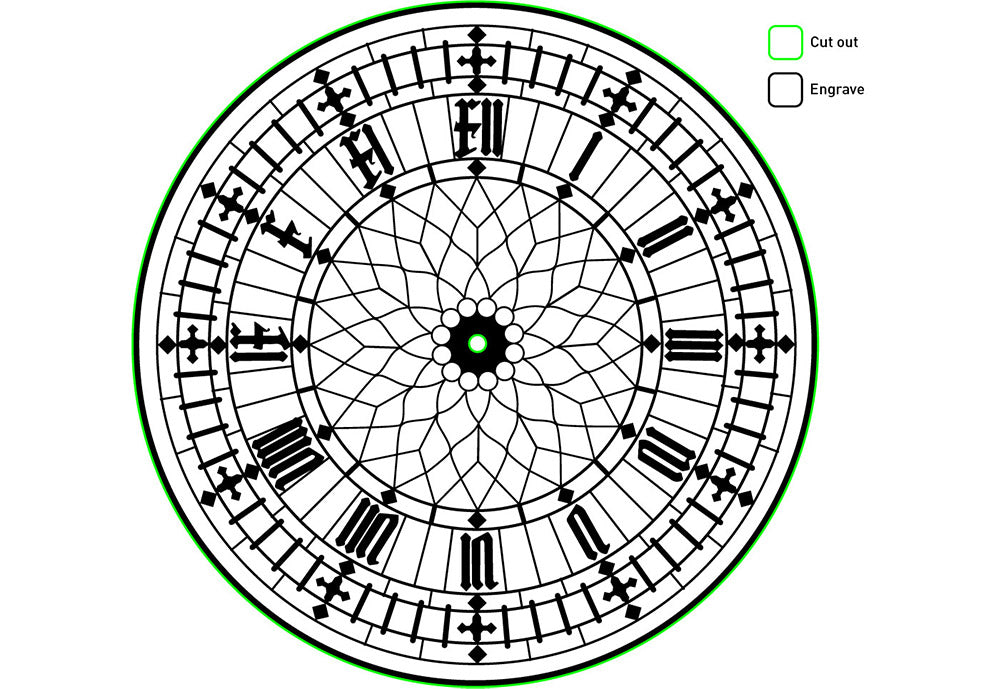
This is a nice simple project using a White-on-Black Laser Laminate Sheet. Put the provided DXF on your laser cutter, engraving everything in black in the above diagram and cutting the two green circles out fully.
Step 3: Assembling the Clock:
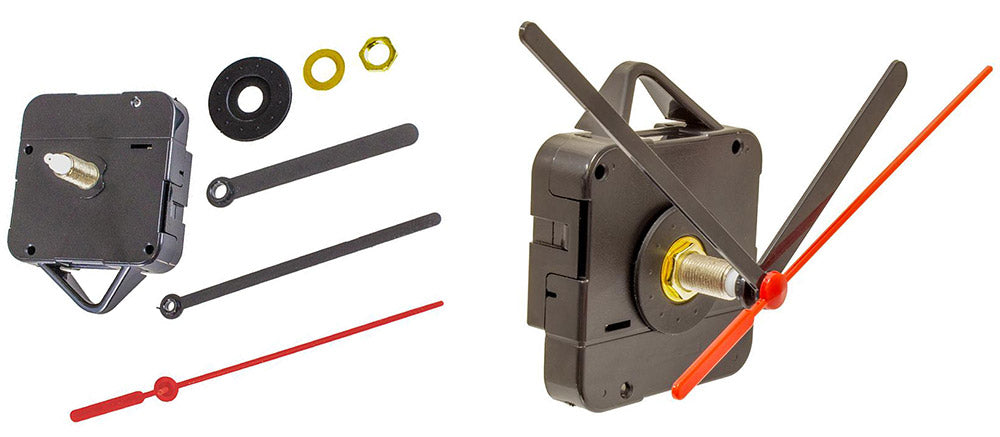
Now assemble your clock mechanism around your new clock face, making sure 12 on the face is in line with the top of the mechanism. Then, you have a working clock!
