One you’ve chosen and threaded your needle, the next step is starting off your stitches.
Here are some handy tips and techniques to help get you started!
Use a single strand of thread in your needle
Thread your needle so that one end of thread is longer than the other. As you sew, keep pulling the thread so that one end of thread is always shorter. You can stitch with the thread double over to create two strands but you may find that this makes stitches baggy, which might impact on your circuit working. Also double thread becomes tangled more easily.

Using a knot in your thread
Using knots to secure your stitches is often frowned upon in textiles. This is because a knot often has to be tied several times before it is big enough to hold in the fabric and a big knot can have a negative effect on other work being done. When using conductive thread, however, using a knot in the end of your thread can make it easier to use.

If you use a knot you must cut the tail of the thread off close to the knot. Don’t leave the tail end you have cut near your work. Both of these can lead to short circuits. 

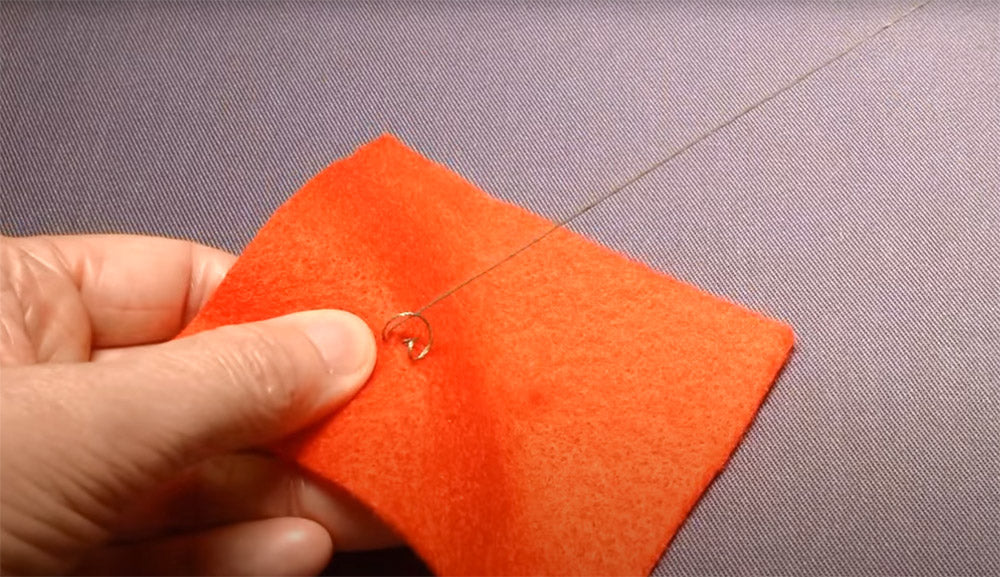
Using the ‘no knot’ method to secure your stitches
This method gives you a flatter start to your stitches but it can be harder to do because of the silky thread. Push the needle through the fabric as if you were doing a singe running stitch.  Pull the thread through the fabric so that the tail end is as short as possible.
  Slide the needle into the same holes (or just next to them).
 Repeat this process 2 or 3 times.
 The starting stitch can also be dabbed with clear nail varnish or a textiles product called Fray Stop to prevent the stitches coming undone.
  Once you’ve mastered starting stitches off you’re ready to move on to the next article in this series; finishing off stitches.