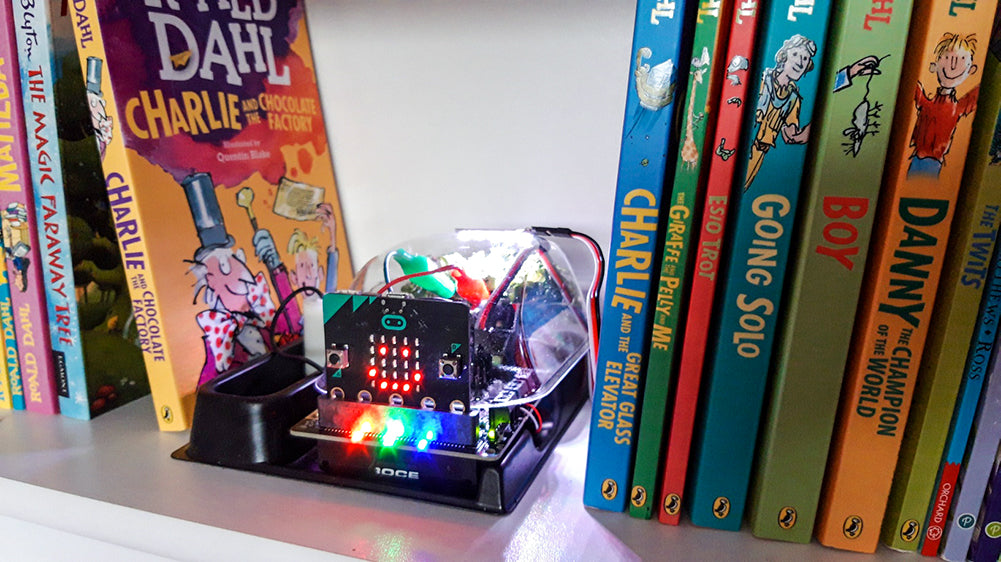
We have created a series of online MakeCode tutorials to introduce you to the features of the Environmental control board for the Greenhouse kit. The environmental control board sits at the heart of our Smart Greenhouse Kit. It contains all of the features needed to build a fully automated growing system.
The Kitronik Smart Greenhouse Kit for the BBC micro:bit provides an exciting way to learn about the relationship between plants and their environment. Learn how to monitor environmental conditions. Then learn how to build automated systems that react to them. This kit is compatible with the micro:bit V1 and also the new microbit V2.
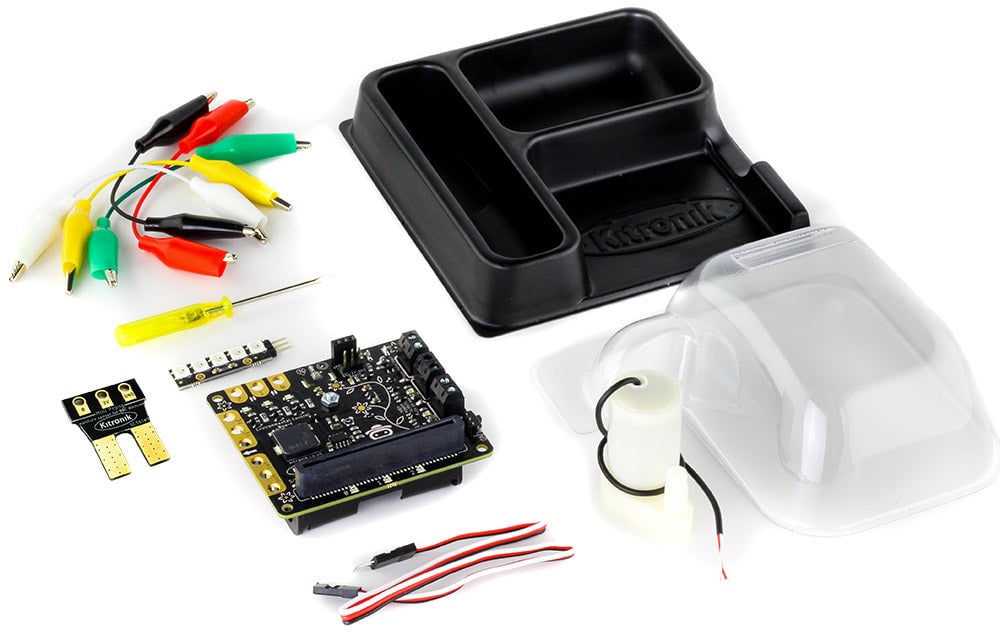
You can work through the tutorials and produce the code, but to build the projects you will need the parts that are included with the Greenhouse kit. Alternatively, you can source the parts individually, they are listed below.
You Will need;
- A BBC micro:bit V1 or BBC micro:bit V2.
- Kitronik Smart Greenhouse Kit.
- Seeds, such as cress.
- Soil.
- 3 x AA Batteries or plug-in power supply with USB to DC Jack.
- Or, if sourcing the parts separately;
- Kitronik Environmental Control Board.
- A BBC micro:bit V1 or BBC micro:bit V2.
- Kitronik ZIP Stick.
- Kitronik Mini Prong.
- 3V Vertical Submersible Water Pump.
- Silicone tube for the water pump.
- Crocodile Leads.
- 3 x AA Batteries or plug-in power supply with USB to DC Jack.
- A suitable tank for the pump.
- Also, a container for your crops should you wish grow some. Note: The container should have a lid but also be adequately ventilated.
- Seeds, such as cress.
- Soil.
Online MakeCode Tutorials For The Greenhouse Kit:
Ideally, the tutorials should be completed in order as they increase in complexity as you work through them. The tutorials take place within the MakeCode editor so you build the code as go.
We have also produced some custom code blocks to make the job of writing code much easier. The tutorials make use of these blocks so, despite the complex nature of the tasks, the custom blocks make the activities suitable for the novice.
A – Visual Greenhouse Thermometer:
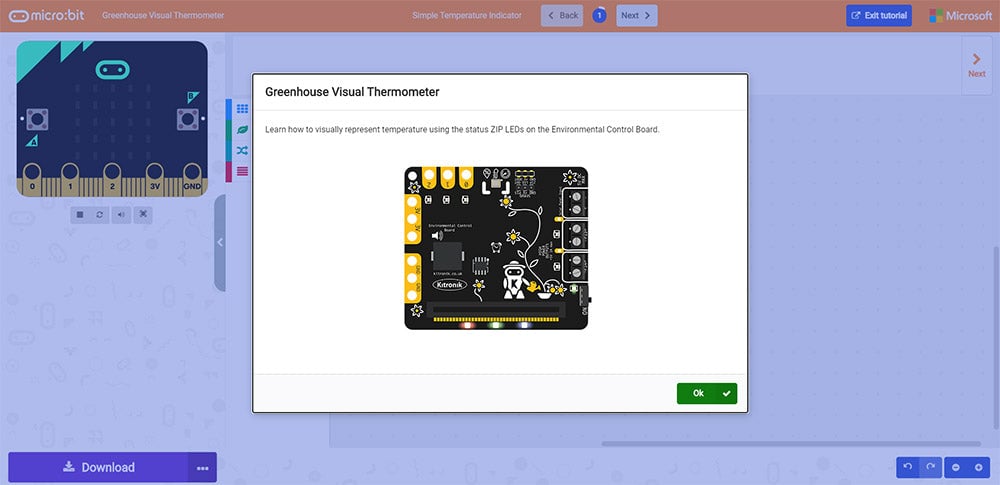
Learn how to visually represent temperature using the status ZIP LEDs on the Environmental Control Board. No need to connect peripherals for this one as all of the action takes place with the board itself. Write your code, and watch it come to life on the onboard ZIP LEDs.
B – Displaying Temperature, Humidity & Soil Moisture:
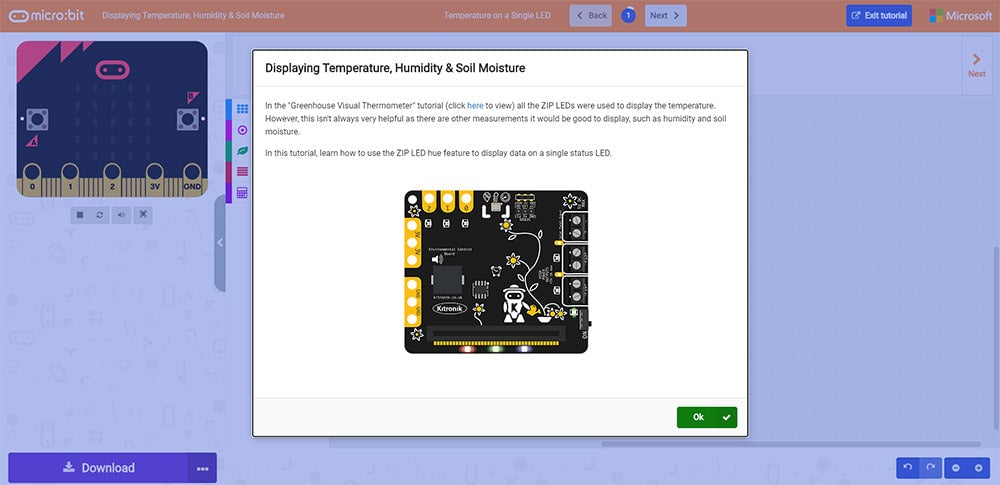
In the “Greenhouse Visual Thermometer” tutorial all the onboard ZIP LEDs were used to display the temperature. However, this isn’t always very helpful as there are other measurements it would be good to display, such as humidity and soil moisture. In this tutorial, learn how to use the ZIP LED hue feature to display data on a single status LED.
C – Automatic Plant Watering:
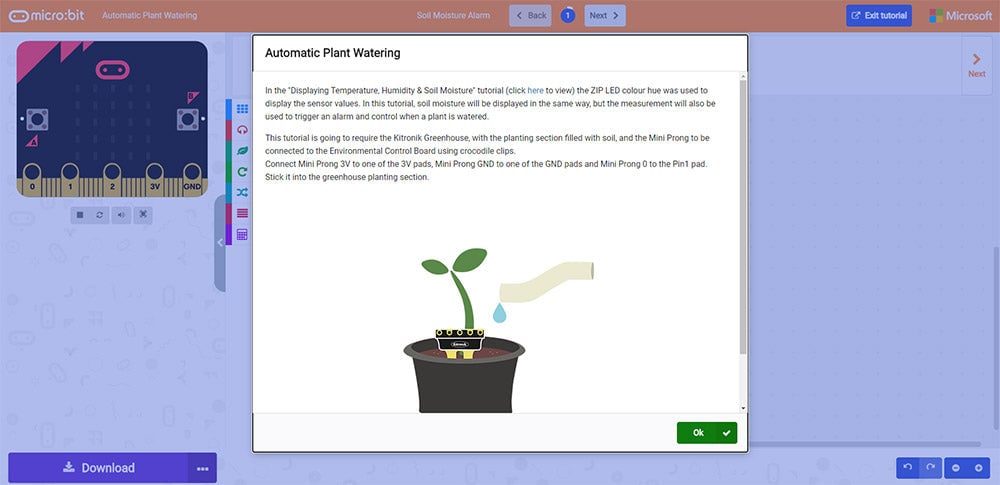
In the “Displaying Temperature, Humidity & Soil Moisture” tutorial the ZIP LED colour hue was used to display the sensor values. In this tutorial, soil moisture will be displayed in the same way, but the measurement will also be used to trigger an alarm and control when a plant is watered.
This tutorial is going to require the Mini Prong to be connected to the Environmental Control Board using crocodile clips. Connect Prong 3V to one of the 3V pads, Prong GND to one of the GND pads and then Mini Prong 0 to the Pin1 pad. Stick it into the greenhouse planting section.
D – ZIP Stick Grow Lamp:
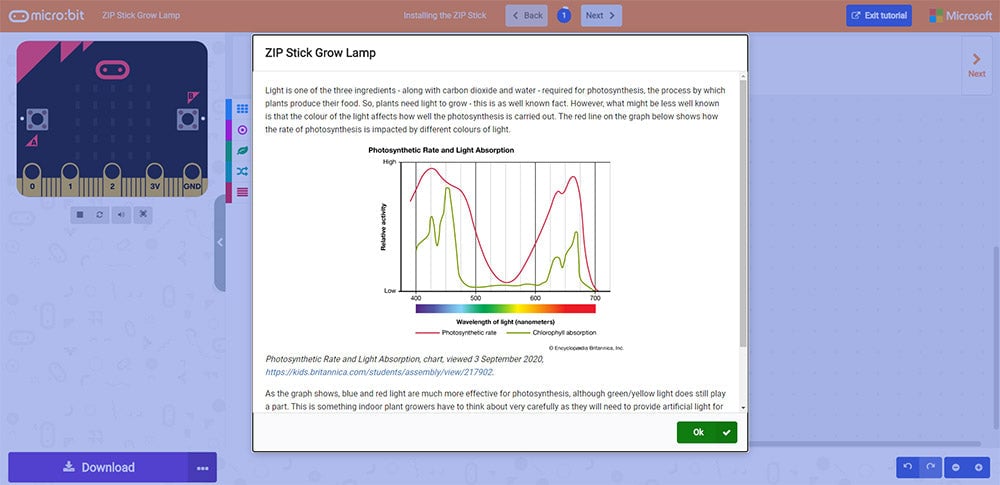
Light is one of the three ingredients – along with carbon dioxide and water – required for photosynthesis. This is the process by which plants produce their food. So. plants need light to grow – this is as well known fact. However, what might be less well known is that the colour of the light affects how well the photosynthesis is carried out.
Blue and red light are much more effective for photosynthesis, although green/yellow light does still play a part. This is something indoor plant growers have to think about very carefully as they will need to provide artificial light for their plants, and the correct mix of colours will produce the best plants.
The ZIP Stick provided with the Smart Greenhouse Kit has fully controllable RGB LEDs and is intended to be used as a grow lamp for the greenhouse. This tutorial will go through installing the ZIP Stick in the greenhouse and then controlling both the colour and the brightness of the LEDs.
E – Setting the Time and Water Scheduling:
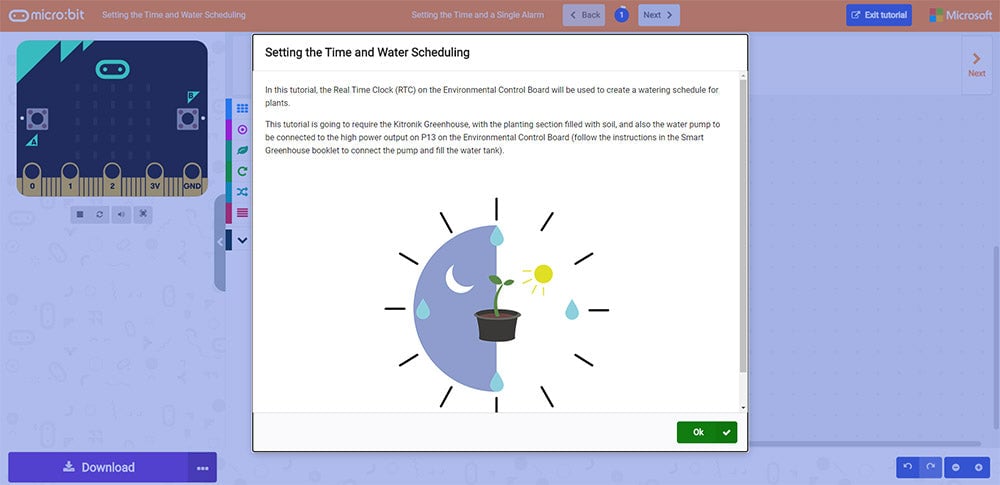
In this tutorial, the Real-Time Clock (RTC) on the Environmental Control Board will be used to create a watering schedule for plants. This stage of the tutorial is going to require the water pump to be connected to the high power output on P13 on the Environmental Control Board.
F – DIY Water Level Sensor:
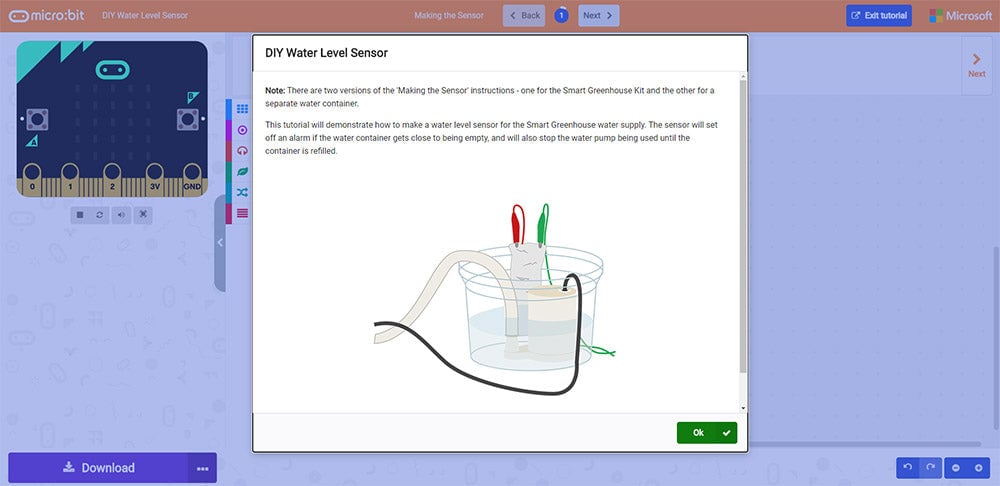
In this tutorial, common household items will be used to make a water level sensor for the water pump container. The sensor will set off an alarm if the water container gets close to being empty. It will also stop the water pump being used until the container is refilled.
Note: There are two versions of the ‘Making the Sensor’ instructions – one for the Smart Greenhouse Kit and the other for a separate water container.
G – Data Logging:
A really useful feature of the Smart Greenhouse is the data logging functionality. This allows you to measure, store and then transmit data to a computer. This means that the relationships between environmental factors such as temperature, humidity, soil moisture, and light levels can be analysed and the results used to improve plant care and growth. This tutorial will go through the basics of gathering data readings, storing them and then transmitting them to a computer via USB. It will also cover the use of the MakeCode serial console and importing data into Microsoft Excel.