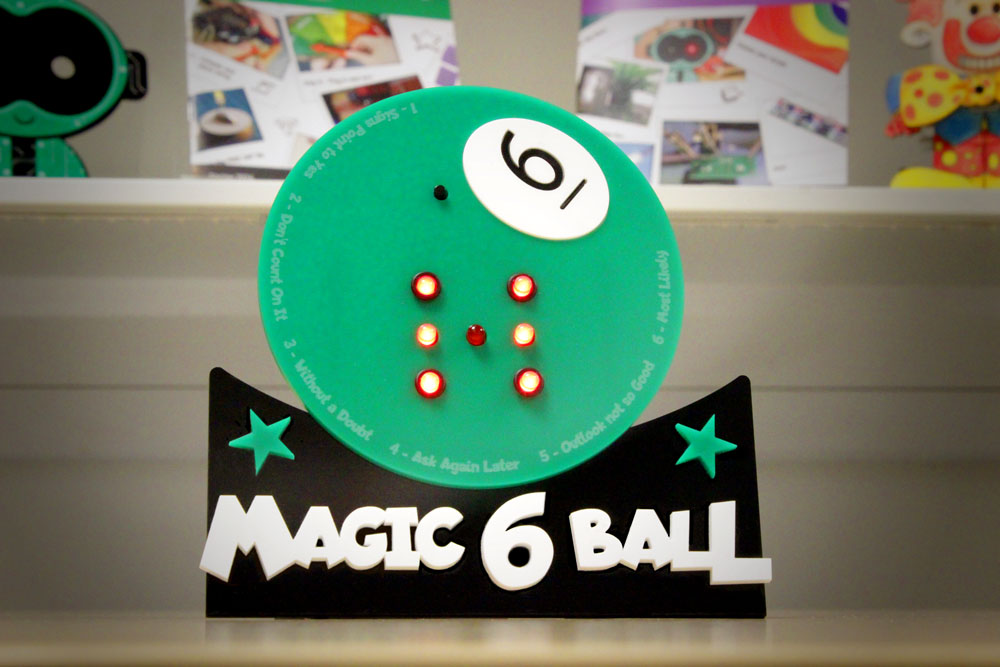
Forget the Magic 8 Ball, the new Kitronik Magic 6 Ball is where it’s at! Using the Kitronik Dice Project Kit and some Value Acrylic, you too can create a fun randomiser with life advice. Download the dxf zip file and follow, our in-house animator/designer, Kev’s instructions.
This is a great hands on activity for the classroom, combining practical electronics and design. As with all electronic kits that form a part of a larger design, studying the electronics is optional. Great outcomes can be obtained by just soldering together the kit and designing a custom enclosure to house it.

What you’ll need:
- Kitronik Dice Project Kit.
- Black Value Acrylic.
- White Value Acrylic.
- Green Value Acrylic.
- Panel Mount LED Clip 5mm, pack of 50.
- Soldering Equipment.
- Laser Cutter.
- Our DXF design.

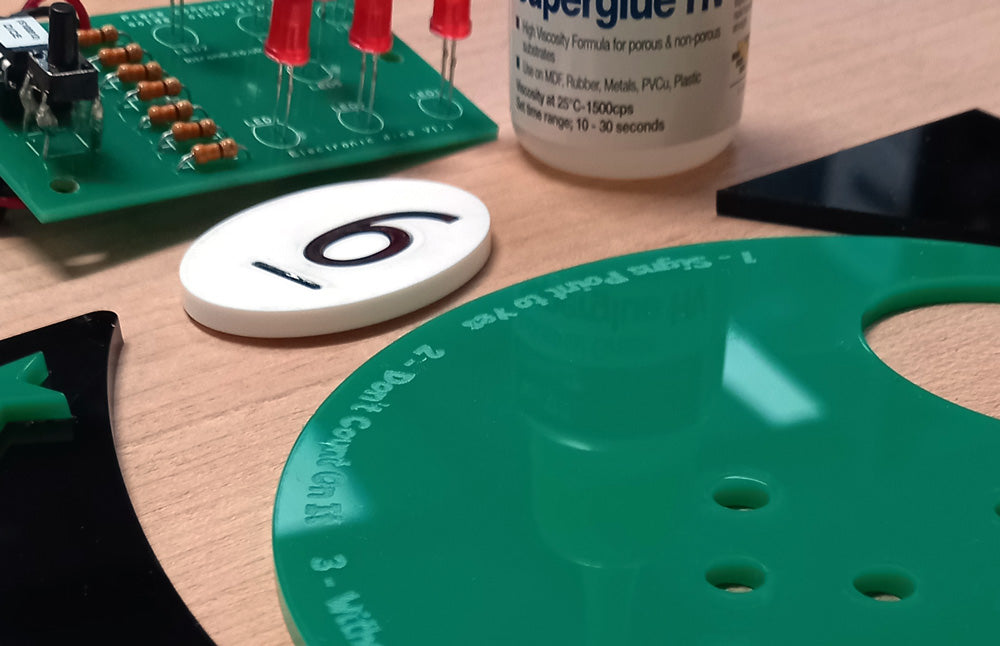
Step 1 – Get Soldering:
Start by soldering the dice kit together, making sure that the LEDs and switch sit higher than the IC Socket and they are all the same distance off the board. You will need to use the legs that have been cut off the resistors to extend the legs on the switch.

Step 2 – Download and Laser:
You can download our free dxf file for the Magic 6 Ball right here.

Here’s our guide to engraving it and cutting. We have suggested engraving the main base with the words Magic 6 Ball purely as a guide when it comes to gluing the white letters, but this is optional as it can take a while depending on how deep you want the engrave.
Get cutting your green, black and white Kitronik Value Acrylic!
Step 3 – Stick Around:
Using super glue, get sticking all your cut elements together…
Step 4 – Lights…
When everything is dry and fully stuck, insert the Panel Mount LED clips into the four corner holes and push the fully soldered kit into place…

Step 5 – Should I eat this Cake?
Ask a question and push the Dice Kit button. The dice lights correspond to the engraved answers around the edge of the 6 Ball.
Good luck…