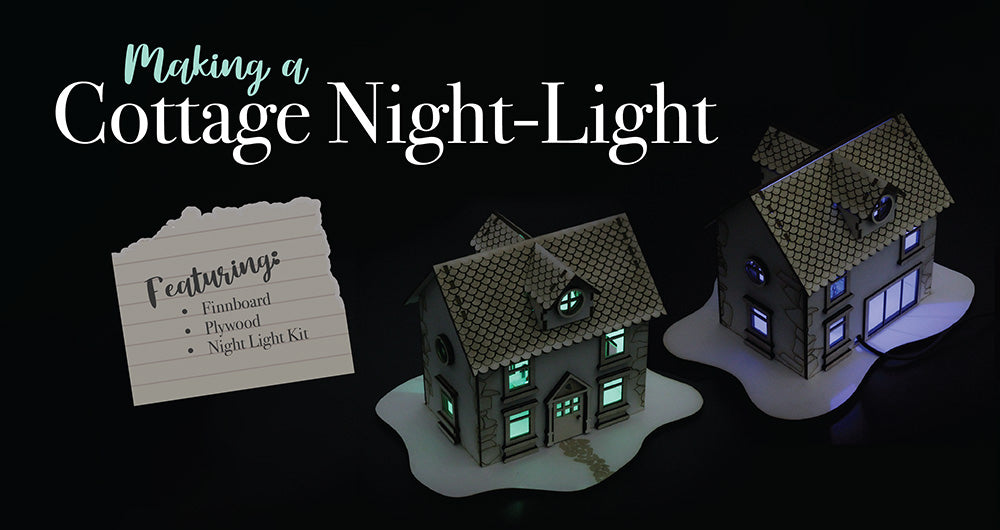
This night light brings a quaint cottagecore twist to any bedside table, casting unique shadows and shifting gently through colours. Follow Emma’s’ steps below to make your own – we think it’d be a great classroom project in particular!
We have used:
- This DXF File
- Finnboard
- 3mm Poplar Plywood
- Dark Activated Colour Changing Night Light Kit
- Hot Glue Gun & Hot Glue Sticks
- 4 x 20mm M3 Spacers
- 8 x 10mm M3 Pan-head Screws
Additional tools:
- Laser Cutter
- PVA Glue
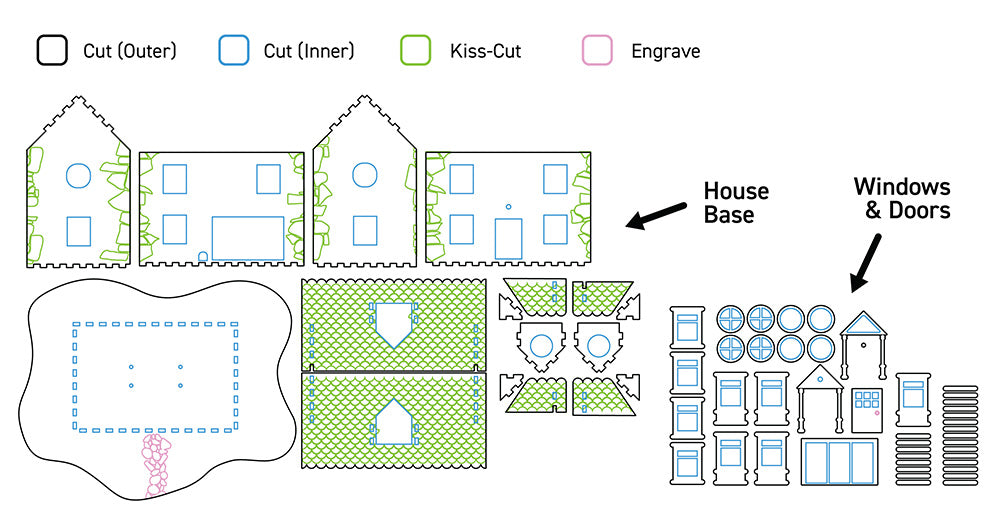
Step 1 – The DXF
Open up the DXF file linked above, and cut it out as shown below! Of course you are free to choose your own materials, however we have used Finnboard for the main house base, and then the window and door accessories are cut from 3mm Poplar Plywood.
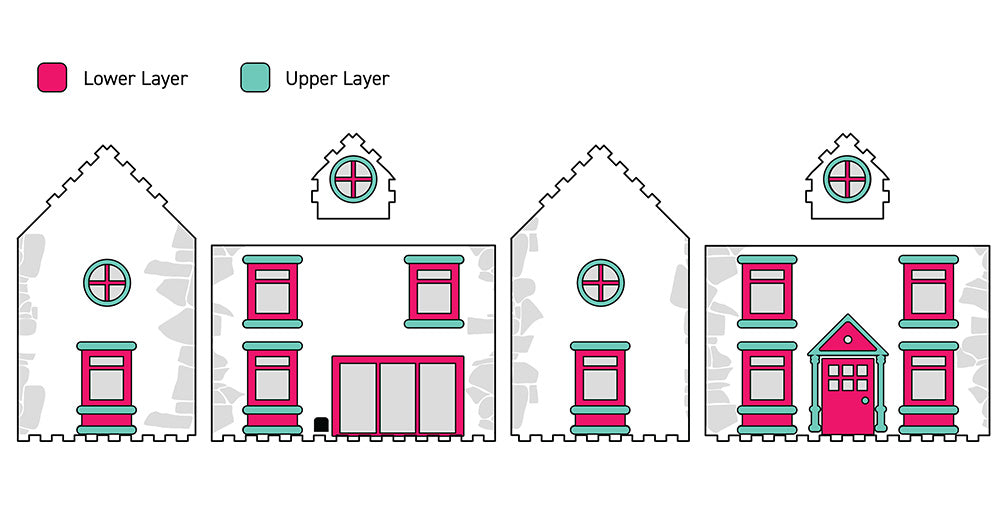
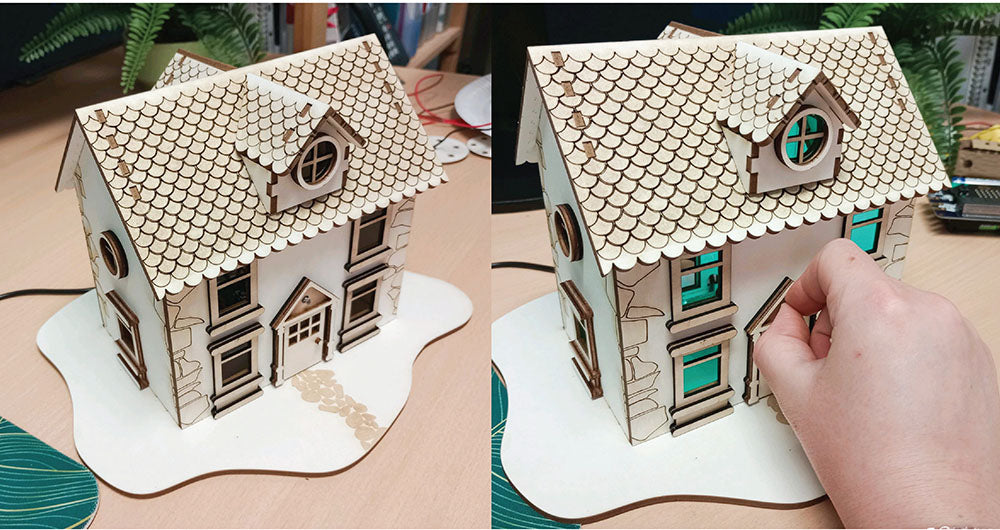
Step 2 – Doors & Windows
Once the pieces have been cut out, use a material-suitable glue (we have used PVA) to attach the window and door accessories as shown in the diagram and image. The diagram shows the first layer in dark pink, and the upper layer in teal.
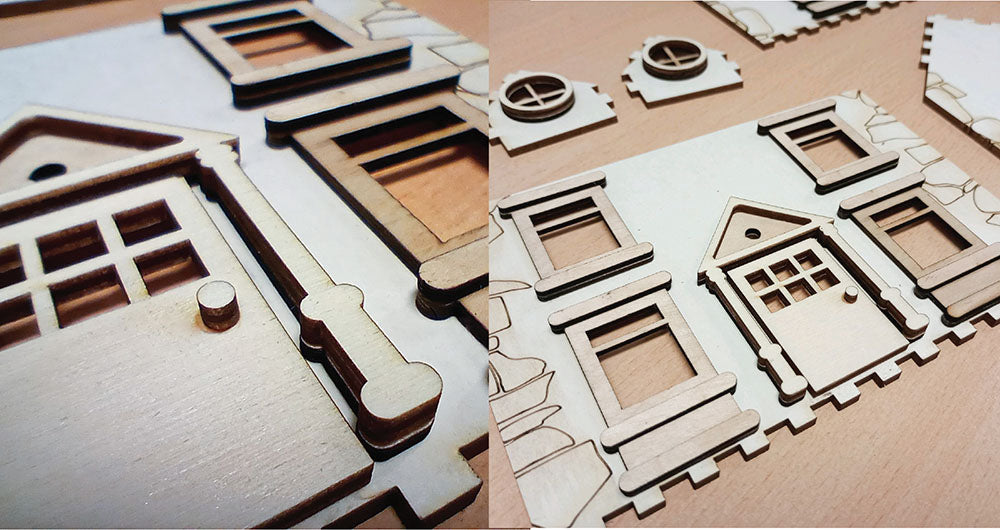
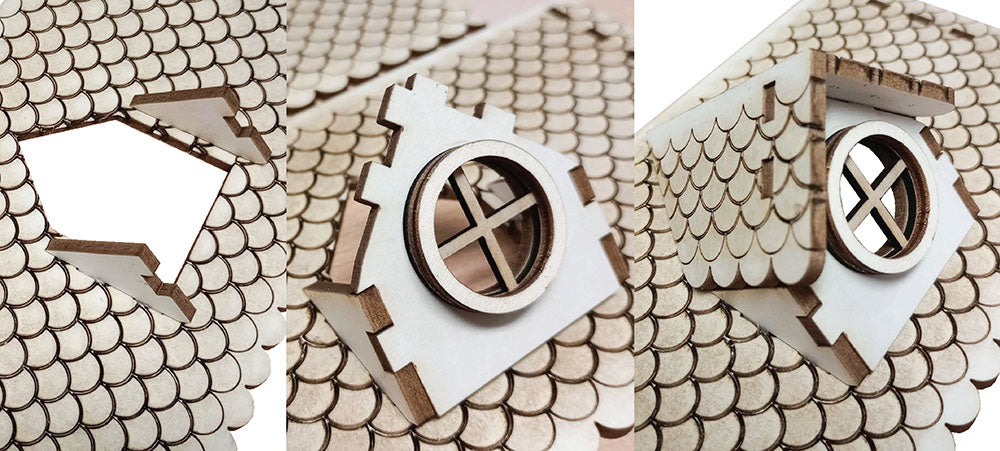
Step 3 – Dormer Windows
Using a material-suitable glue (ours is PVA again) affix the dormers to either side of the roof as shown.
Step 4 – Check Fitment
Test out the fit of the pieces before the electronics are added – this leaves you room to amend any incorrect elements before things are fixed in place.
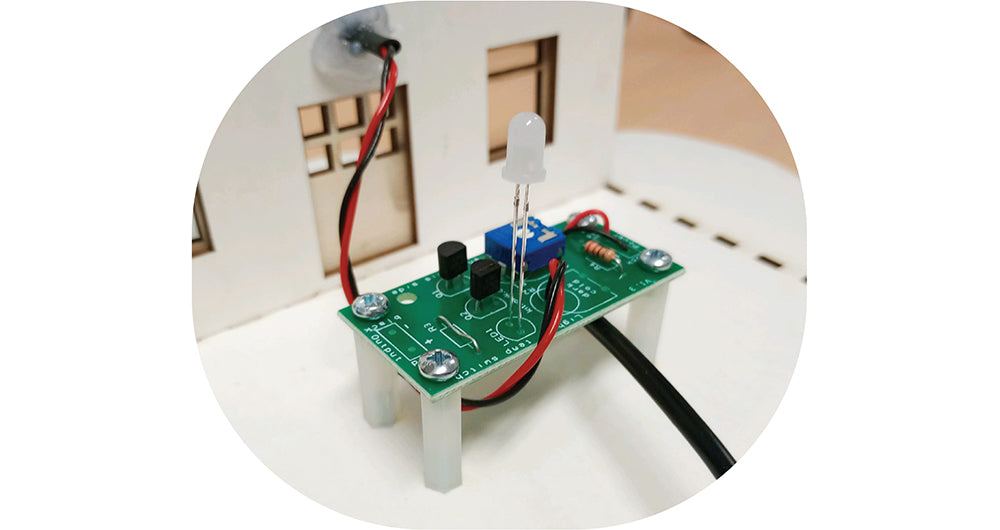
Step 5 – Assemble the Kit
Assemble our Dark Activated Colour Changing Night Light Kit as per this set of instructions, making the following three amendments to the process:
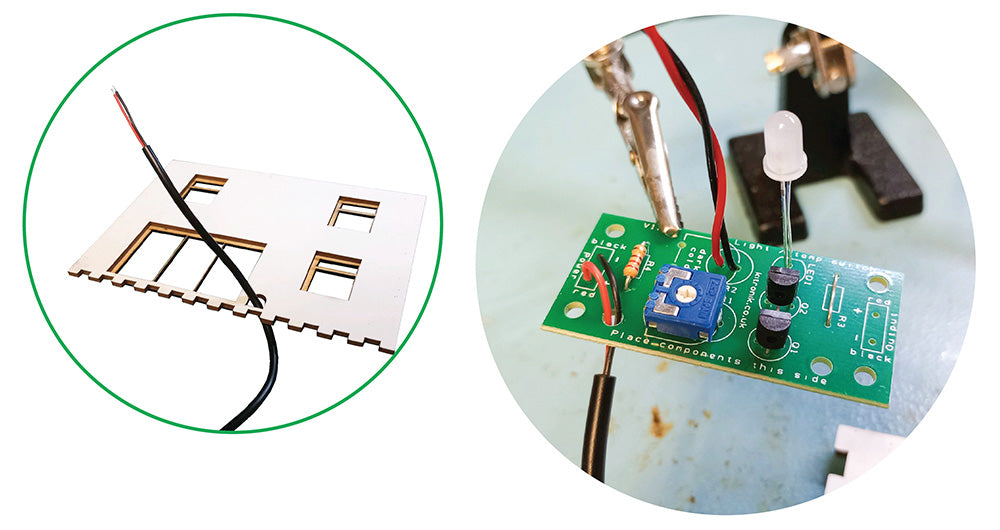
- Before soldering it to the kit, pass the USB wire through the small arch cut next to the back door of the house.
- Stand the LED up as high as you can on its legs before soldering, to make the light source inside the cottage more central.
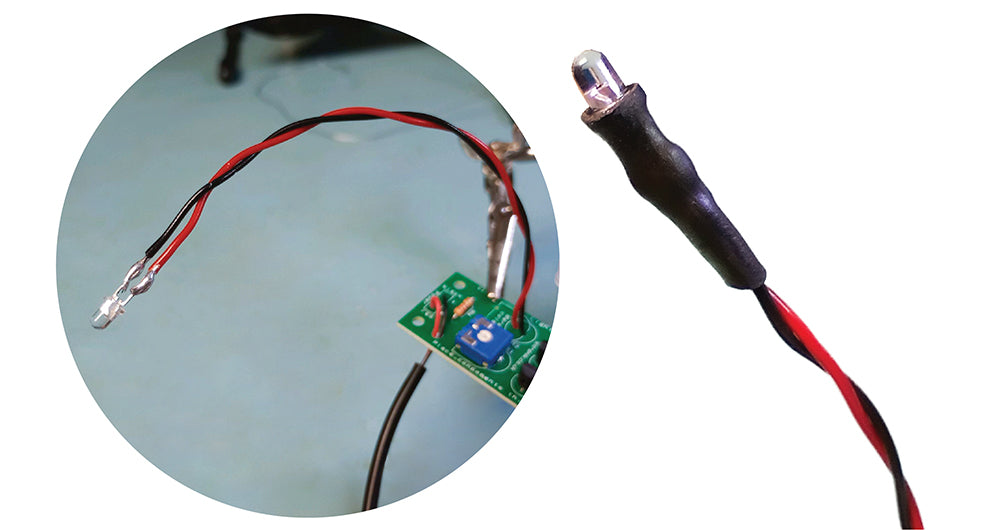
- Attach the Phototransistor to the board using two lengths of wire instead of directly to the board. This will allow it to function while being mounted on the front of the cottage.
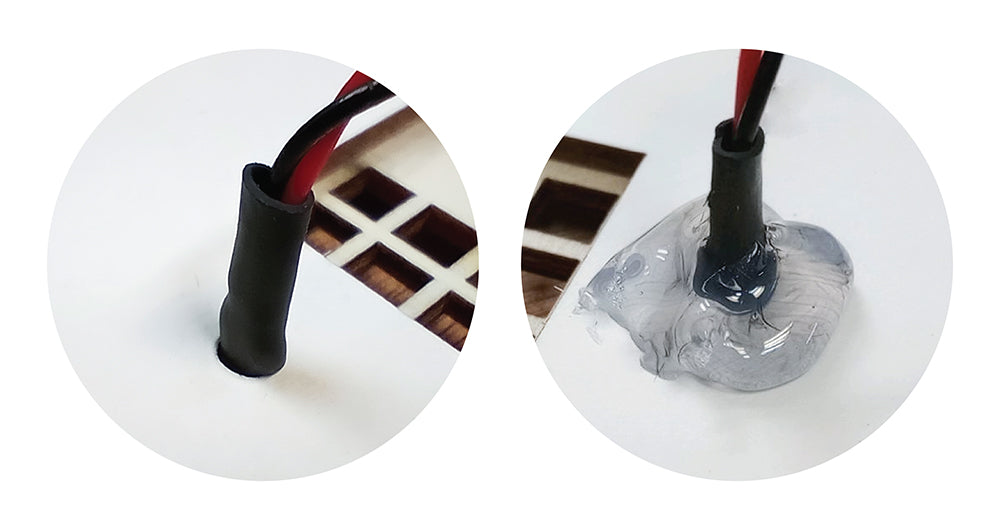
Step 6 – Thermal Protection
Protect the Finnboard house from the bare wire around the Phototransistor by using heatshrink or similar (such as electrical tape). If not done, there is a chance of fire, due to Finnboard’s flammability.
Step 7 – Light Sensing
The small hole above the door is for the phototransistor to sit in. To secure, we have used hot glue.
Step 8 – Mount the Kit
Mount the PCB using 4 20mm M3 spacers with a 10mm M3 pan-head screw on either side of each, connecting the base plate of the cottage to the PCB while holding it up off of the Finnboard.
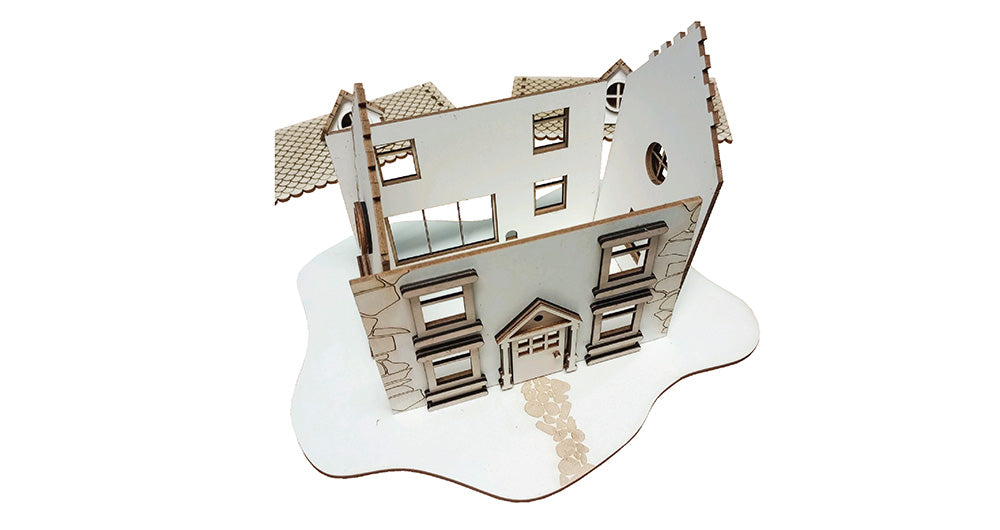
Step 9 – Final Assembly Steps
Construct the rest of the house around the project kit! For this it is not necessary to use any glue, though you can if preferred. In this case, it is useful to be able to retain access to the electronics.
Step 10 – Test & Decorate!
Go into a dark room, and test it out! At this point, you can make any additions you want to the cottage, such as painting, sculpting or decorating. This customisation would make for a great stretch task in a classroom, or would allow a hobbyist to recreate particular architectural elements that their project may require.