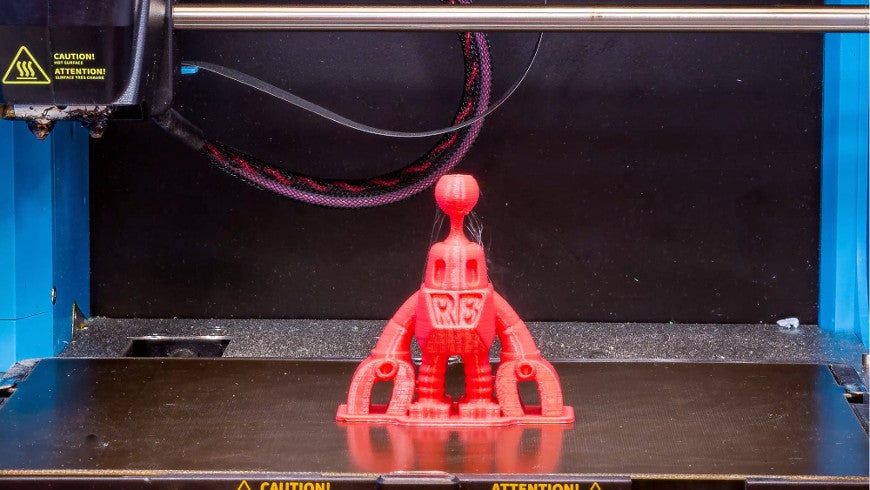
Continuing our short series on how to create time-lapse 3D print videos, this time we are going to cover how to use Robox’s Go Pro Trigger function to trigger a DSLR Camera, and make a time-lapse video.

We will again make use of the Robox’s clever Go Pro trigger function, where when printing, at the end of each layer the head and the bed of the printer will move to a specific position and then usually trigger a GoPro over WiFi. However, in this mini ‘how-to’ we will show you how to use this very same function to work with a normal DSLR.
Level Of Difficulty:
- Intermediate.
You Will Need;
- Robox 3D Printer.
- Digital Camera with external remote input.
- Tripod / Rig to hold your camera in the correct position.
- 3.5mm Chassis Mount Connector.
- 3.5mm to 2.5mm Male to Male jack (This is for our Canon EOS, yours may be different).
- Micro Switch (Long Lever).
- Wire.
- Heat-shrink.
- 2 x M3 Screws.
- 3D Printed Mount.
- Soldering Iron.
- Solder.
- Sticky Pad/double sided tape/glue.
You Will Learn:
- How to set up Automaker’s GoPro trigger function for a DSLR.
- How to add a custom switch to automate the camera trigger.
Make A Time-lapse 3D Print Video With A DSLR:
- Step 1: Setup Automaker.
- Step 2: Setup the Hardware.
- Step 3: The Time-Lapse Tips And Post Editing.
Step 1 – Setup Automaker:
You will need to enable the time-lapse function within Automaker, this is done by clicking the settings icon in the top right hand side of the application. Then time-lapse, you will need to change the seconds delay to between 4 – 6 seconds. This is the amount of time the bed will stop for after each layer. Experiment with a couple of test shots to ensure the bed has stopped whilst the photo is being taken.

Step 2 – Setup The Hardware:
This diagram shows how to wire up the switch to make it compatible with a camera jack.

You will need to 3D Print yourself ‘this’ mount, or you can design your own. You can download the one that we designed here.

Screw the M3 screws into the Micro-switch and through to the 3D Printed part. Then use sticky pads or glue to mount the 3D Printed part into the correct position. Finally, bend the lever switch so it activates when the bed is close to the front of the printer, i.e when it takes the photo.
Step 3: The Time-lapse Tips And Post Editing.
- Focus the camera on the subject, then turn ‘OFF’ auto-focus.
- If you can, use manual mode, this will ensure all your photos have the same lighting.
- Put a delay on the camera for 1-2 seconds, this means when the camera receives the signal to take the photo, it will wait a couple of seconds before actually taking it. If this is not enabled then you may get some blurry shots where the printer is still moving the bed into the right position.
Post Editing: Finally you need to import your image sequence into your desired software and export as a video. We used Adobe Premiere Pro, but you can use your own movie making software. You can see our video below.
Coming soon – How to make a custom lighting rig for your time-lapse 3D prints.


