Recently we brought out the beautifully bright Kitronik Round Side Illumination LED Module, and to mark the new board, our Development Director Dave Sanderson designed an extremely cool light-bulb enclosure that takes advantage of the multi-directional nature of the LEDs on the board.
Follow Dave & Emma’s instructions below to make your own!
We have used:
- This DXF.
- Kitronik Round Side Illumination LED Module.
- 5mm Clear PERSPEX®.
- Heat Shrink Mini Reel.
- Copper Tape.
- Soldering Equipment.
- Wires
- Laser Cutter.
Step 1 – To the laser cutter:
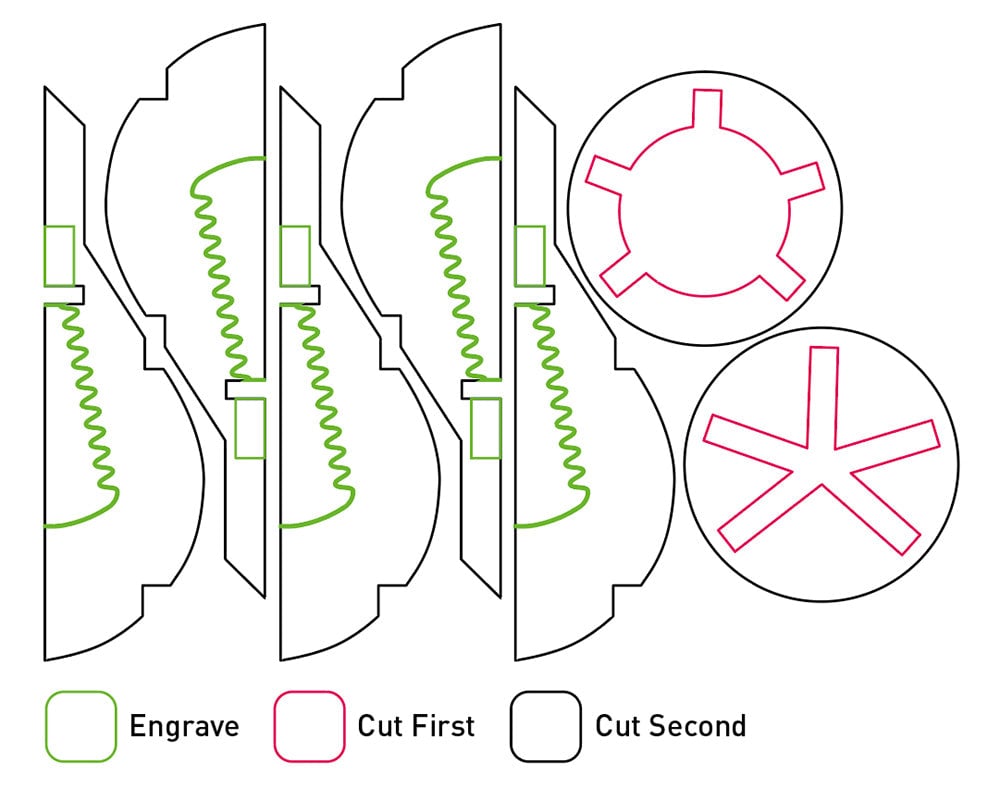
Open the DXF in your Laser Cutter Software! It will appear as below, and you should set the particular parts of the design to cut or engrave as per the diagram. The filament design (green on the diagram) could also be kiss-cut as well as engraved if you want to outline the design more brightly.
Cut out the design, in the order defined in the diagram.
Step 2 – Power in:
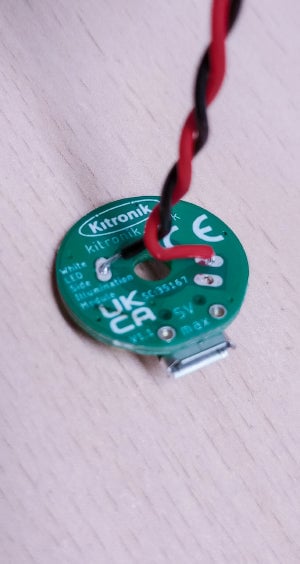
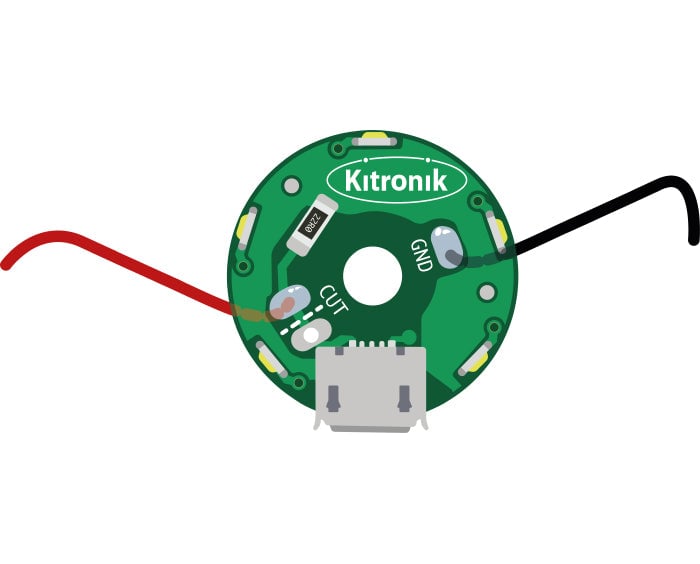
Before we assemble the bulb, we will want to alter the board a little. Many of our boards, this one included, have solder pads to allow a little more customisation. We will be adding an alternative power source that doesn’t rely on the micro USB port.
You will want to solder two wires so that they extend up from the back of the board. You will want to solder one wire to one of the two pads (it doesn’t matter which) marked with “cut”. Do not cut the track.
Step 3 – Assemble the bulb:
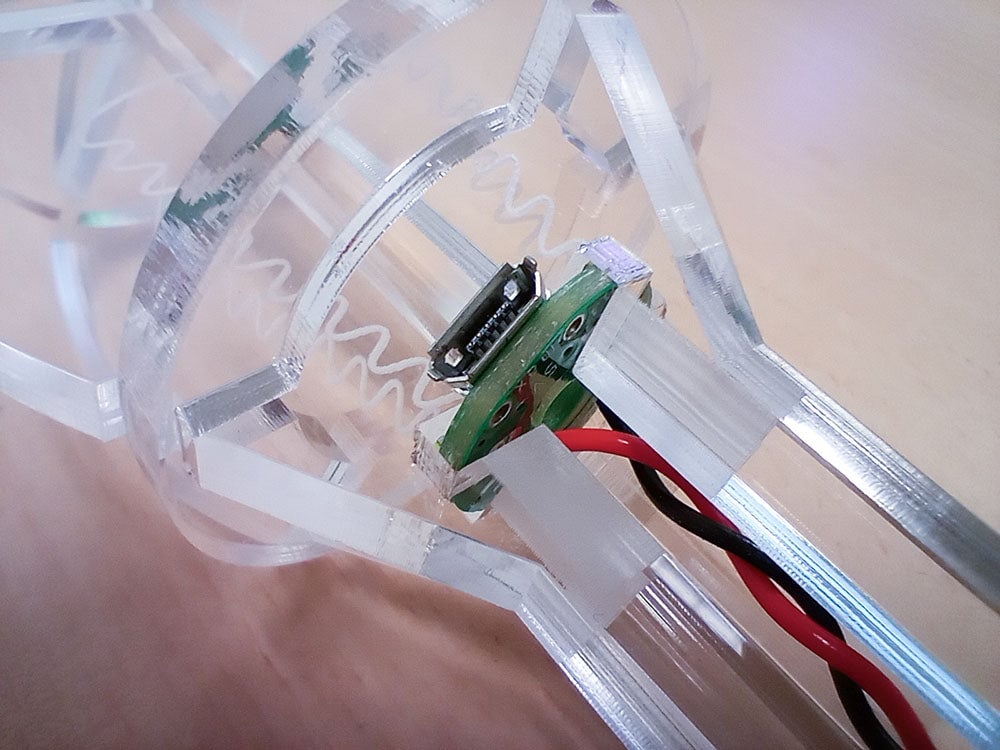
Assemble your bulb! Sit your board into the slots at the top of the bulb, as per the image below, and make sure the wire runs up the centre of the “stem” of the bulb.
In order to close the bulb around the board, the easiest method is to push all but one of the vertical sections into the bottom circular bracket, then thread the top bracket (the one with the circular hole in the centre) over the wire. Then push in the board, with the USB socket in the largest gap, and pop in the final vertical section. Finish securing the bulb together by sliding the top circular bracket down over the top of the bulb and sitting it in the grooves.
Step 4 – Tidy up loose ends:
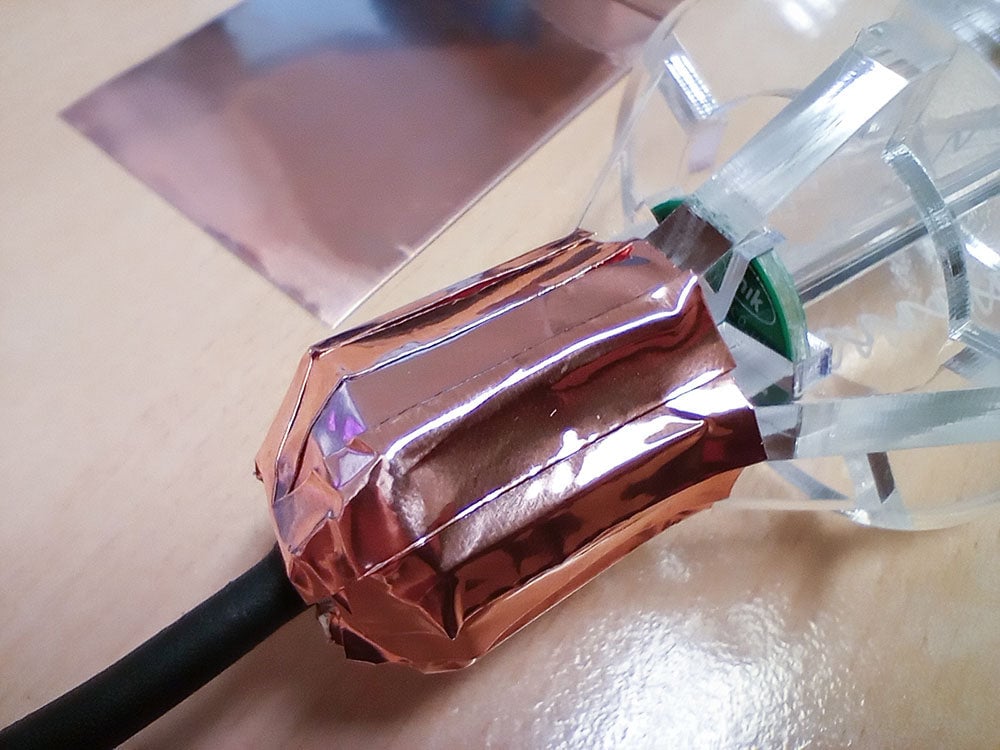
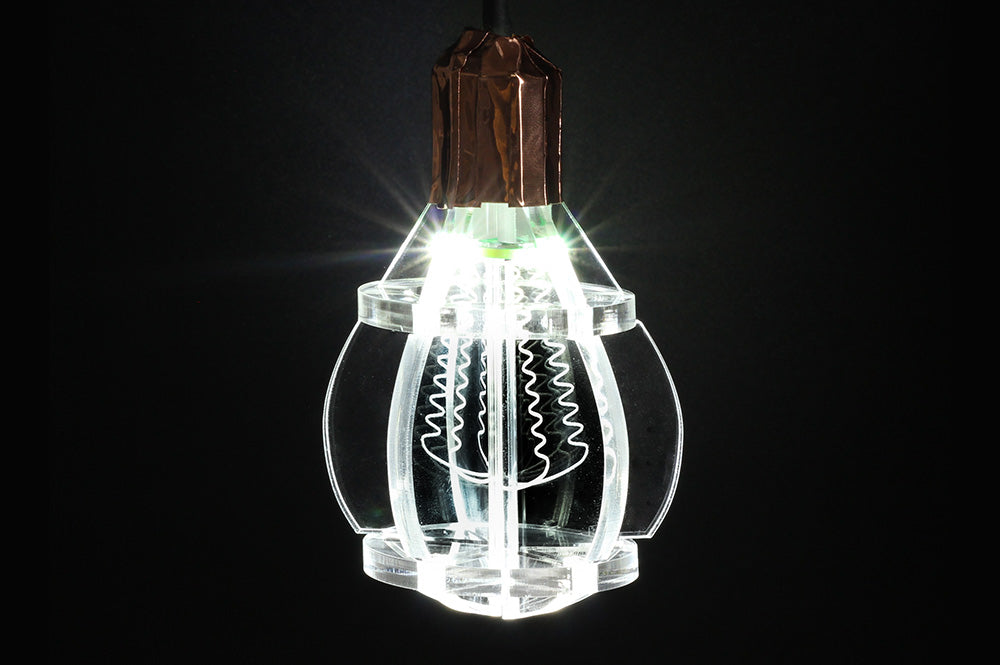
Finally, finish off the look of the bulb with some heat shrink on the wires, and emulate the metal part of a real bulb using copper tape!
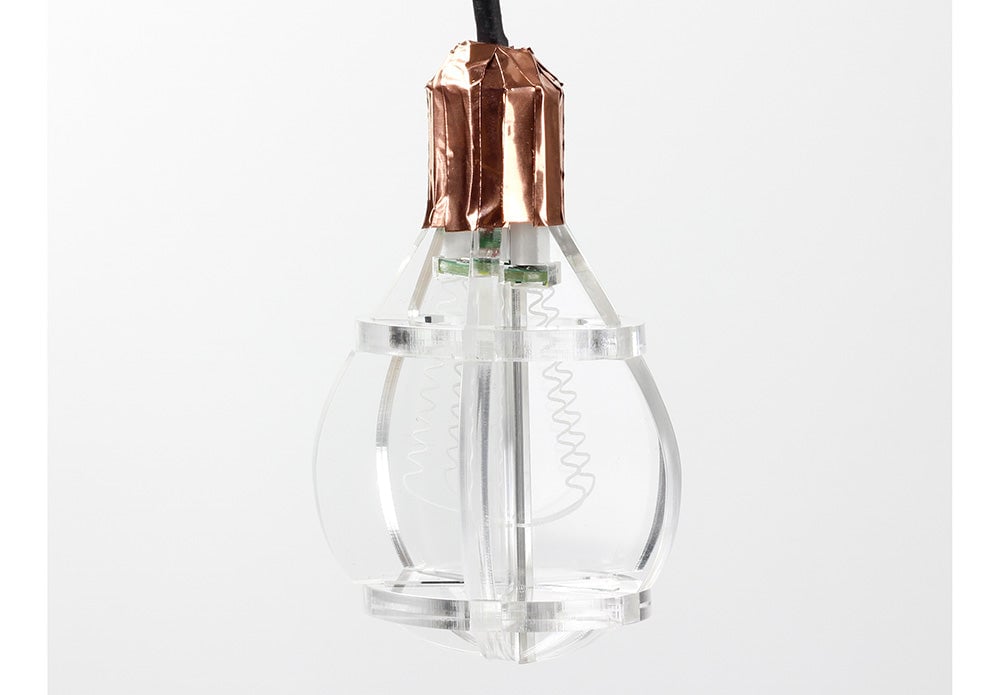
And we’re done! You should now have something similar to the above image.